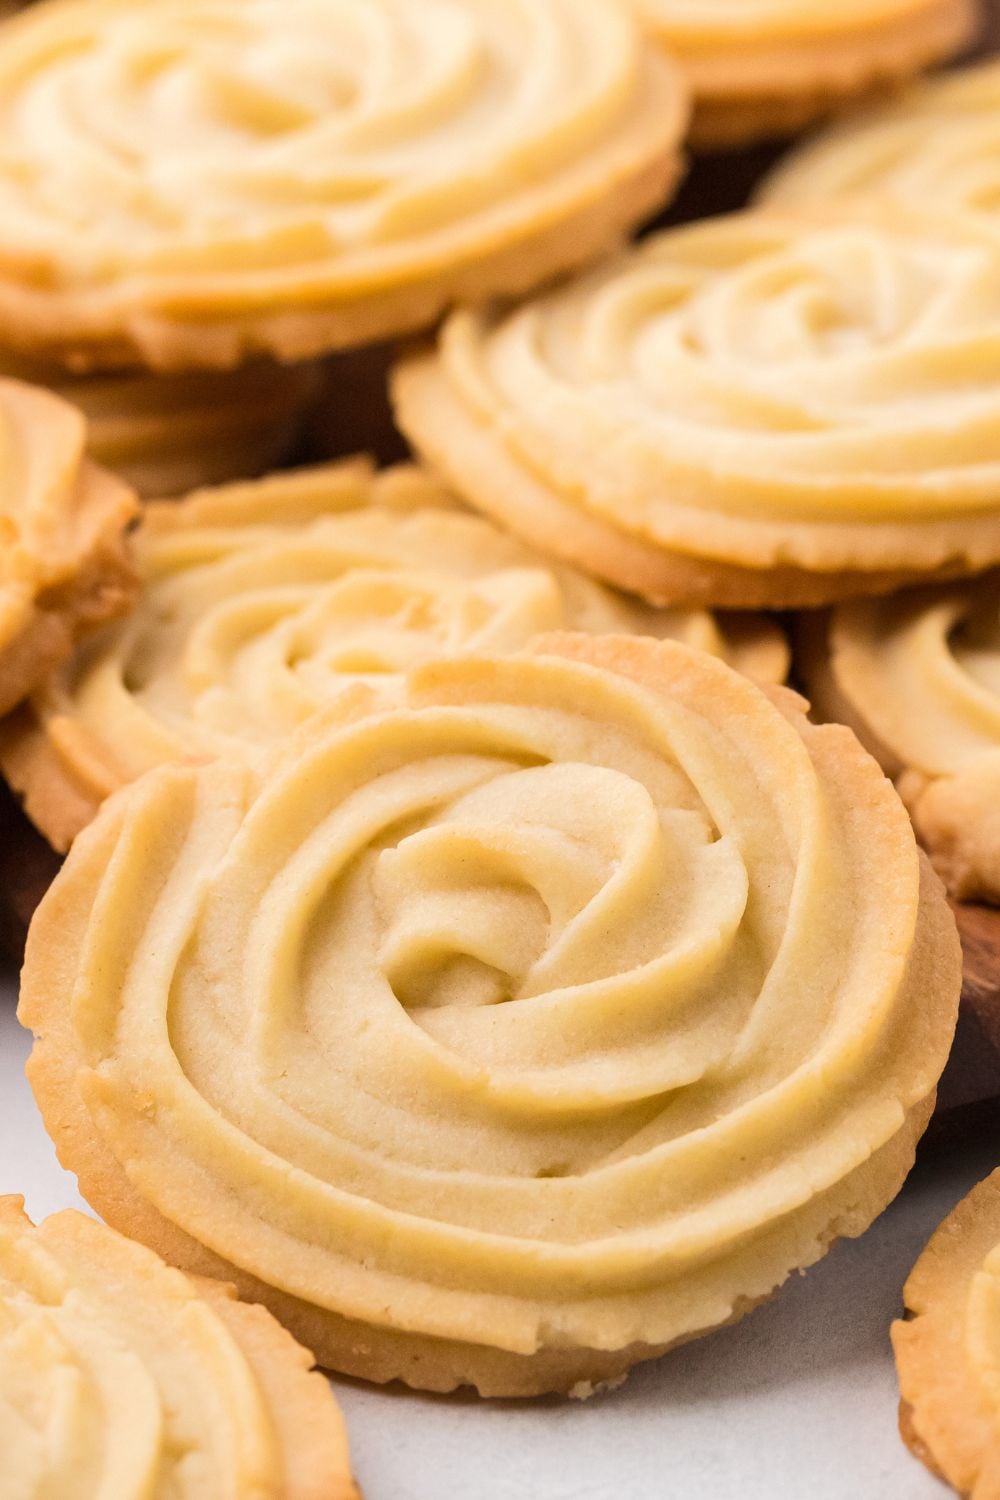
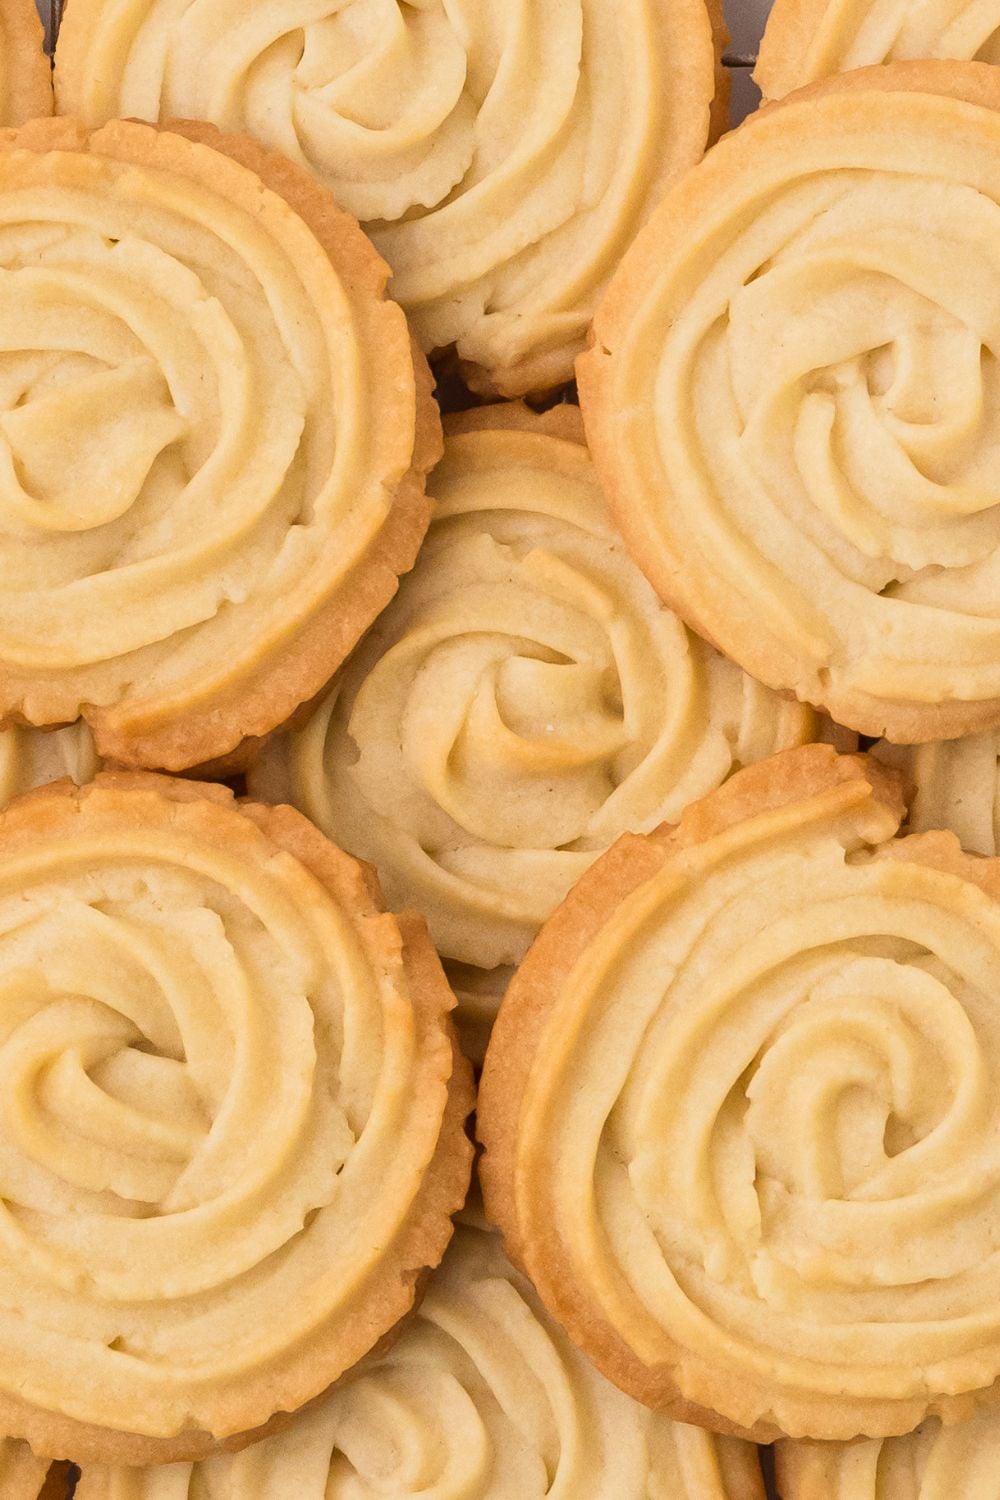
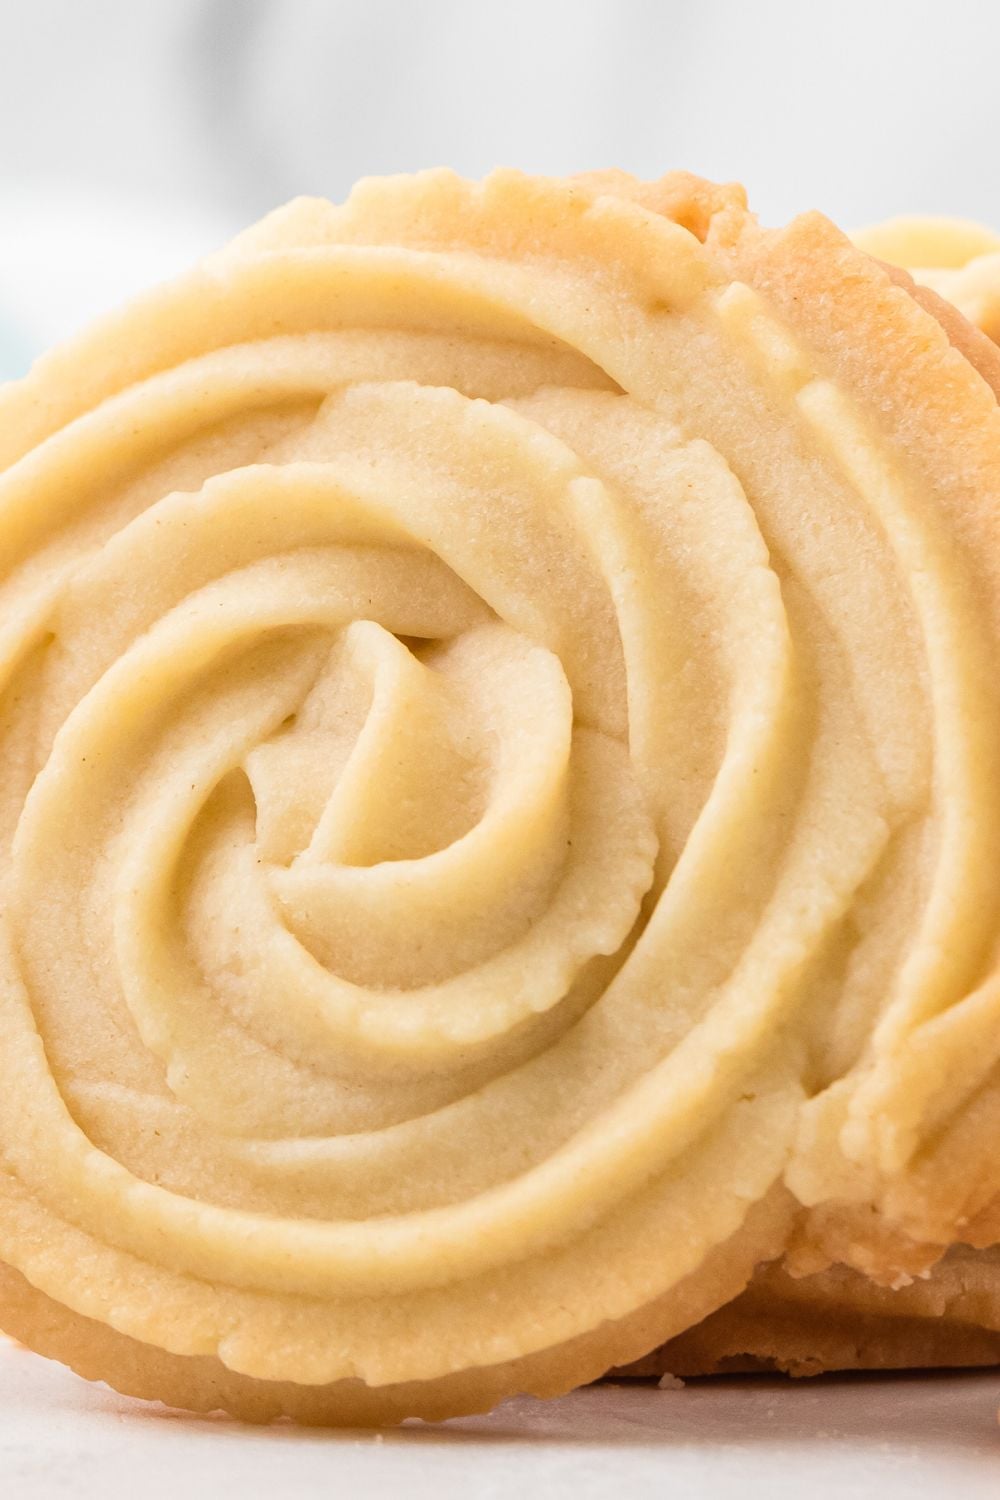
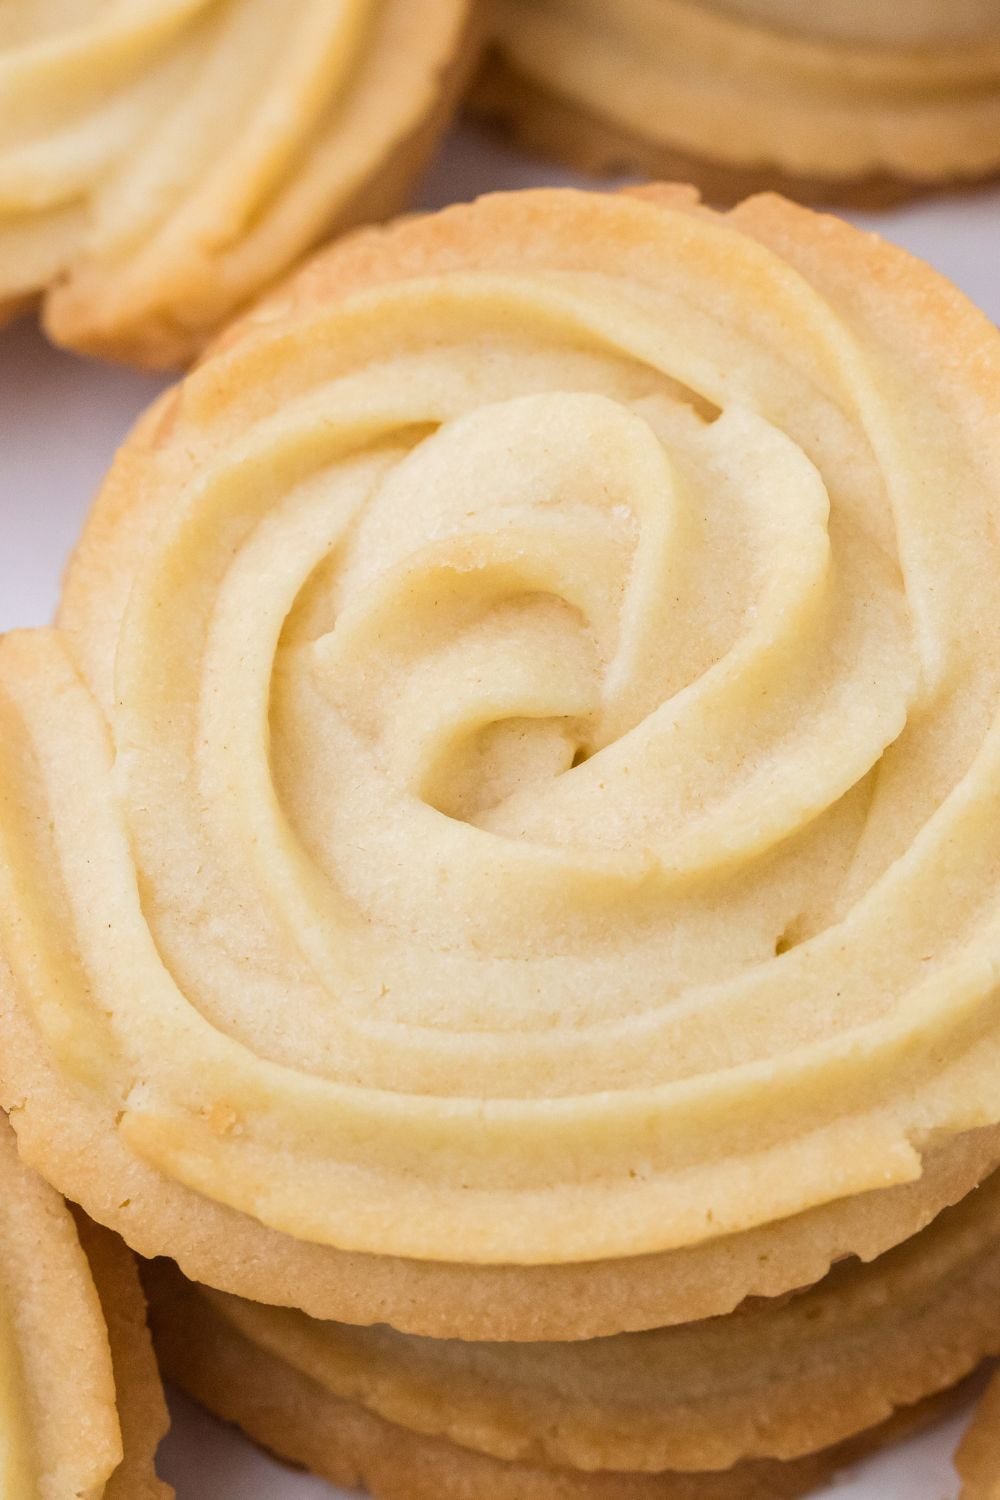
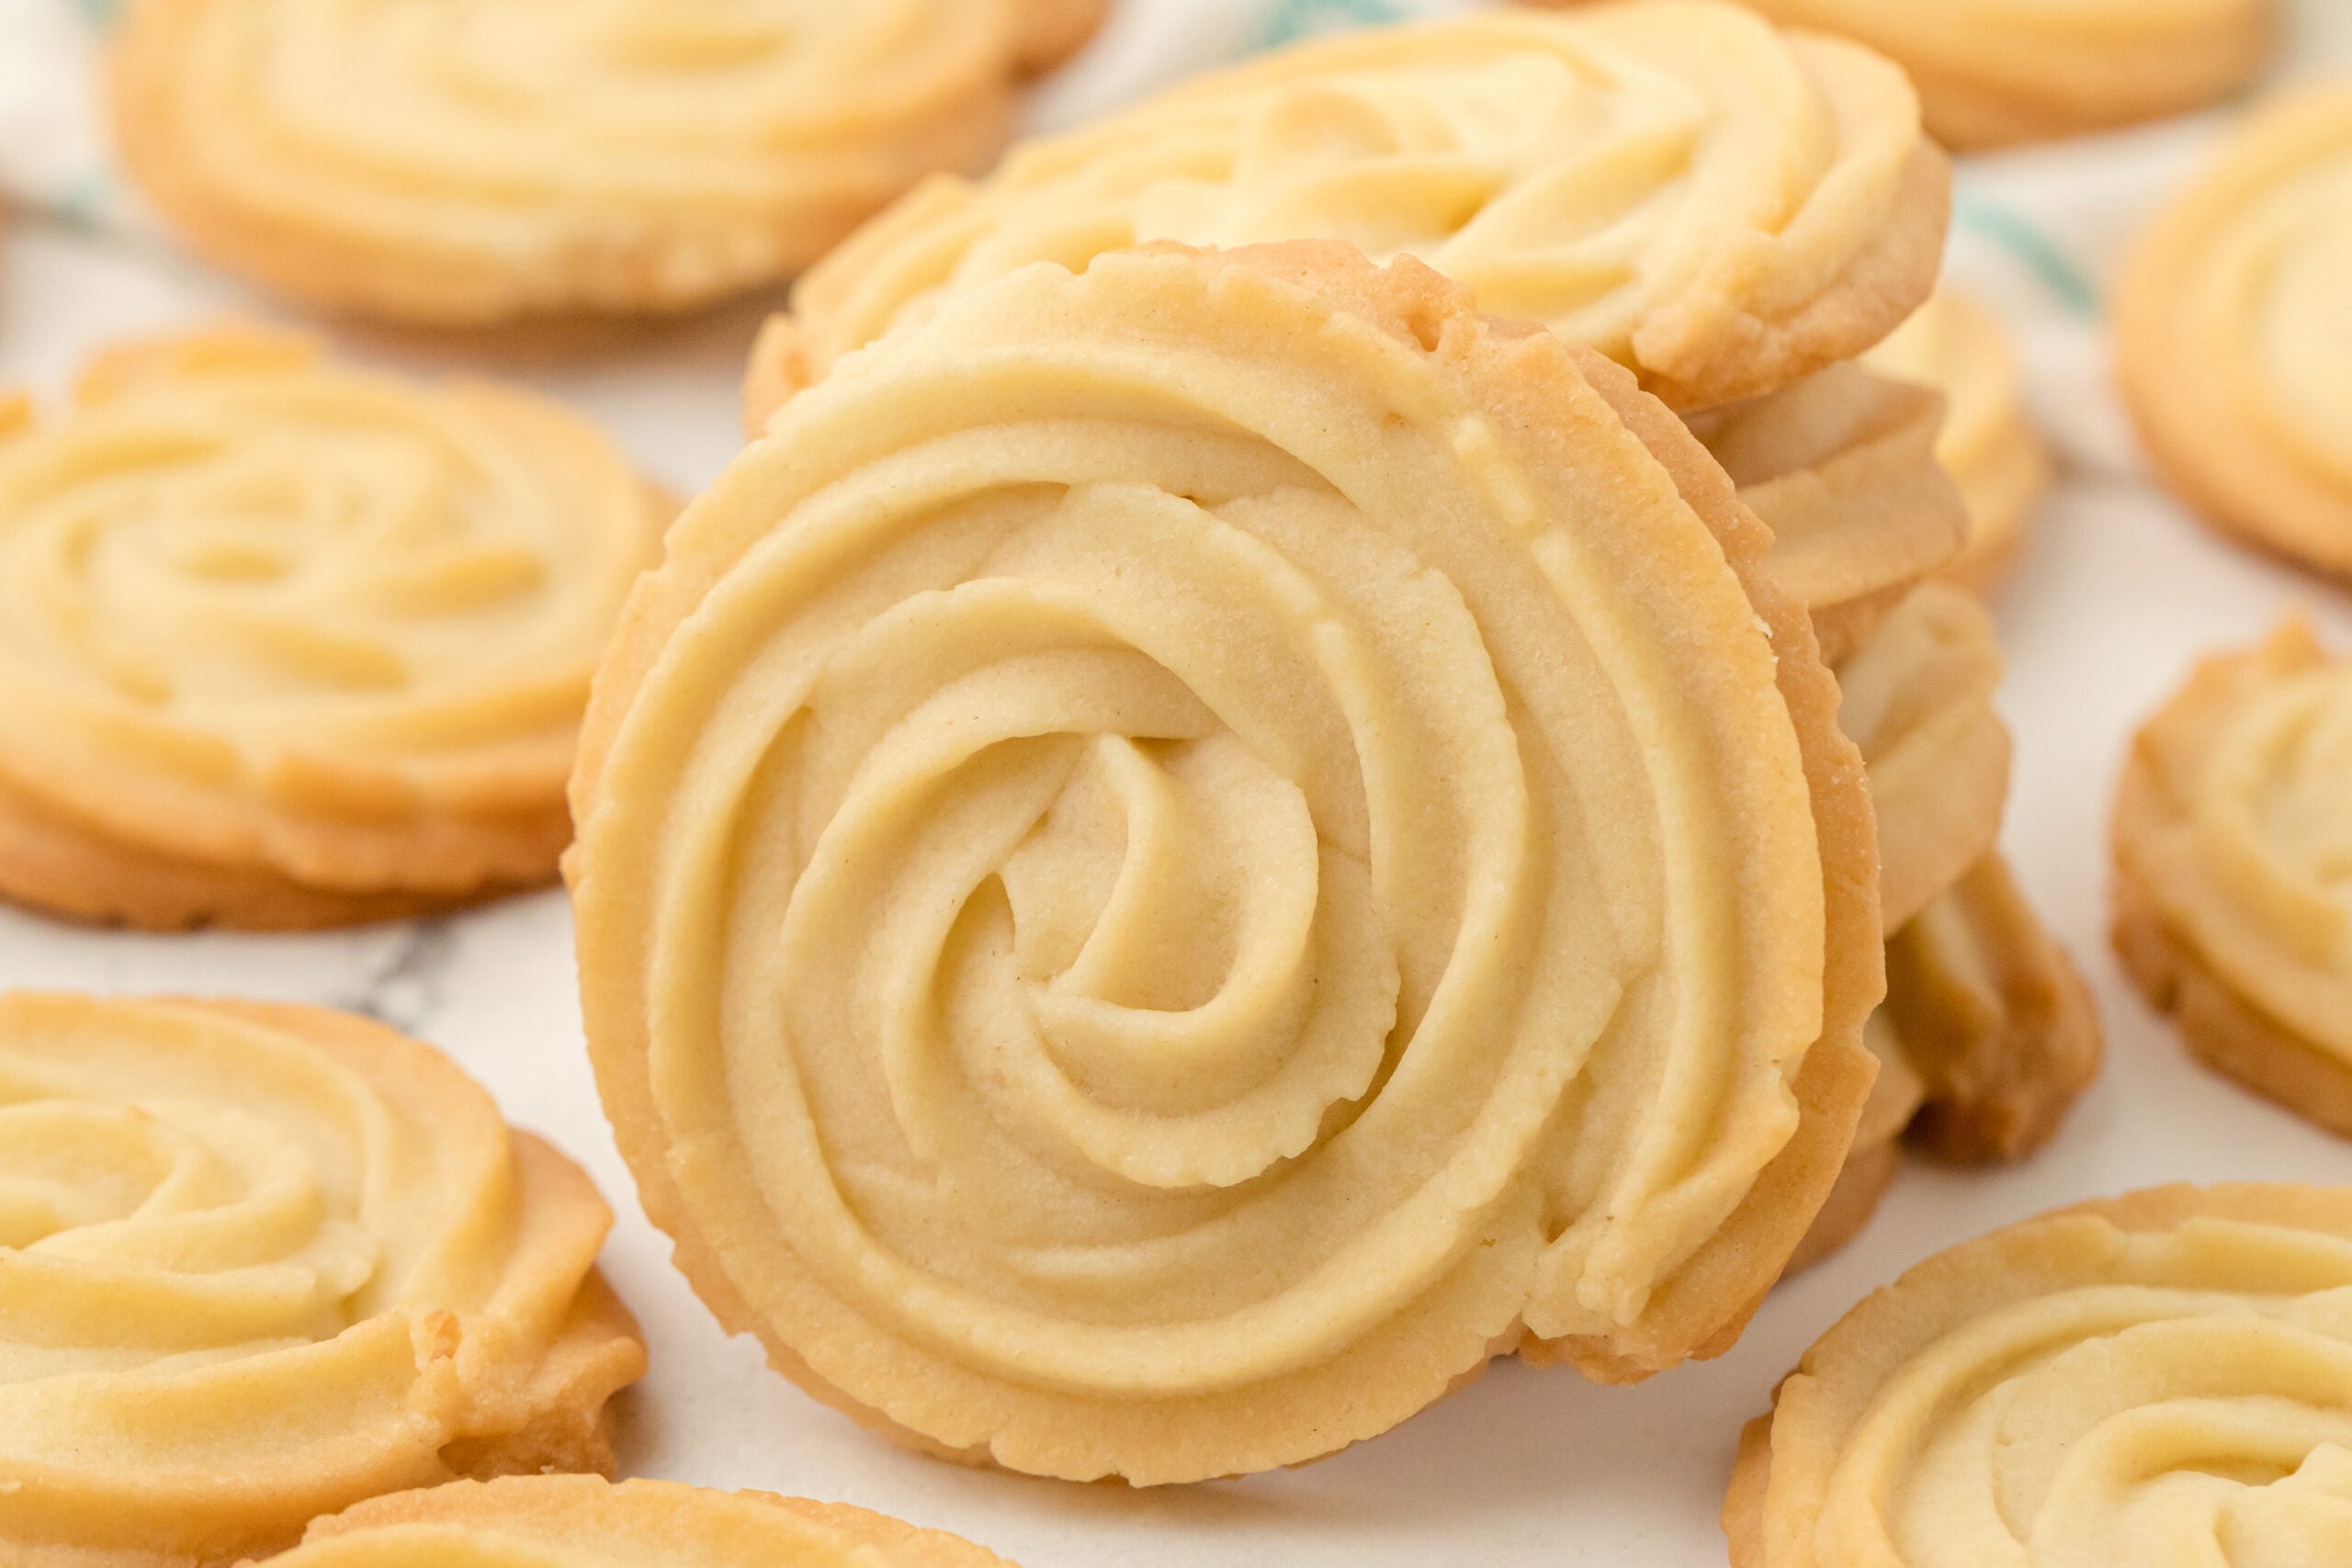
These 3 Ingredient Melt in Your Mouth Butter Cookies are the definition of simple comfort baking. With just butter, powdered sugar, and flour, you can create buttery shortbread-style cookies that are irresistibly tender, lightly sweet, and perfect for everything from holiday platters to everyday treats. Whether you pipe them into elegant swirls or shape them into simple rounds, these cookies deliver melt-away texture with minimal effort.

I made these recently while my 1-year-old son Cameron was napping on me (he just turned 1 this week—cue the happy tears!), and my 5-year-old daughter Ariya helped stir the dough before scooping little mounds onto the baking tray. Even my husband James, who isn’t usually a big cookie guy unless there’s chocolate involved, grabbed three in a row lol If you’ve never made a cookie recipe this simple, let me tell you—it’s a game changer!
What Are These?
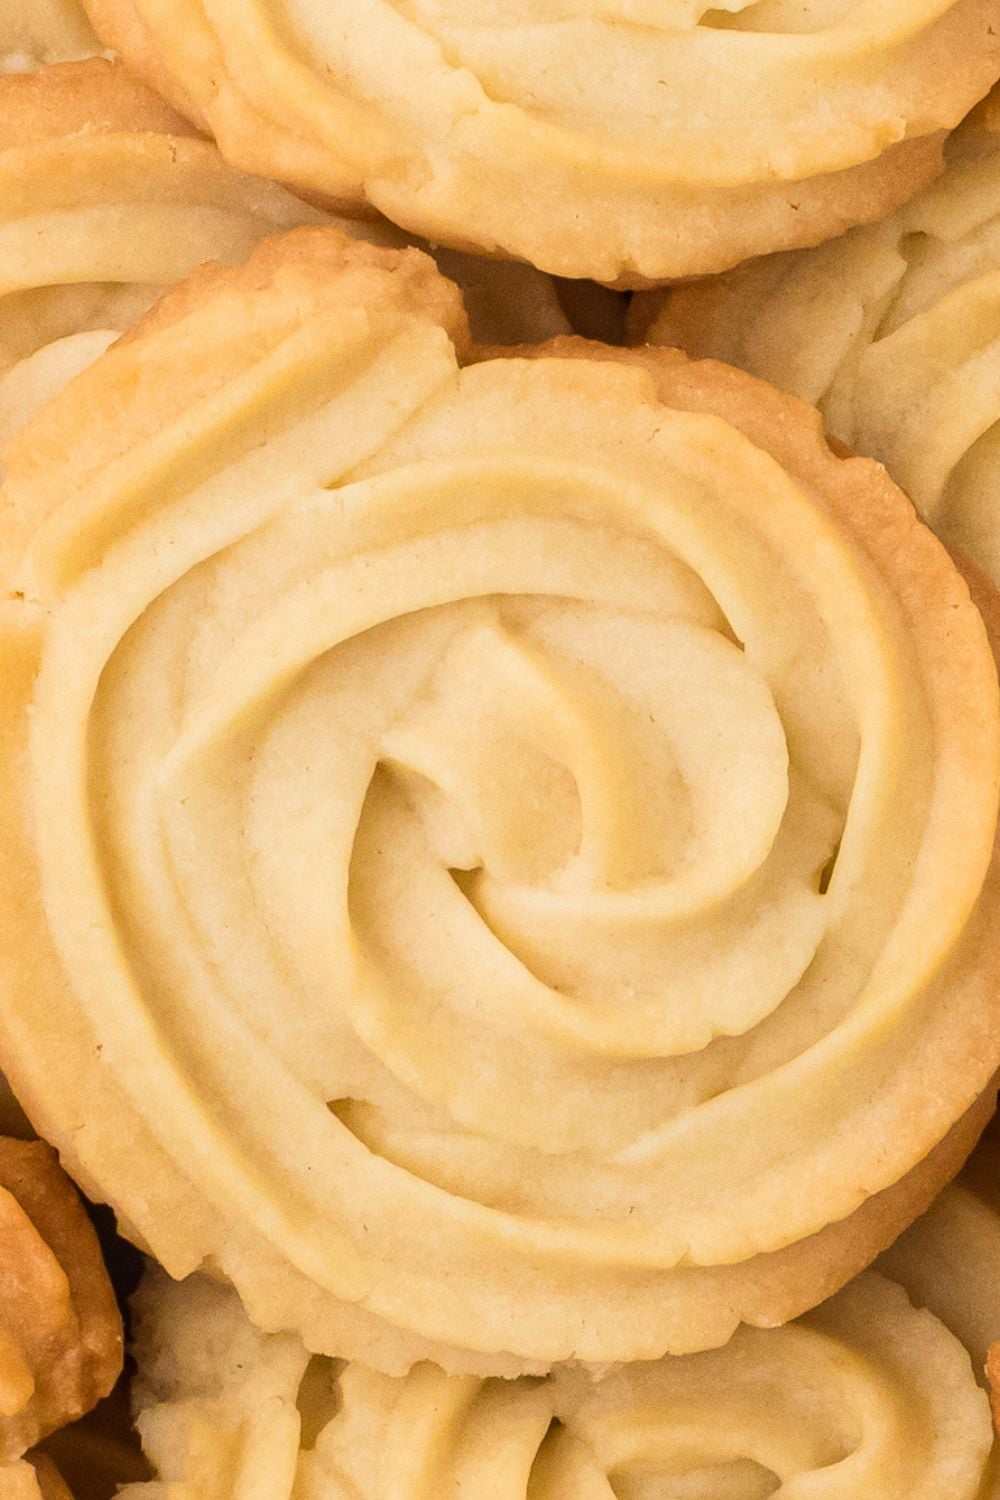
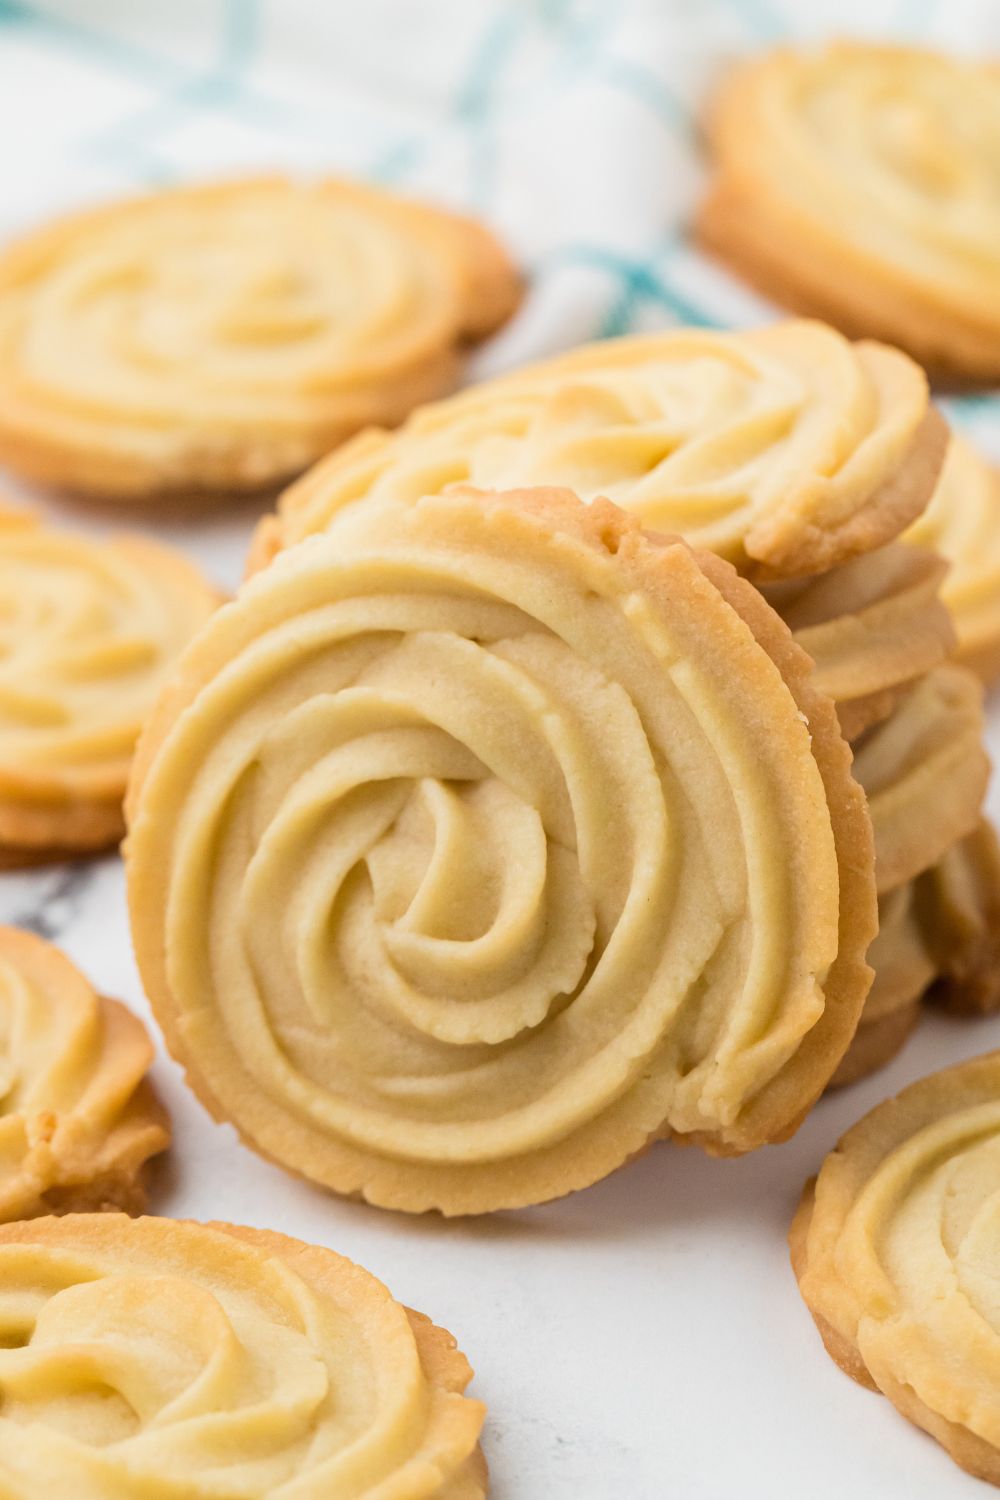
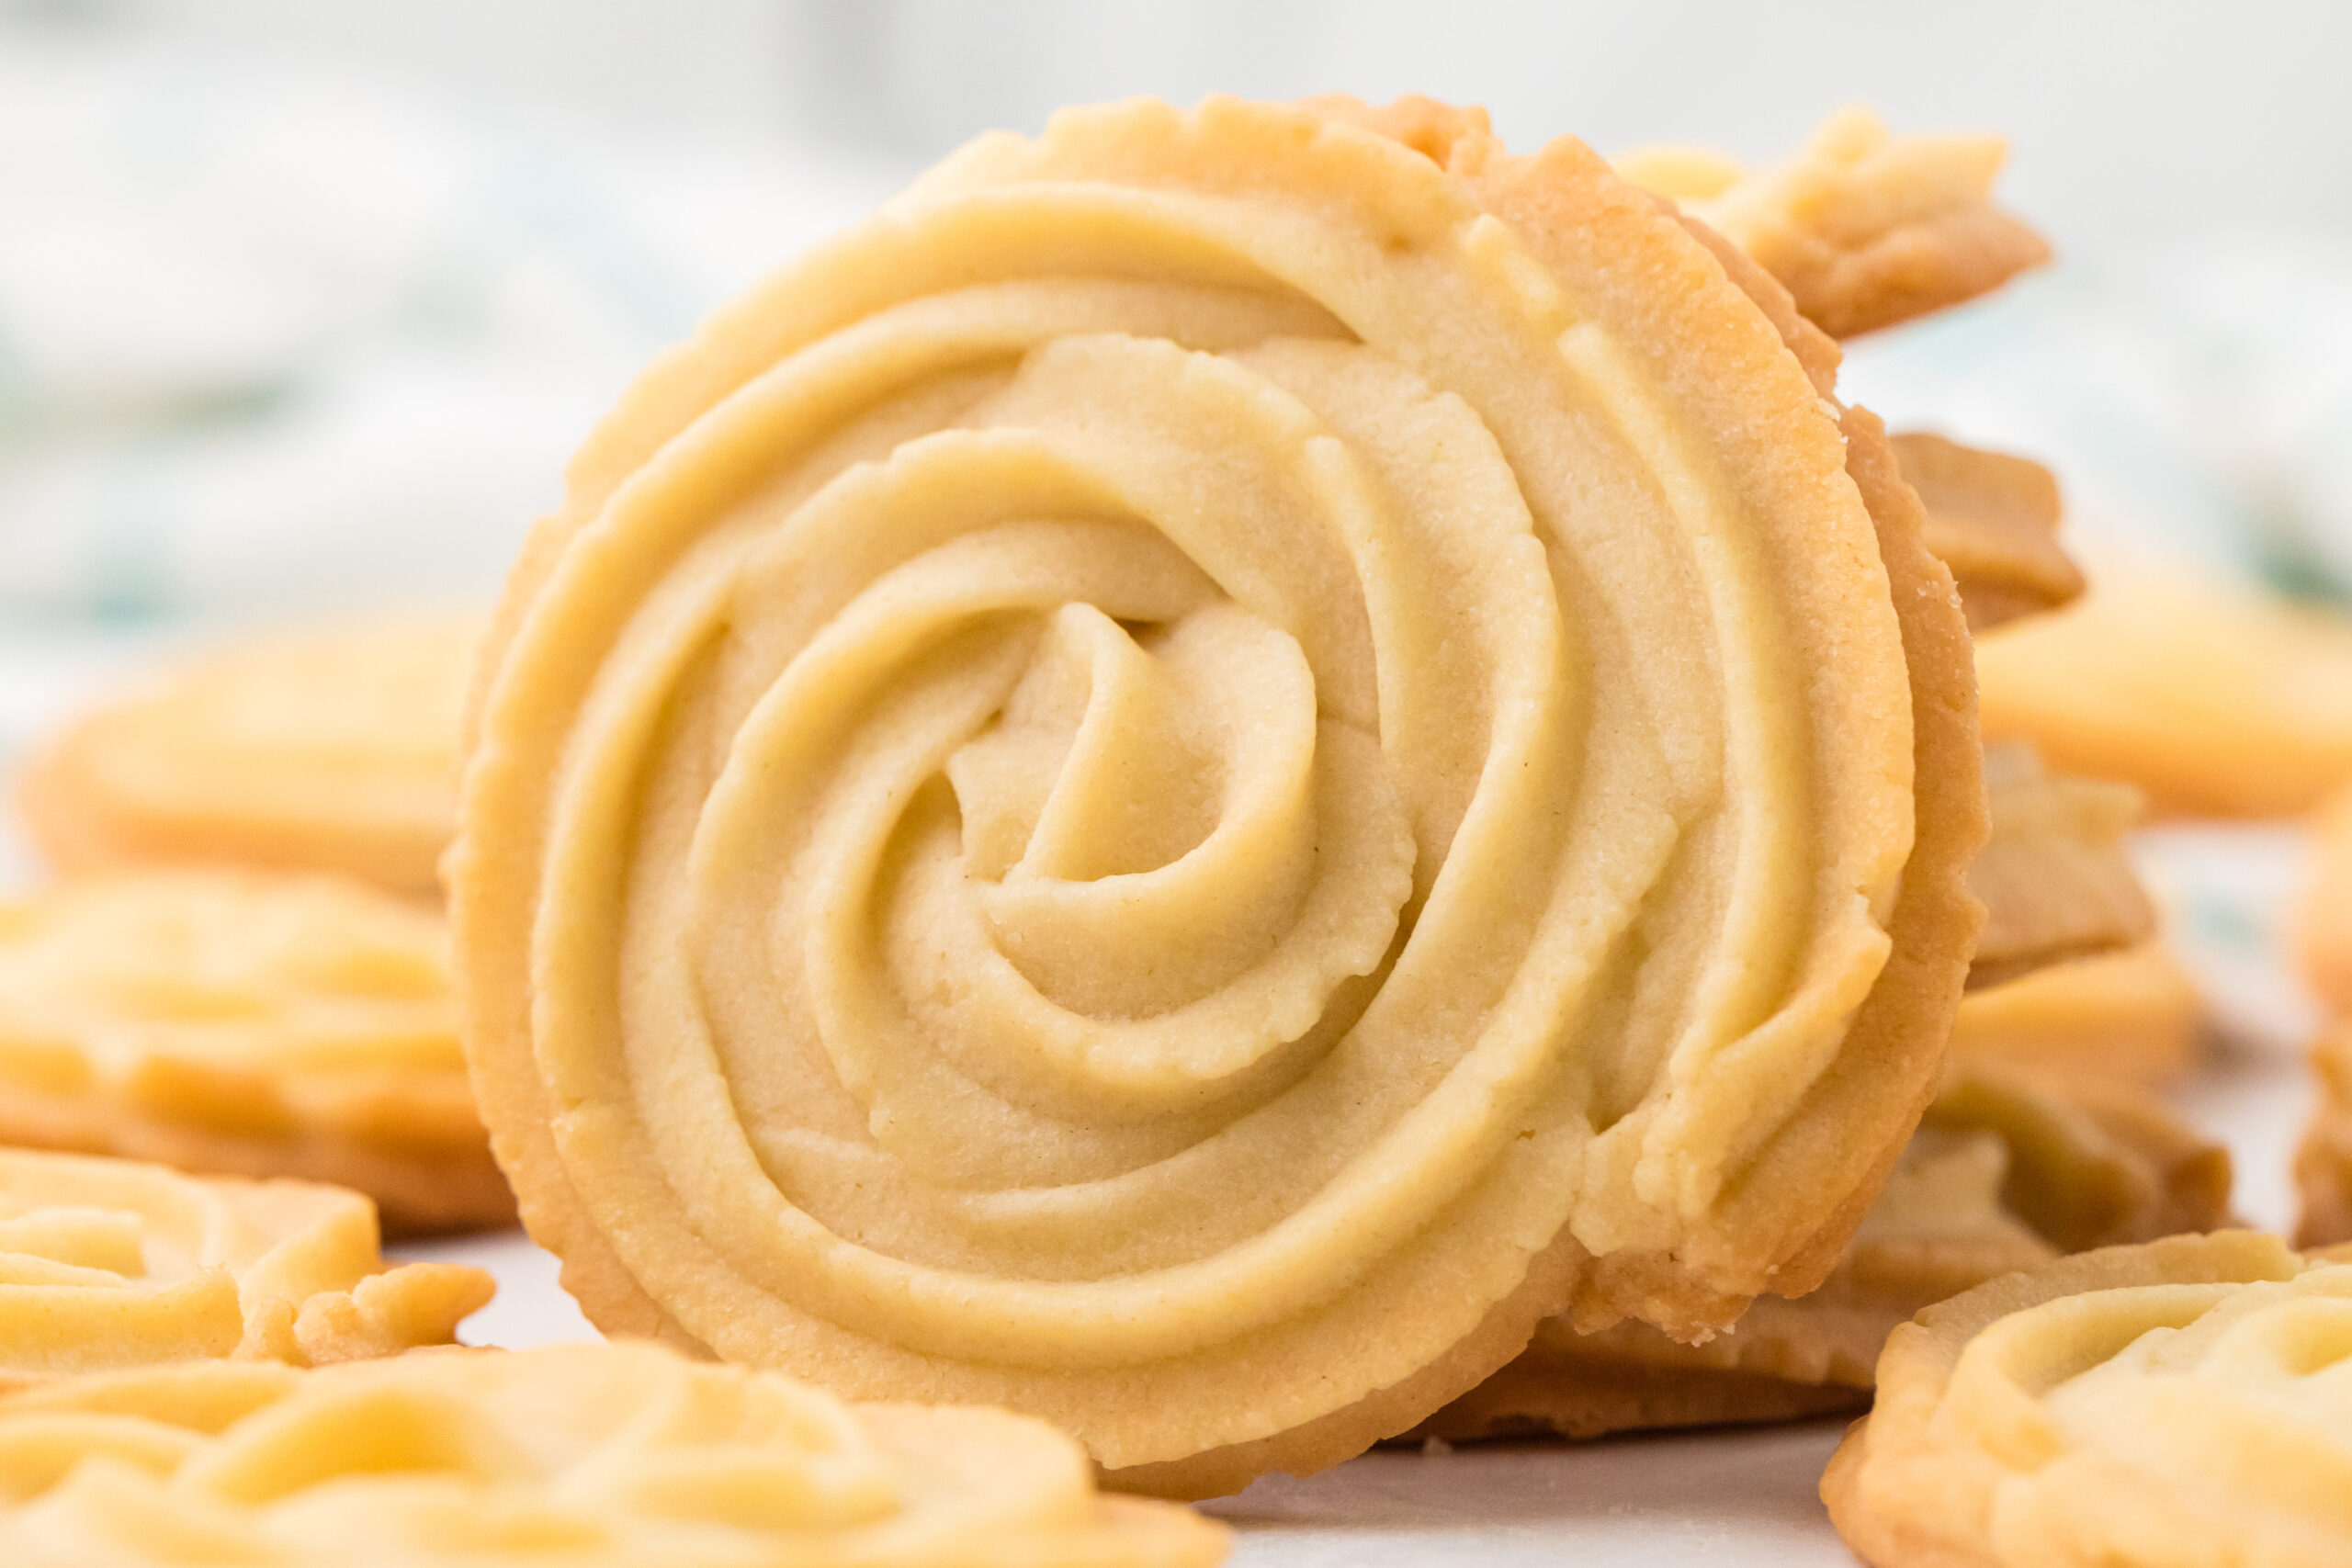
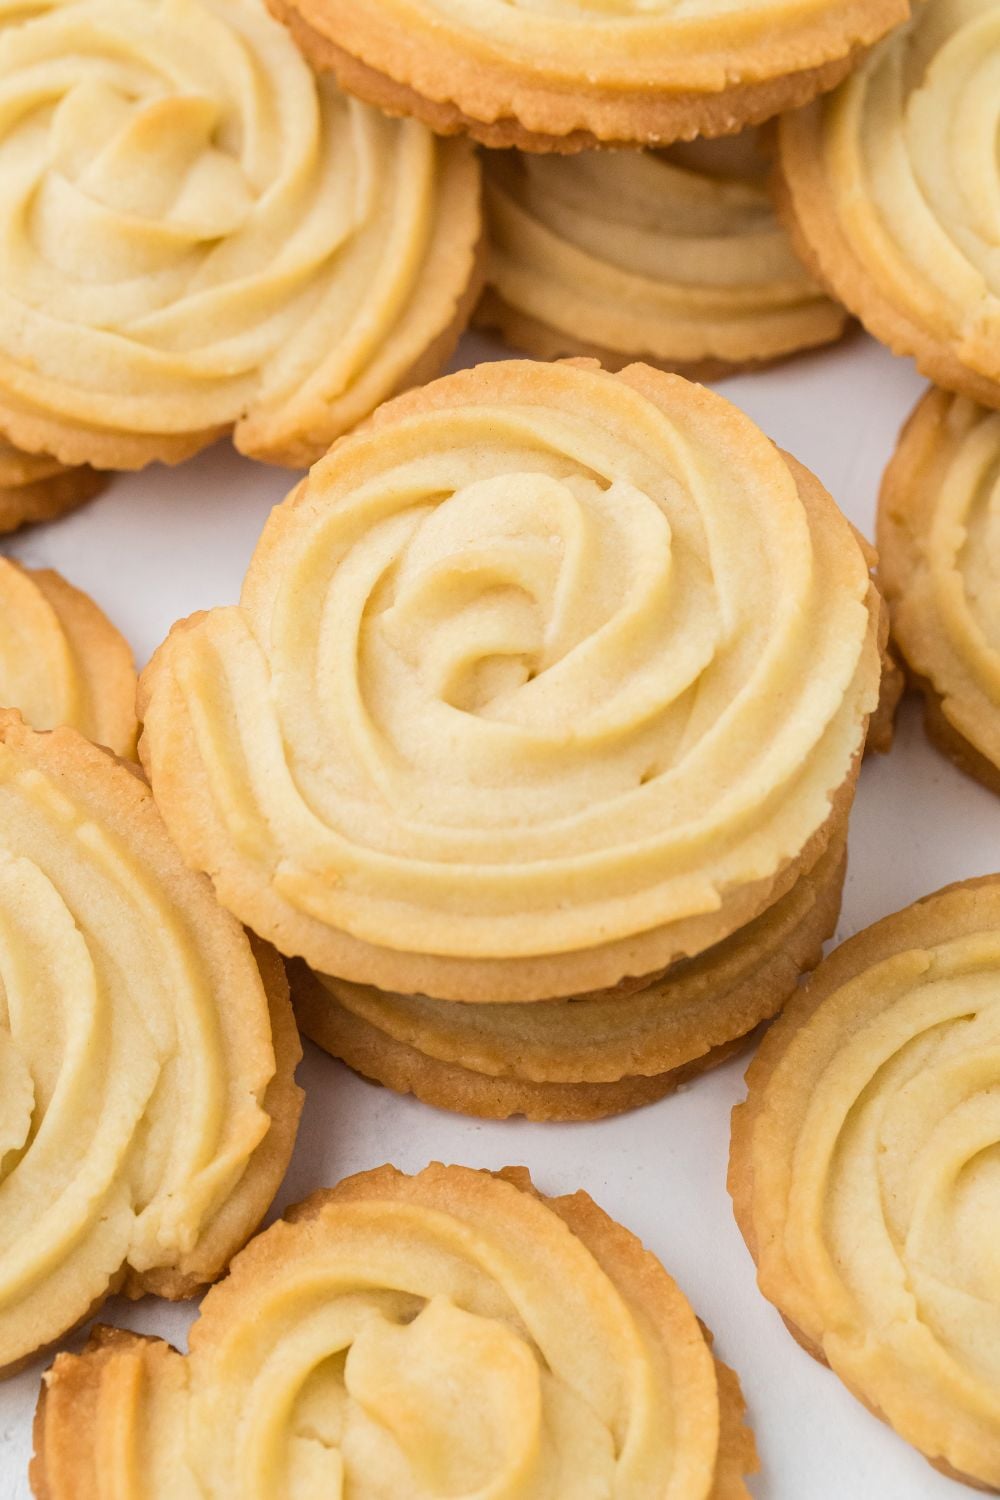
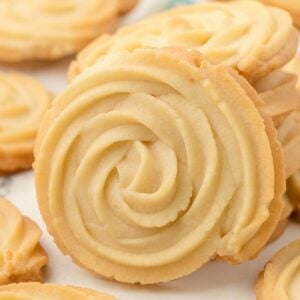
These cookies are classic butter cookies, made with just three staple ingredients: butter, powdered sugar, and flour. They have that classic shortbread-style texture—crumbly yet tender and delicate—and they truly melt in your mouth with every bite. They’re incredibly versatile and can be piped, rolled, dipped in chocolate, or dusted with extra sugar.
When to Serve These
These butter cookies are perfect for:
- Holiday cookie trays (especially Christmas or Valentine’s Day)
- Baby showers or tea parties
- Gifting in cookie tins
- Weeknight baking when you just want something sweet but easy
- Kids’ lunchbox treats
- Dunking in coffee, tea, or hot cocoa
Why You’ll Love These
- Only 3 Ingredients! No eggs, baking soda, or vanilla required—just basics.
- Ridiculously Easy. This is one of the easiest cookie recipes you’ll ever make.
- Melt-in-Your-Mouth Texture. The name doesn’t lie—they’re truly buttery and soft.
- Customizable. Add sprinkles, drizzle with chocolate, or pipe into shapes.
- Great for Gifting. These cookies hold up well in tins and are always a crowd-pleaser.
Ingredient Breakdown
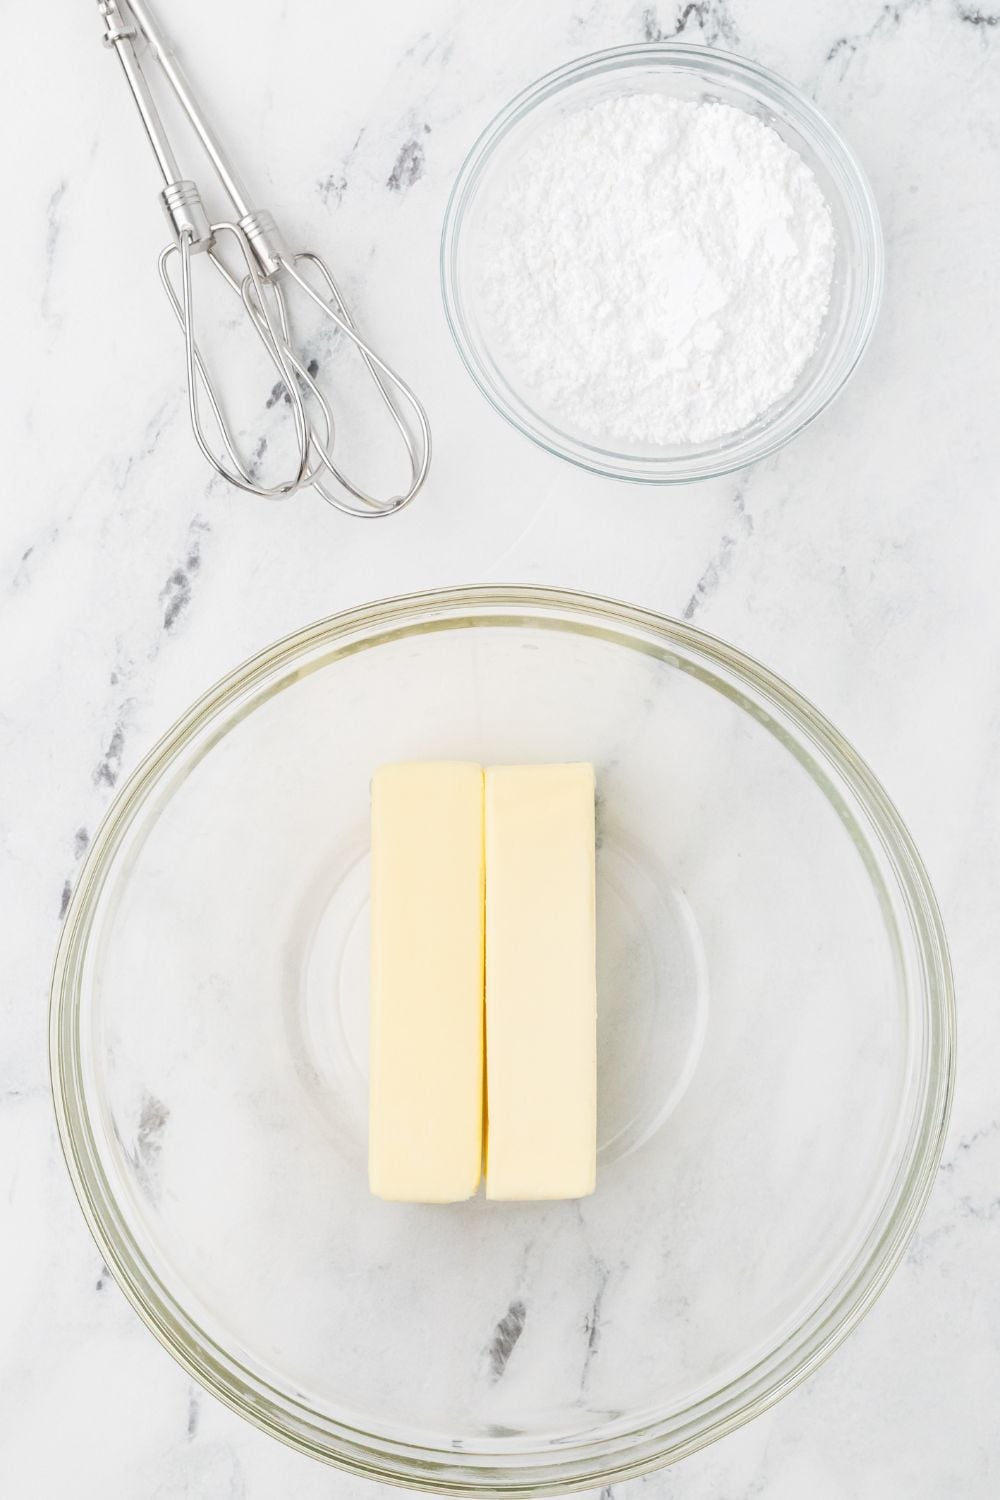
Unsalted Butter
Room temperature butter is essential here. It creates the rich, soft base and gives these cookies their signature melt-in-your-mouth feel. If you only have salted butter, reduce or skip any added salt.
Powdered Sugar
Also known as confectioners’ sugar, this adds a soft sweetness and helps give the cookies a smoother texture than granulated sugar would.
All-Purpose Flour
Gives the cookies structure. You don’t need baking powder or soda—these are meant to be tender, not puffy.


Variations
- Vanilla: Add ½ tsp of vanilla extract for a little extra warmth.
- Lemon Zest: Brighten up the flavor with fresh lemon zest.
- Chocolate Dipped: Dip half of each cooled cookie in melted dark or white chocolate.
- Sprinkles: Add colored sprinkles before baking for a festive look.
- Spice It Up: Try cinnamon or cardamom for a warm twist.

Troubleshooting
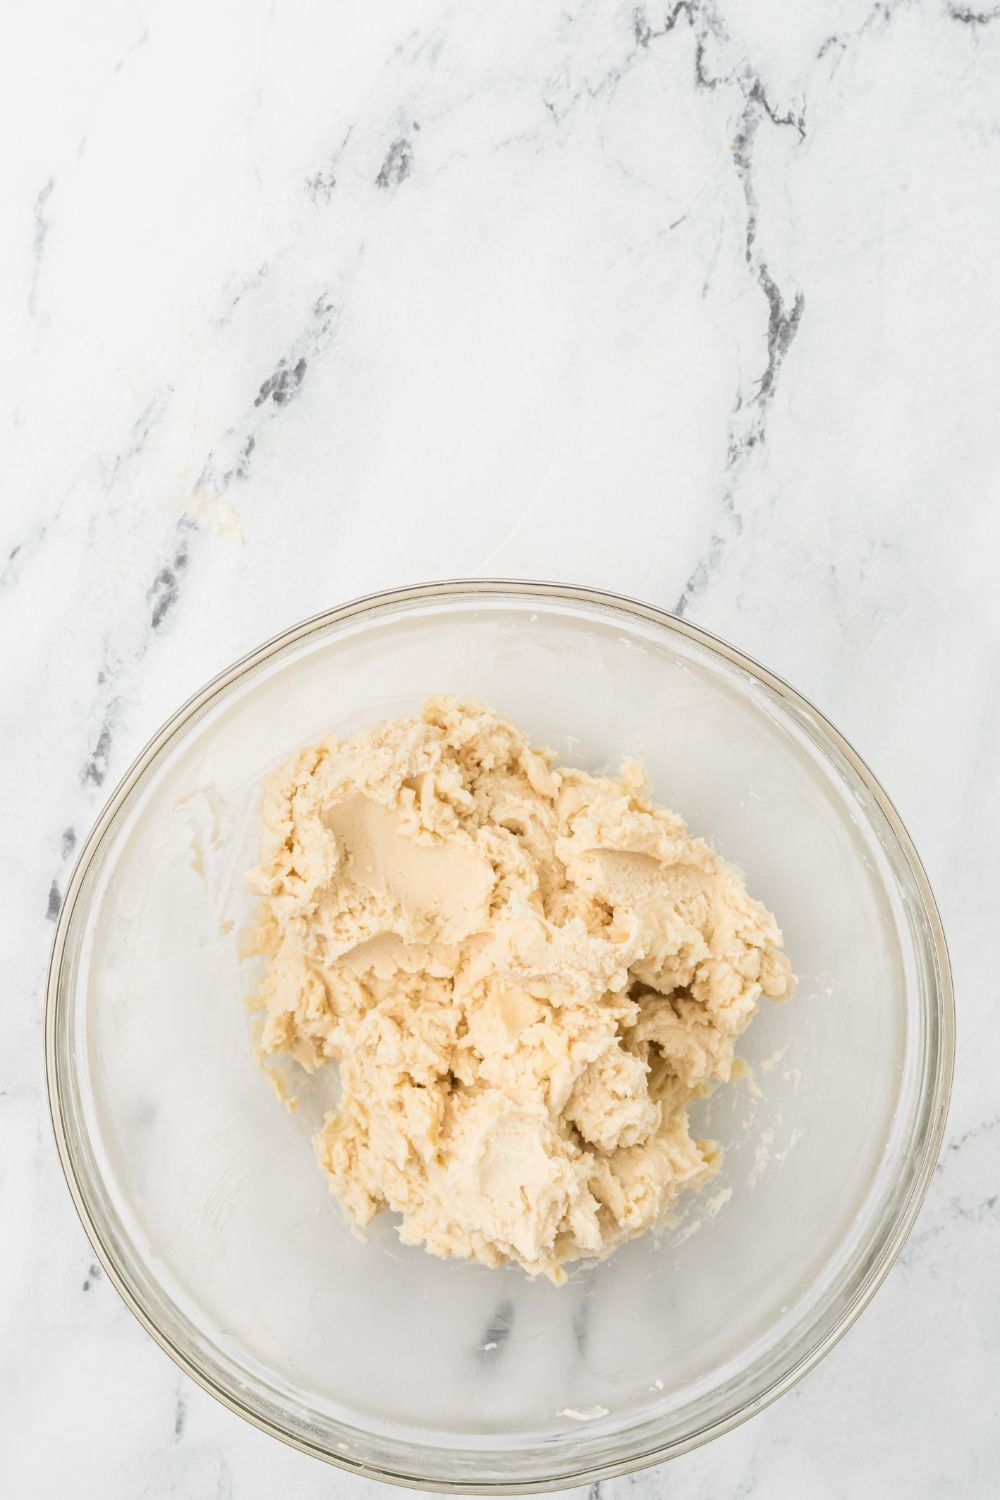
Dough Too Crumbly?
That’s common at first. Just keep mixing, or use your hands to knead it gently—it will come together!
Cookies Spread Too Much?
Chill the dough before baking, especially if your kitchen is warm.
Too Hard or Dry?
Make sure not to overbake. They should stay pale with just barely golden edges.
Powdery Texture?
Use a scale if possible to measure flour accurately. Too much flour = dry cookies.
Storage, Freezing & Make-Ahead Tips
Room Temp: Store in an airtight container for up to 5 days.
Freezer (Unbaked): Shape cookies and freeze on a tray. Once frozen, transfer to a freezer-safe bag and bake directly from frozen, adding 1-2 minutes to the bake time.
Freezer (Baked): Cool completely, then freeze in a sealed container or freezer bag for up to 2 months.
Make-Ahead Dough: Prepare and refrigerate the dough up to 48 hours ahead of time.

What to Serve With These
These cookies pair beautifully with warm or cold beverages:
- Hot tea or coffee
- Vanilla milk
- Strawberry lemonade
- Hot chocolate
- Espresso or cappuccino
They also make a perfect addition to cookie trays alongside treats like:
- Snowball Cookies
- Fudge Brownie Bites
- Gingerbread
- Classic Sugar Cookies
Reader Tips & Customizations
From Our Readers:
- “I added lemon zest and dipped the ends in white chocolate—huge hit with my book club.”
- “I used a cookie press and they came out adorable.”
- “Added ¼ tsp almond extract. Perfection!”
Got a twist or variation you love? Share it in the comments—I love seeing how you make recipes your own!
How to Give These Cookies as Gifts
These cookies are made for gifting—they’re simple, elegant, and universally loved. Here’s how to turn them into a beautiful homemade treat for someone special:
- Package in Cellophane Bags: Place a few cookies in clear cellophane treat bags, tie with a festive ribbon, and add a handwritten tag.
- Use Holiday Tins: Layer with parchment paper in a small cookie tin or box for a more classic presentation.
- Add to a Gift Basket: Pair with a mason jar of homemade hot cocoa mix, a mug, and a mini whisk for a cozy winter bundle.
- Ship-Friendly: These cookies are sturdy enough to mail! Pack tightly in a container with crumpled wax paper or tissue to cushion them during shipping.
They’re budget-friendly, quick to make, and a great way to say thank you, happy holidays, or just because without spending a fortune.
Oven vs. Air Fryer
Oven (Recommended Method)
Baking at 350°F for 12–15 minutes gives the most even, controlled results and classic texture.
Air Fryer Method
If you want to experiment:
- Preheat to 325°F.
- Place piped or shaped cookies on parchment in the air fryer basket (space them out!).
- Bake for 7–9 minutes, checking often to avoid over-browning.
Perfect for Holiday Baking & Christmas Cookie Trays
If you’re planning your Christmas cookie lineup, these are a must:
- Festive Flair: Roll the edges in colored sugar or top with holiday sprinkles before baking.
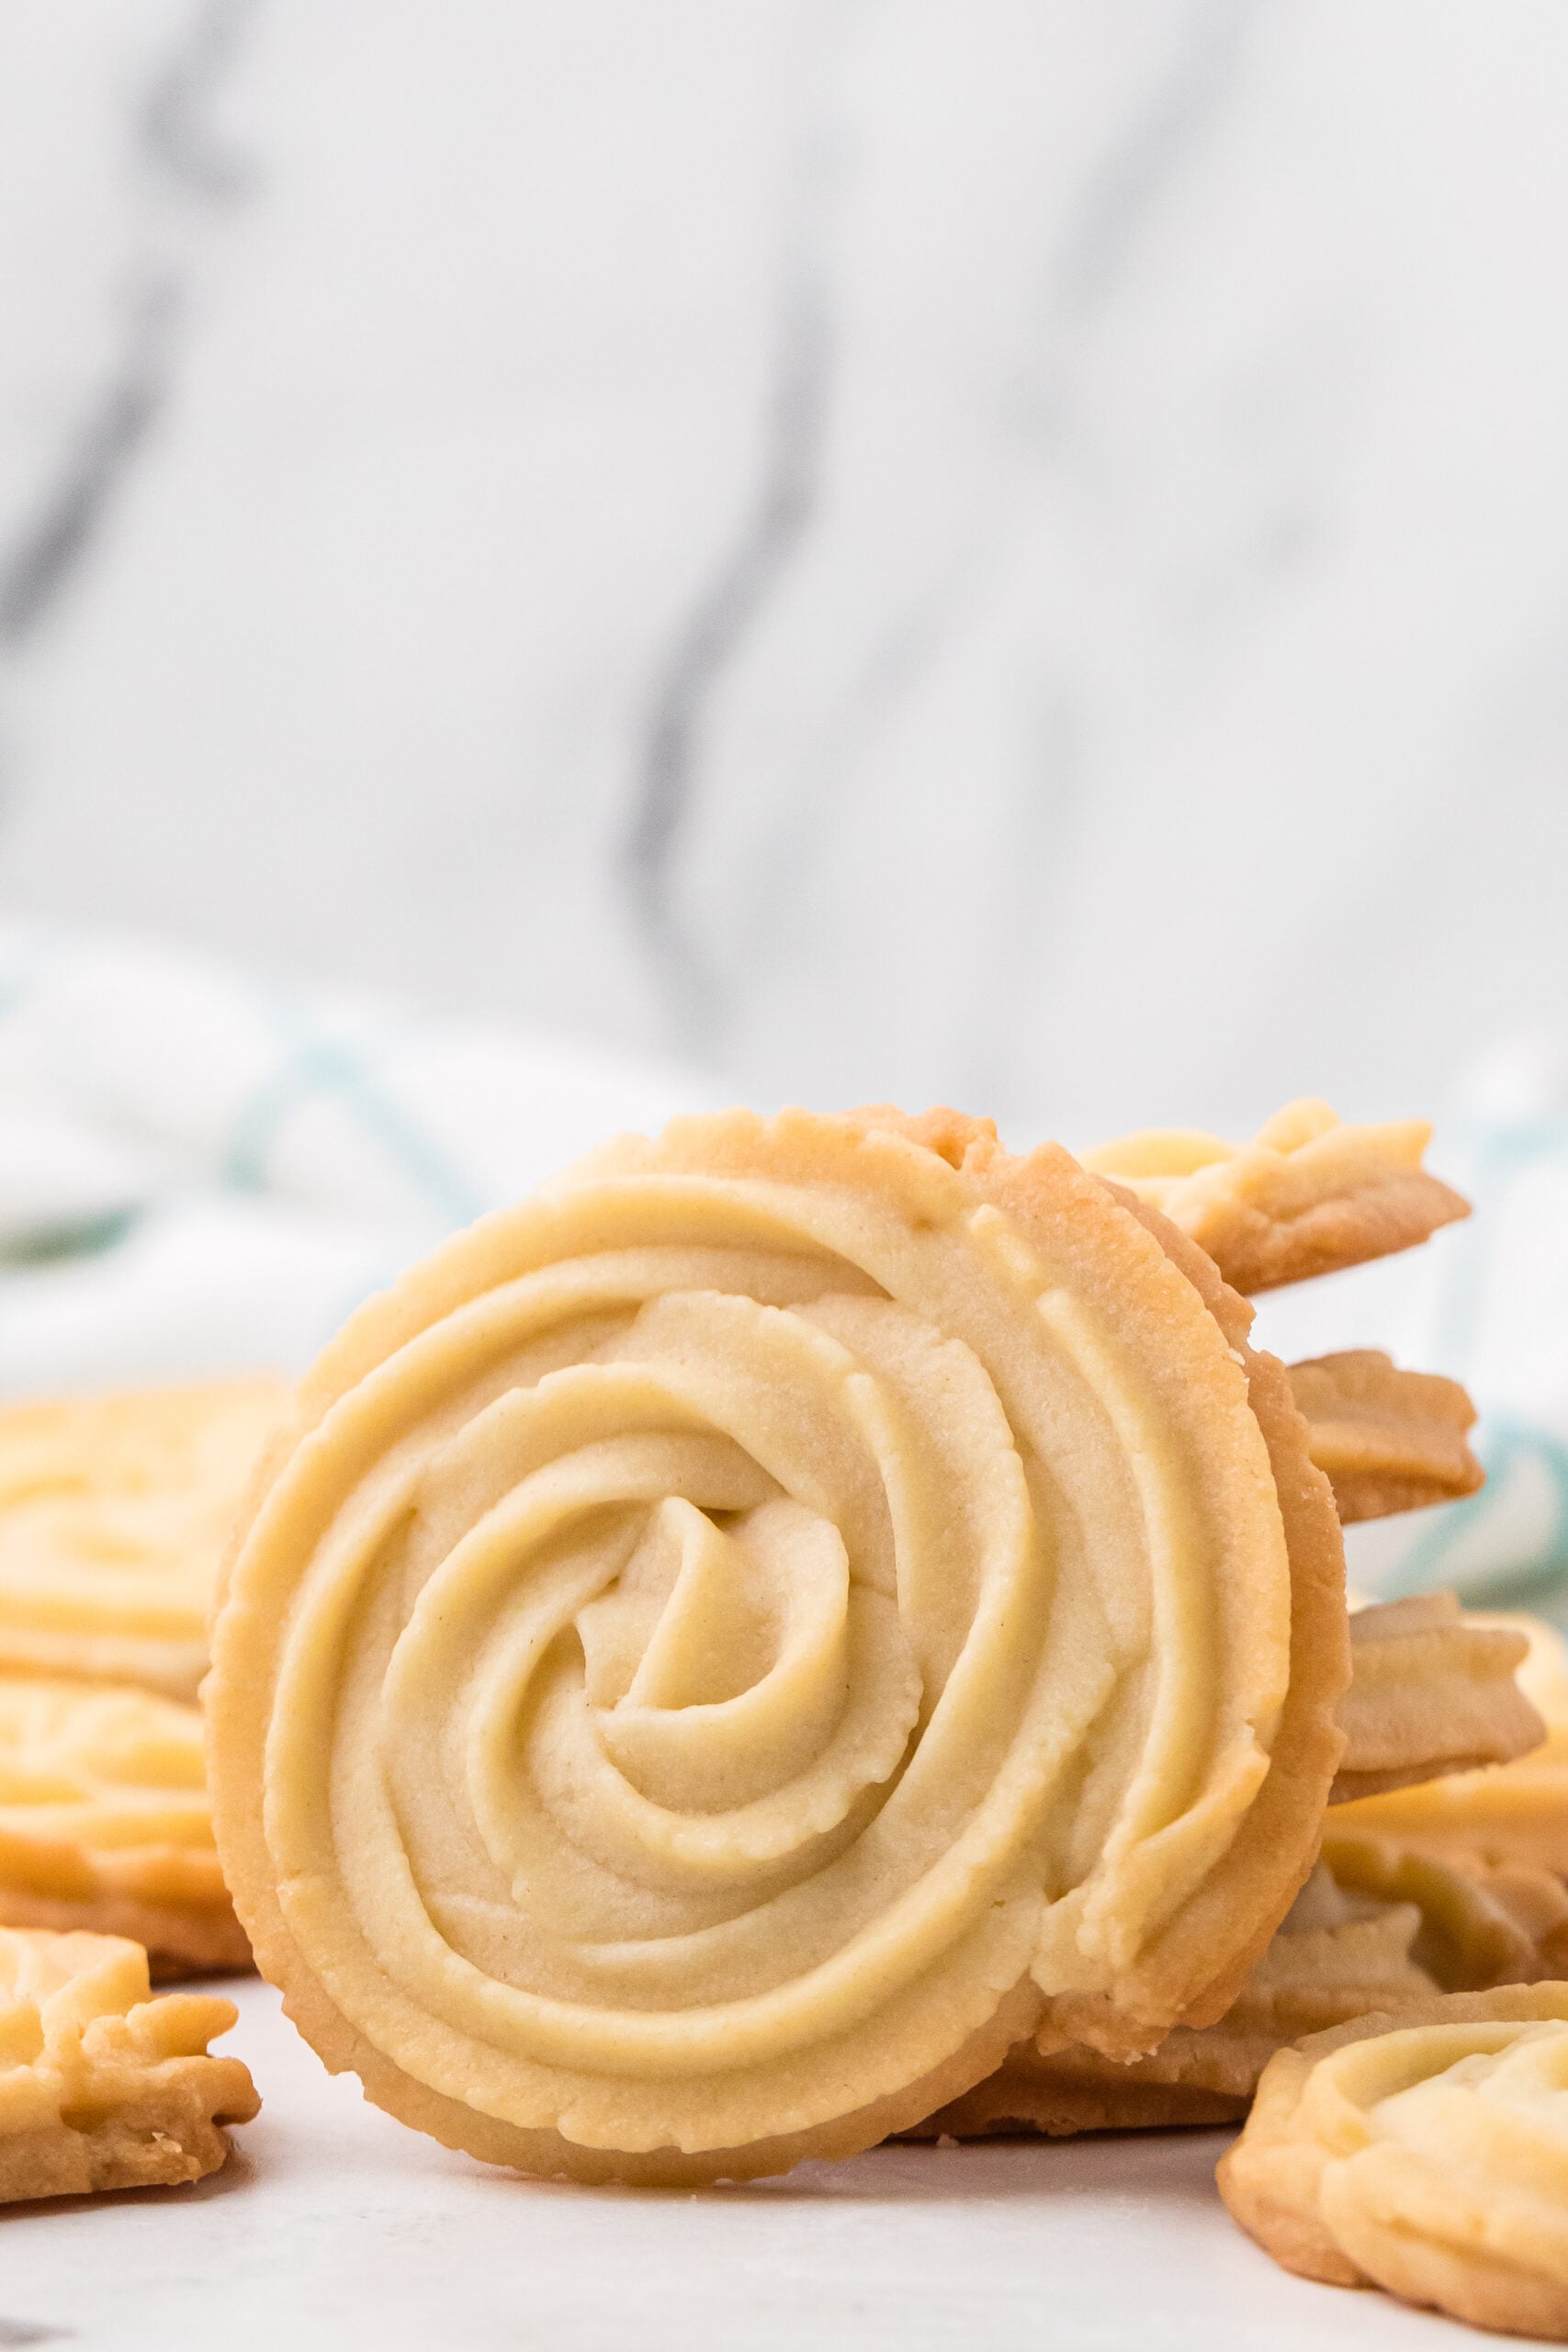
- Colorful Presentation: Pipe them into swirls, stars, or wreath shapes for a fun and festive look.
- Great with Others: Pair them with gingerbread cookies, chocolate crinkles, peanut butter blossoms, or candy cane cookies to round out a holiday cookie tray.
These cookies are the unsung heroes of the season—easy enough to whip up last-minute, but beautiful and buttery enough to impress even the pickiest guests.
What Makes 3-Ingredient Cookies So Unique Compared to Traditional Butter Cookies?
Most butter cookie recipes call for a whole list of ingredients—eggs, leaveners, multiple sugars, flavorings, and sometimes even cornstarch. But these 3-Ingredient Butter Cookies prove you don’t need all that to make something unforgettable. The magic of this recipe is its minimalism: three simple pantry staples blend together to create a cookie that tastes like something you’d grab at a European bakery.
Traditional butter cookies have a slightly more complex structure thanks to eggs and leavening, which make them airier and softer. These, on the other hand, stay dense, rich, crumbly, and melt-in-your-mouth tender. They’re closer to a classic shortbread—but sweeter, softer, and easier to shape and decorate.
And honestly? There’s something so satisfying about being able to say, “Yep, these have only three ingredients,” while watching people go back for a fourth cookie.
The Science Behind Only Three Ingredients
It feels almost wrong that something so delicious comes from such a tiny ingredient list—but the science makes perfect sense:
Butter (Fat + Flavor + Tenderness)
Butter is doing most of the heavy lifting here. It provides structure, richness, moisture, and that soft, tender crumb everyone loves. When it heats up, it releases steam, which gives the cookies their slightly airy, delicate texture.
Sugar (Sweetness + Caramelization + Crisp Edges)
Sugar doesn’t just sweeten—it melts into the butter, creating spread and crispiness. It caramelizes in the oven, giving the cookies that golden edge and warm, buttery aroma.
Flour (Structure + Stability)
Flour holds everything together. With no leaveners or eggs, the gluten bonds form just enough structure to keep these cookies intact while still allowing them to remain soft and crumbly.
Put those three together and you get the trinity of simple baking: fat + sweetener + structure. That’s literally all you need for the perfect cookie.
How to Turn This Dough Into Endless Flavors
This is the kind of base recipe that begs to be customized. Think of it as your butter cookie “starter kit.” With just a few pantry staples, you can change the entire flavor profile instantly:
Extracts
- Almond extract for a bakery-style cookie
- Lemon or orange extract for a citrus twist
- Maple extract for a warm, cozy fall vibe
- Coconut extract for something tropical
Dry Add-Ins
- Cocoa powder for chocolate butter cookies
- Instant espresso powder for coffee lovers
- Cinnamon, nutmeg, cardamom for holiday spice
- Crushed freeze-dried fruit for bright pops of flavor
Mix-Ins
- Mini chocolate chips
- Chopped nuts
- Rainbow sprinkles
- Crushed peppermint
Flavor Boosters
- Roll the dough in cinnamon sugar
- Sprinkle with flaky sea salt
- Dip half in melted chocolate
- Add a jam center for thumbprint cookies
The base dough can become 10+ different cookie flavors with hardly any effort. This one recipe can literally fill an entire cookie box.
Budget Breakdown
Here’s an approximate breakdown based on average U.S. grocery prices:
- Butter (2 sticks): $2.00
- Powdered sugar (½ cup): $0.30
- All-purpose flour (2 cups): $0.40
Total Cost for 24 Cookies: About $2.70
Cost per Cookie: Around $0.11
Affordable and elegant? Yes, please.
FAQ
Can I double the recipe?
Absolutely! Just double all the ingredients. Use a stand mixer if possible to make mixing easier with the larger quantity.
Can I use granulated sugar instead of powdered sugar?
Not recommended. Powdered sugar gives these their soft, tender texture. Granulated sugar would change the texture entirely.
Do I need to chill the dough?
Chilling is optional. If your dough is soft and sticky, chilling for 15–30 minutes helps hold the shape better.
Can I freeze the dough?
Yes. Wrap tightly in plastic and foil, and freeze for up to 2 months. Thaw in the fridge before baking.
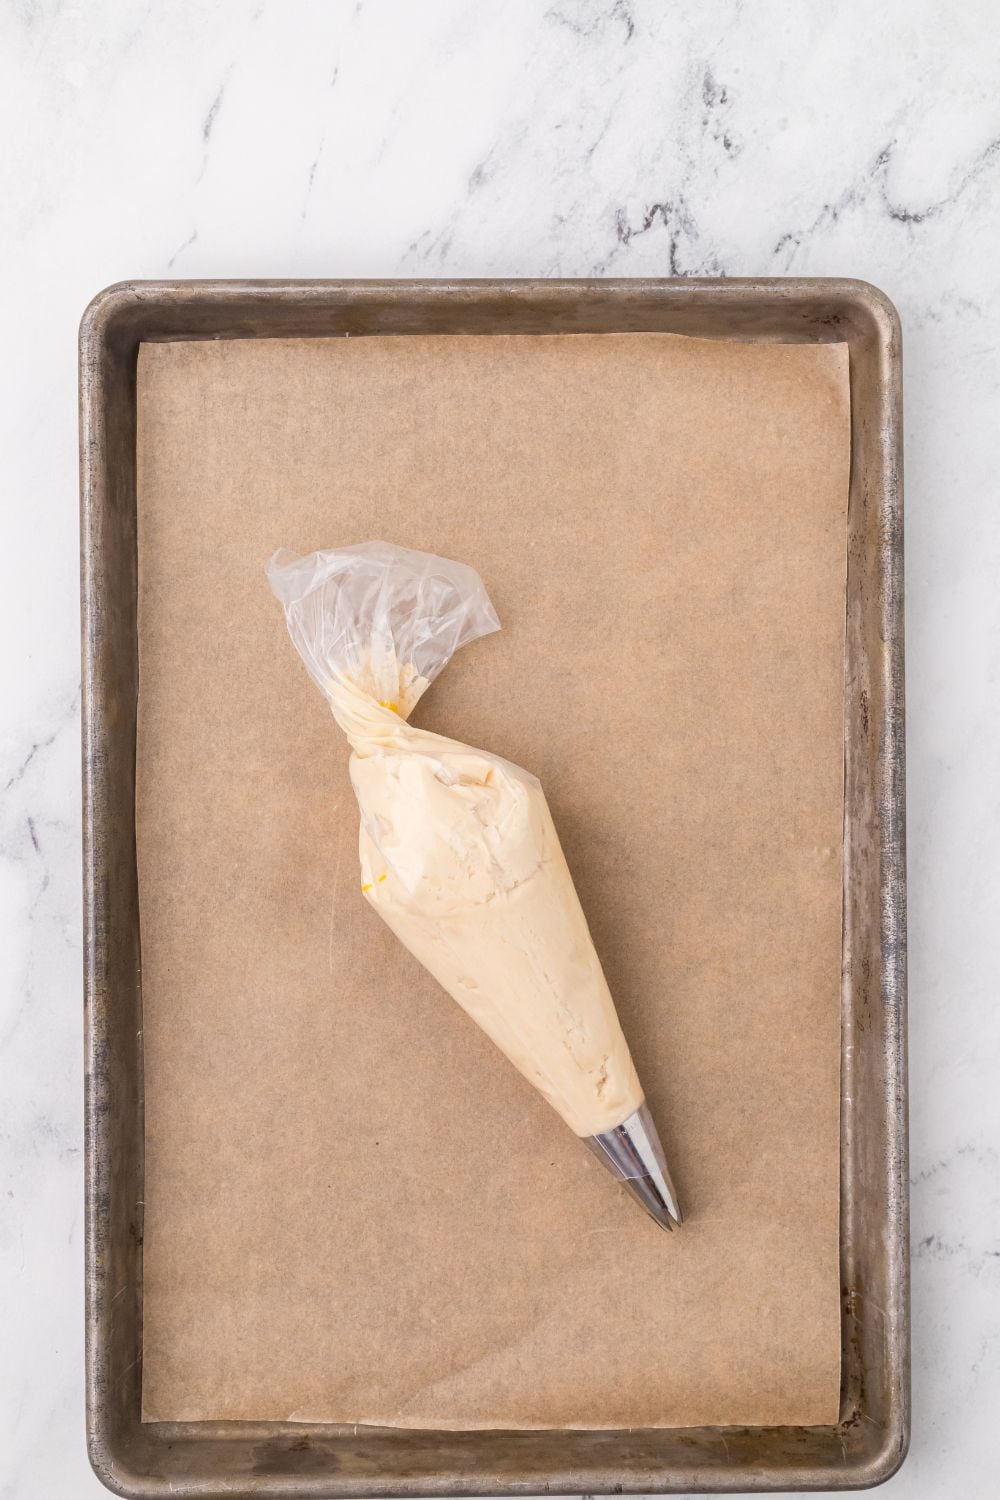
How do I pipe the dough easily?
Use a strong piping bag and a large open tip (like Wilton 1M). If the dough is too thick, let it soften slightly or massage the bag.
Do these taste like shortbread?
Yes! They’re very similar to shortbread but softer and lighter thanks to the powdered sugar.
What’s the best way to store them?
Room temp in a sealed container for up to 5 days. They’re also great for gifting and mailing!
Can I add extract for flavor?
Yes—vanilla, almond, lemon, or even peppermint extracts all work beautifully. Start with ¼ to ½ tsp.
Can I make them gluten-free?
Use a 1:1 gluten-free flour blend, like Cup4Cup or King Arthur Measure for Measure. The texture may be slightly different but still delicious.
Beginner-Friendly Baking: Why Anyone Can Make These
Even if you’ve never baked a batch of cookies in your life, this recipe is a guaranteed success. Here’s why:
No chilling, no mixer, no special equipment
Everything mixes in one bowl with a spoon. No fancy tools. No complicated steps.
Forgiving dough
Because the ingredient list is so simple, there’s very little that can go wrong. Overmixing won’t ruin them. Underbaking just keeps them soft. Overbaking makes them crisp and buttery.
Perfect for kids
If your little ones love helping in the kitchen, this is the recipe to start with. No eggs (safer for sampling!), no sticky messes, and they get to roll the dough into little balls.
Consistent results
Every batch comes out tasting exactly the same—melty, buttery, simple, and perfect.
Confidence-building
This is the kind of recipe that makes new bakers feel like pros. Once you master these, you’ll want to try a dozen more cookie recipes because you’ll realize baking doesn’t have to be intimidating.

Final Thoughts
Sometimes, the best recipes really are the simplest. These 3 Ingredient Melt in Your Mouth Butter Cookies prove that you don’t need a long ingredient list or fancy equipment to make something truly special. I love how they bring a little calm to the chaos of mom life—especially when my daughter Ariya is dancing in the kitchen and Cameron is babbling next to me in his high chair. 💛
They’re timeless, easy, and perfect for sharing. I hope they become a staple in your home too.
Popular Cookie Recipes
Butter Cookies
Ingredients
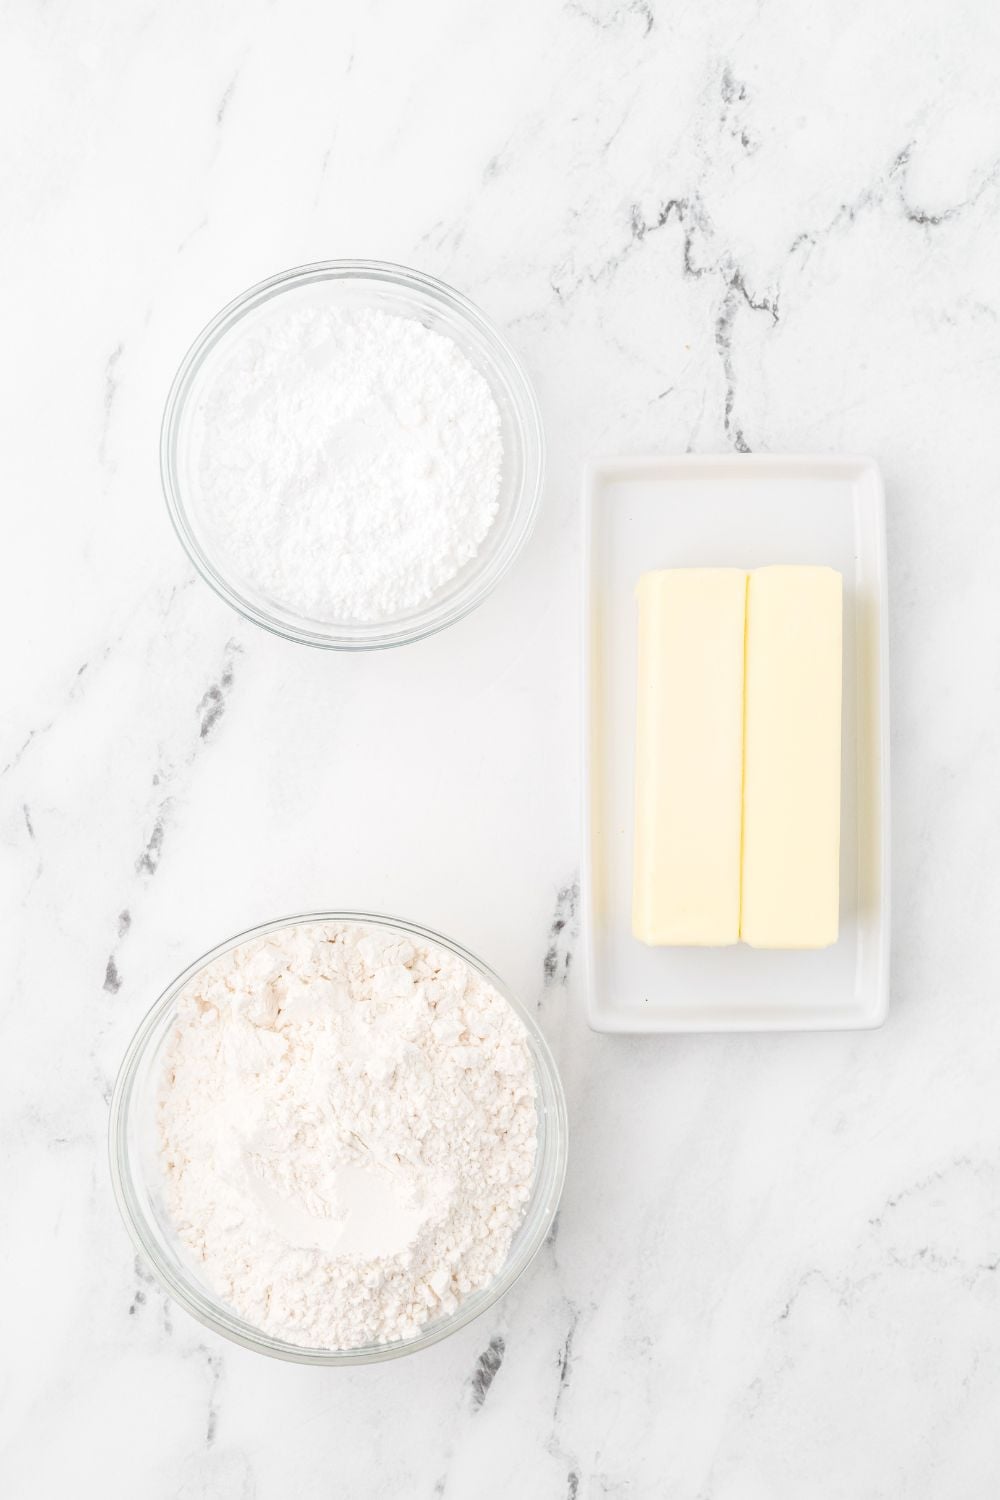
- 1 cup 2 sticks unsalted butter, softened
- 1/2 cup powdered sugar
- 2 cups all-purpose flour
Instructions
- Preheat the oven to 350°F (175°C). Line a baking sheet with parchment paper. Set aside.
- In a large mixing bowl, beat the softened butter and powdered sugar together using a hand mixer or stand mixer on medium speed. Mix for about 2-3 minutes, or until the mixture is light, creamy, and fluffy. Scrape down the sides of the bowl as needed.
- Gradually add the flour, about 1⁄2 cup at a time, mixing on low speed until fully combined. The dough may appear crumbly at first, but it should come together as you mix. If necessary, use your hands to gently knead the dough until it reaches a soft, pliable consistency.
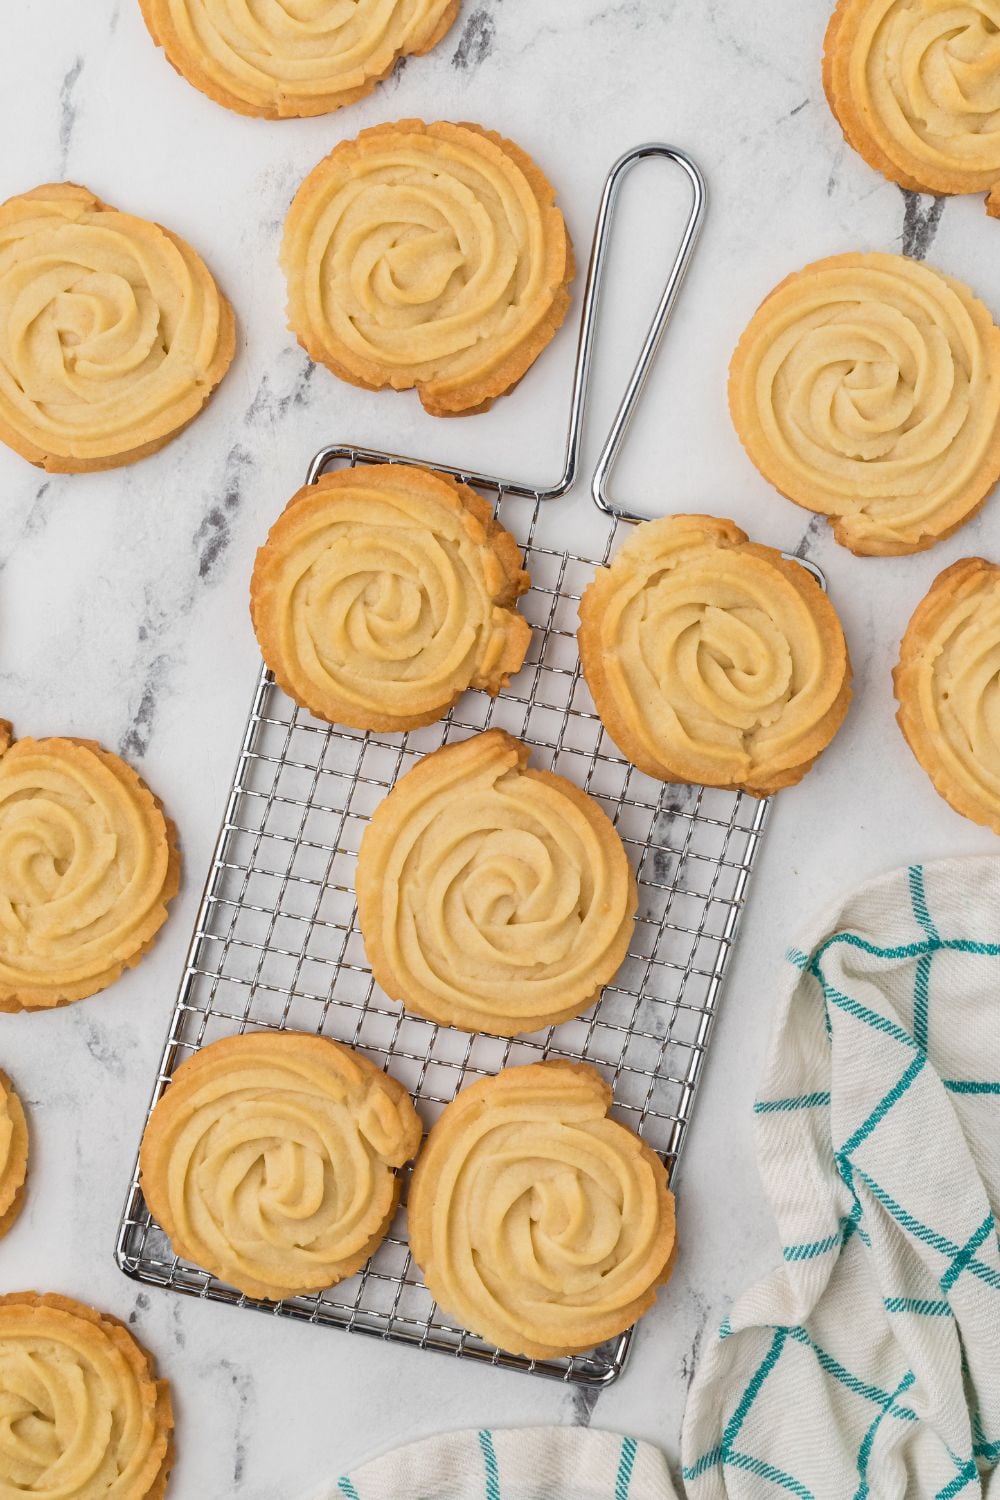
You have options for making the cookies:
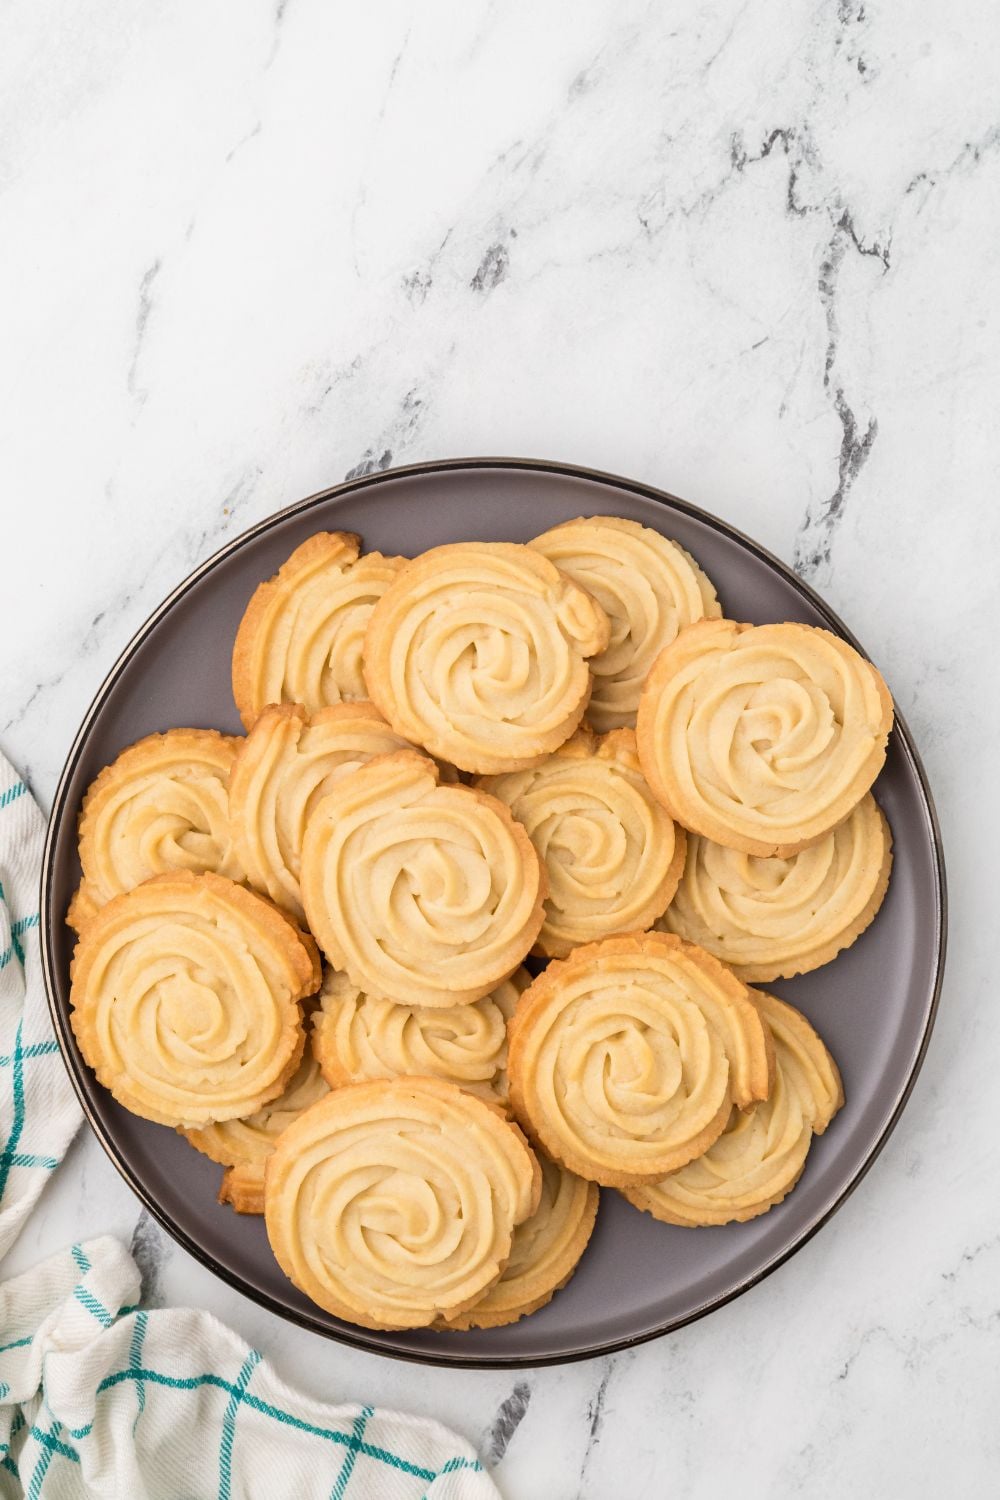
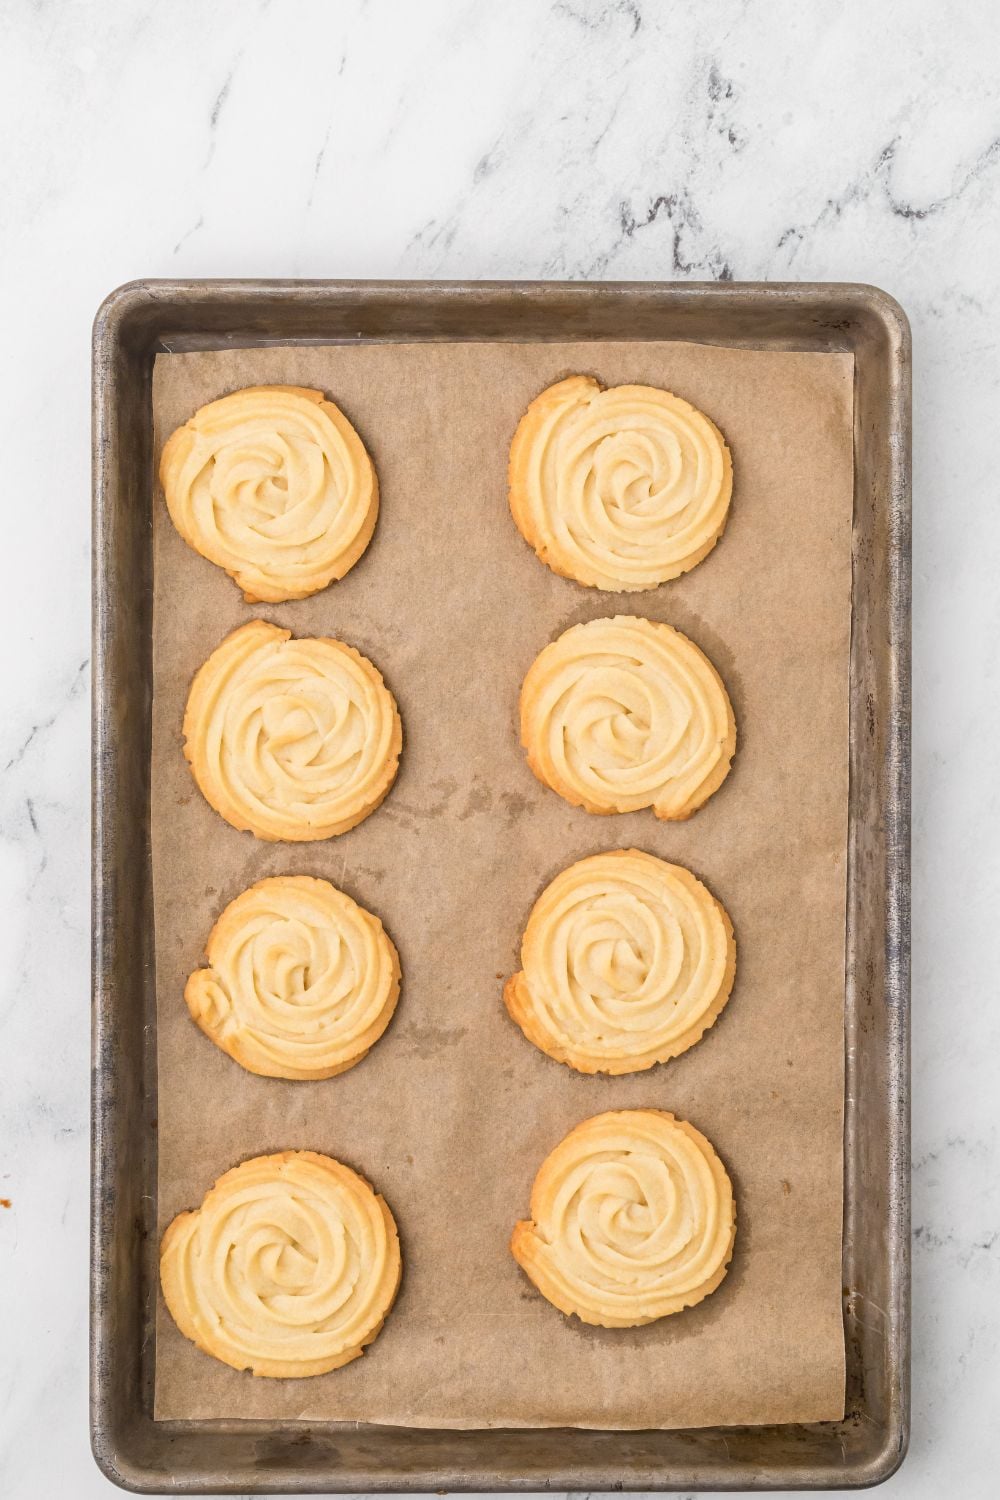
- For piped cookies: Put the dough into a piping bag fitted with a large open star tip. Pipe swirls or rosettes directly onto the prepared baking sheet, leaving about 1 inch of space between cookies.
- For simple round cookies: Scoop out a tablespoon-sized portion of the dough and roll into small balls. Place them on the baking sheet and flatten each slightly with a fork or the bottom of a glass.
- Bake the cookies in the preheated oven for 12-15 minutes, or until the edges are just starting to turn golden. Avoid overbaking; the cookies should remain pale and tender.
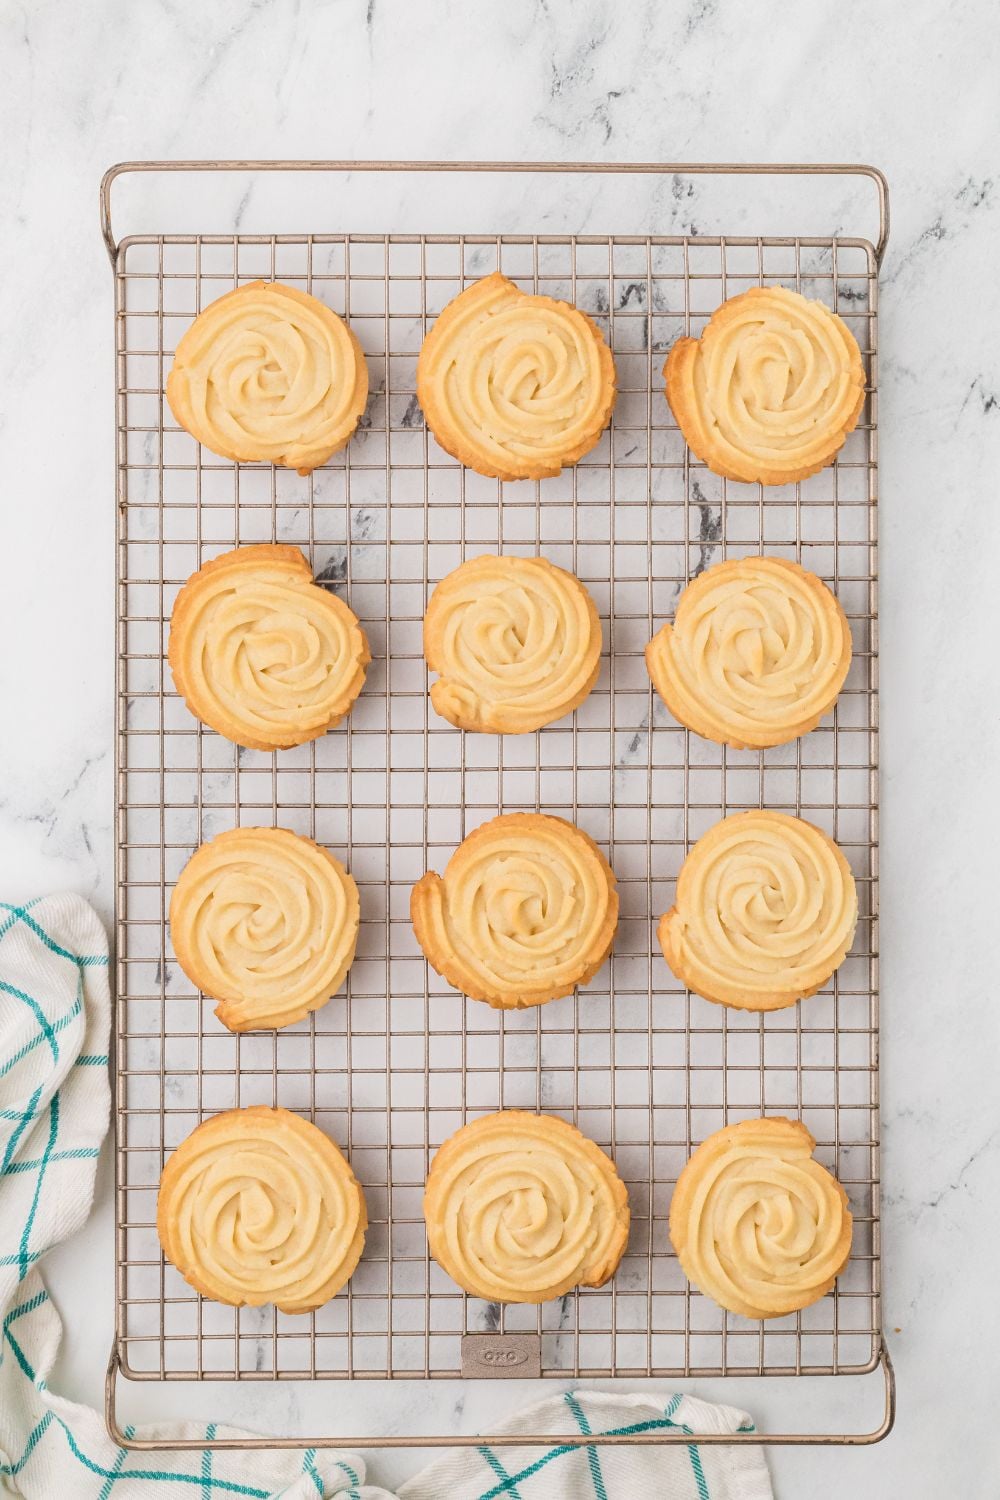
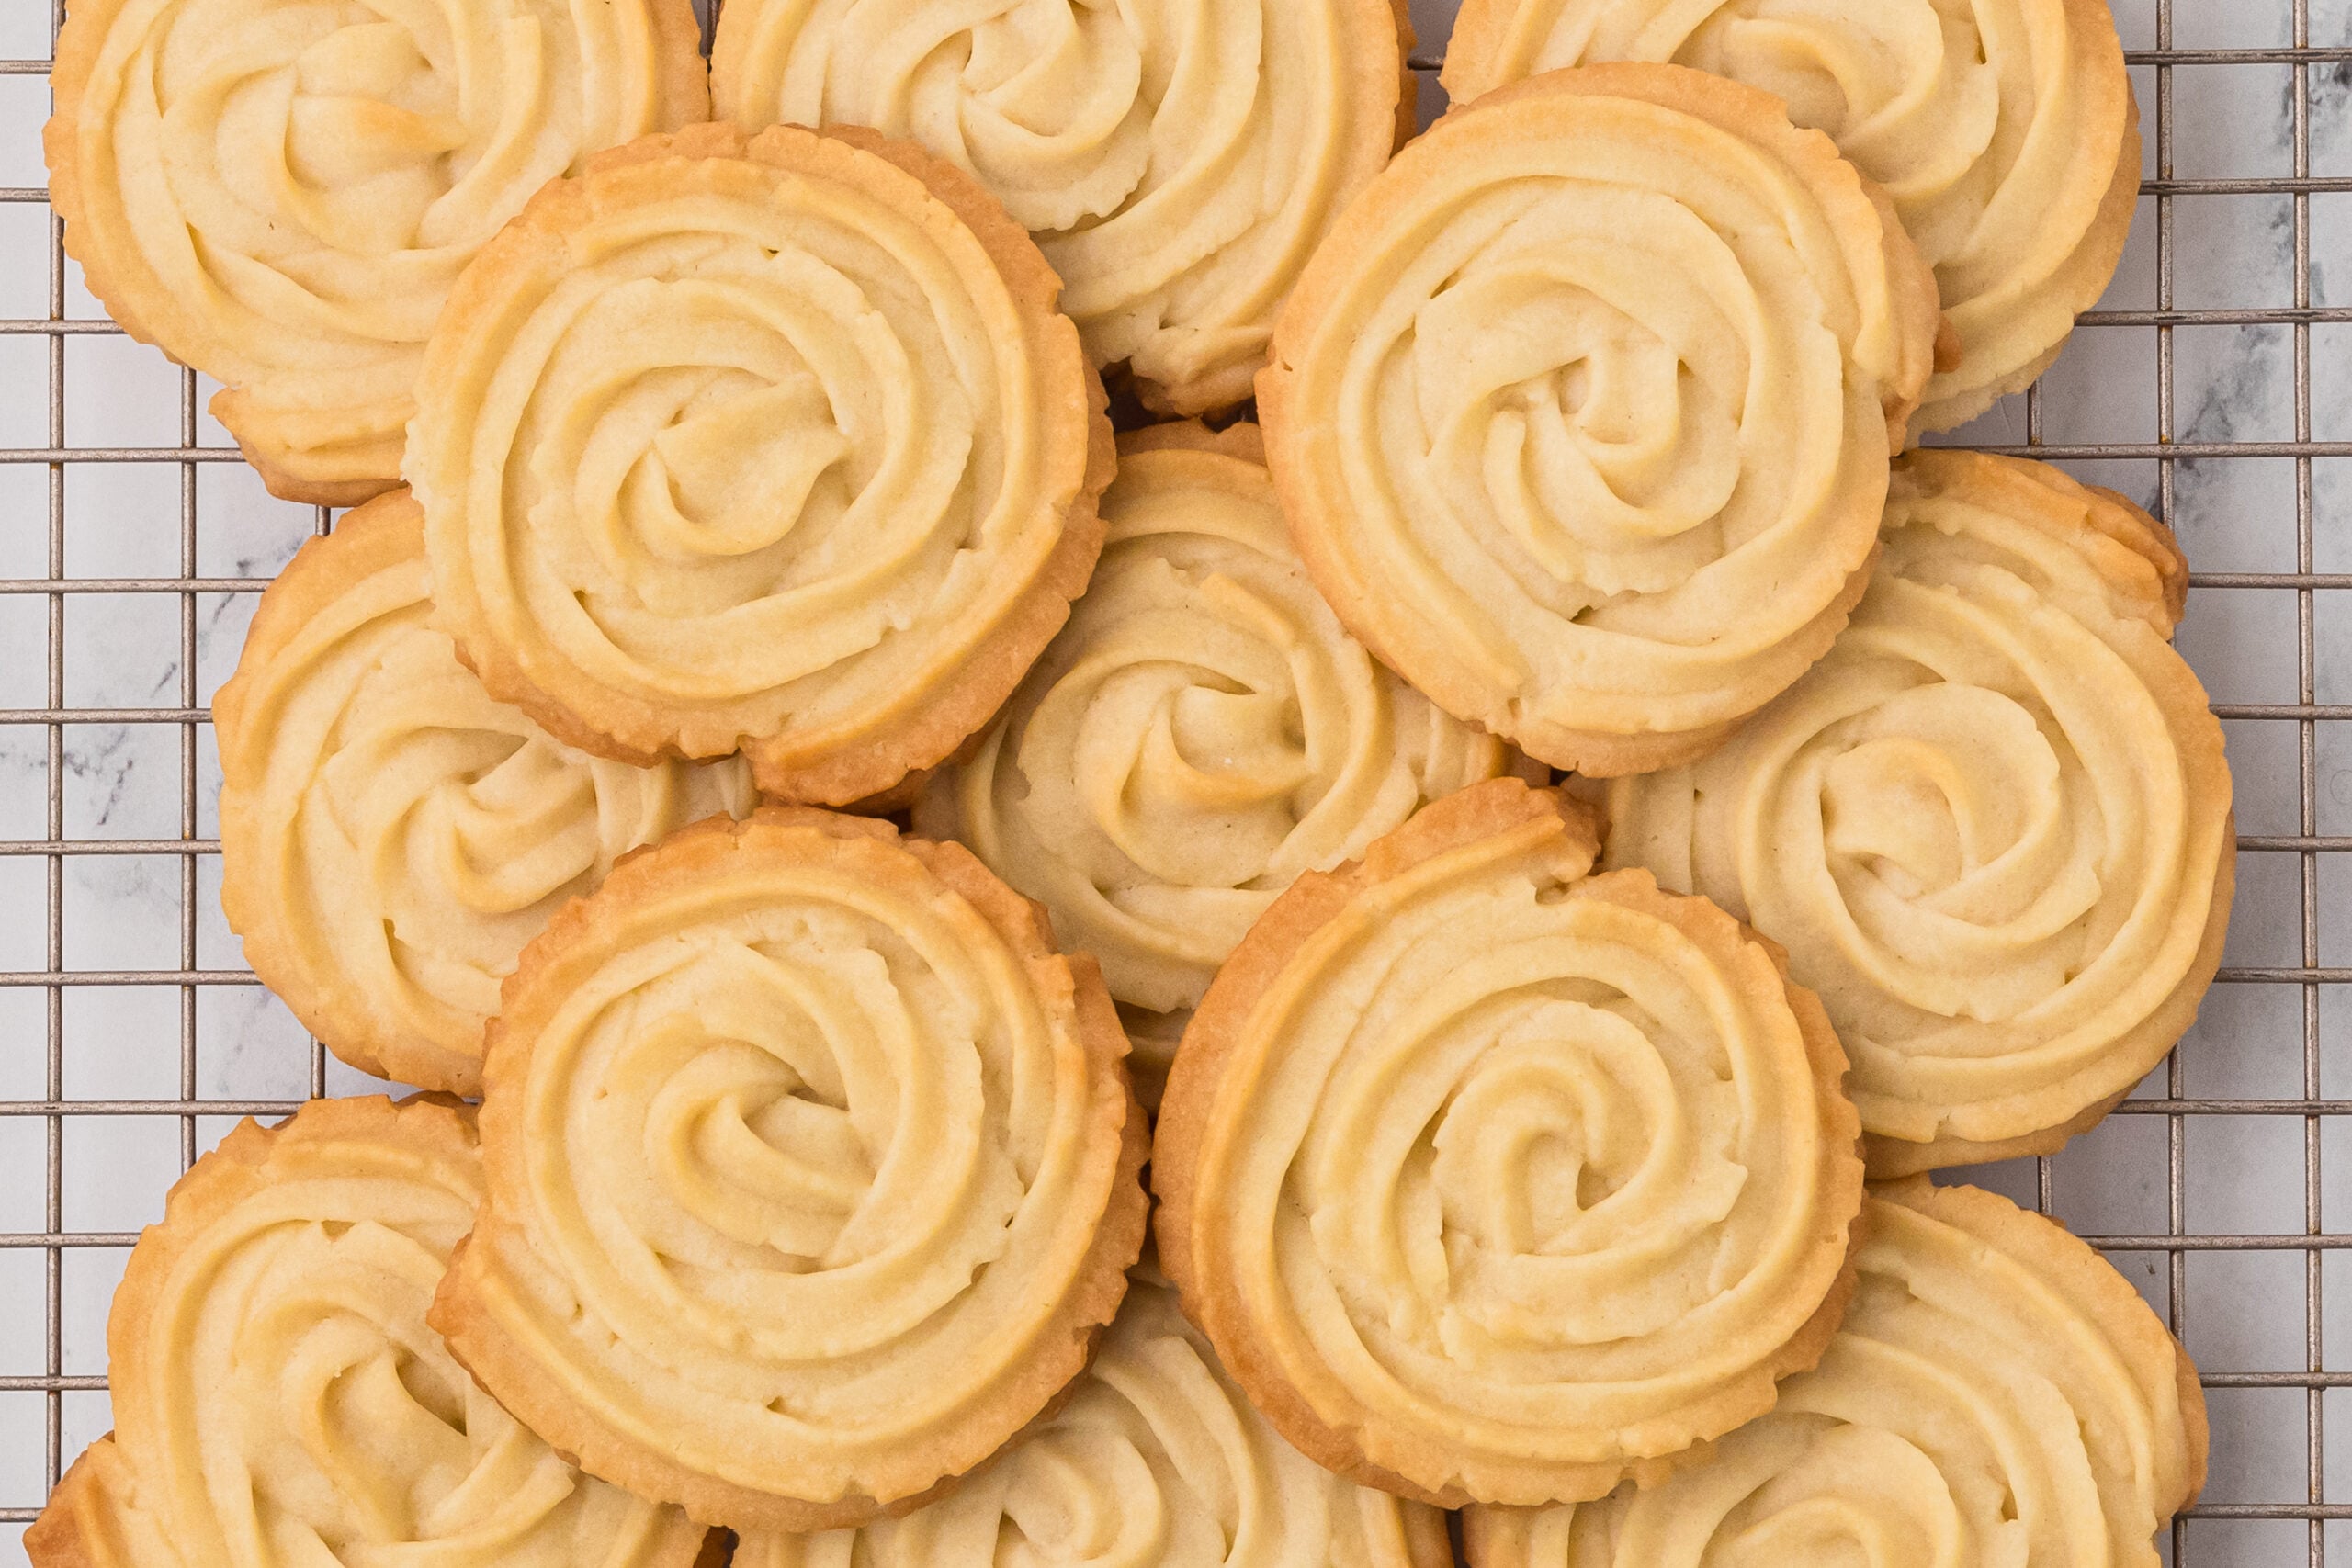
- Remove the cookies from the oven and let them cool on a baking sheet for 5 minutes, then transfer to a wire rack to cool completely.
Did you make this recipe?
Make sure to follow on Pinterest for more recipes!

Comments & Reviews
Lucy Booth-Jay says
I have not made these yet, I just finished copying the recipe. But I want to compliment you on how beautifully you laid out the whole thing (Are you a baking instructor, by any chance?) it is so impressive that you cover all the extraneous bits! lol even how to gift them, what to serve them with, how to make them attractive on a tray of other cookies. how/why the basic ingredients work, add-ons to try, storage and freezer options and trouble-shooting! I even made my hubby come in and see how you had covered so much info that anyone could do the recipe confidently and learn a lot in the process. So I was not surprised when I came near the end where you spoke of kids baking for the first time etc. Kudos to you for an excellent presentation, I’m always impressed when people ‘go the extra distance’ but I’ve never been so impressed with a recipe and I will enjoy exploring your other offerings! Thanks so much for a great read and time well spent. I’ll be making these later today 😉