There’s something undeniably special about Homemade Baklava. That golden, flaky crunch. The sweet, sticky syrup. The rich, nutty filling. It’s the kind of dessert that instantly impresses—both in taste and presentation. This Old Fashioned Baklava brings that traditional magic into your own kitchen with layers of buttery filo dough, cinnamon-kissed walnuts, and a luscious honey-lemon syrup that soaks right into every bite.
Baklava is insanely delicious with layers of flaky sweetness and crunchy nuts, then drizzled with Honey! Its a tried and true Greek favorite that makes everyone think you are a master chef ! This is a fabulous recipe. The phyllo/filo dough for this recipe can be easily found in the freezer section of almost any supermarket.

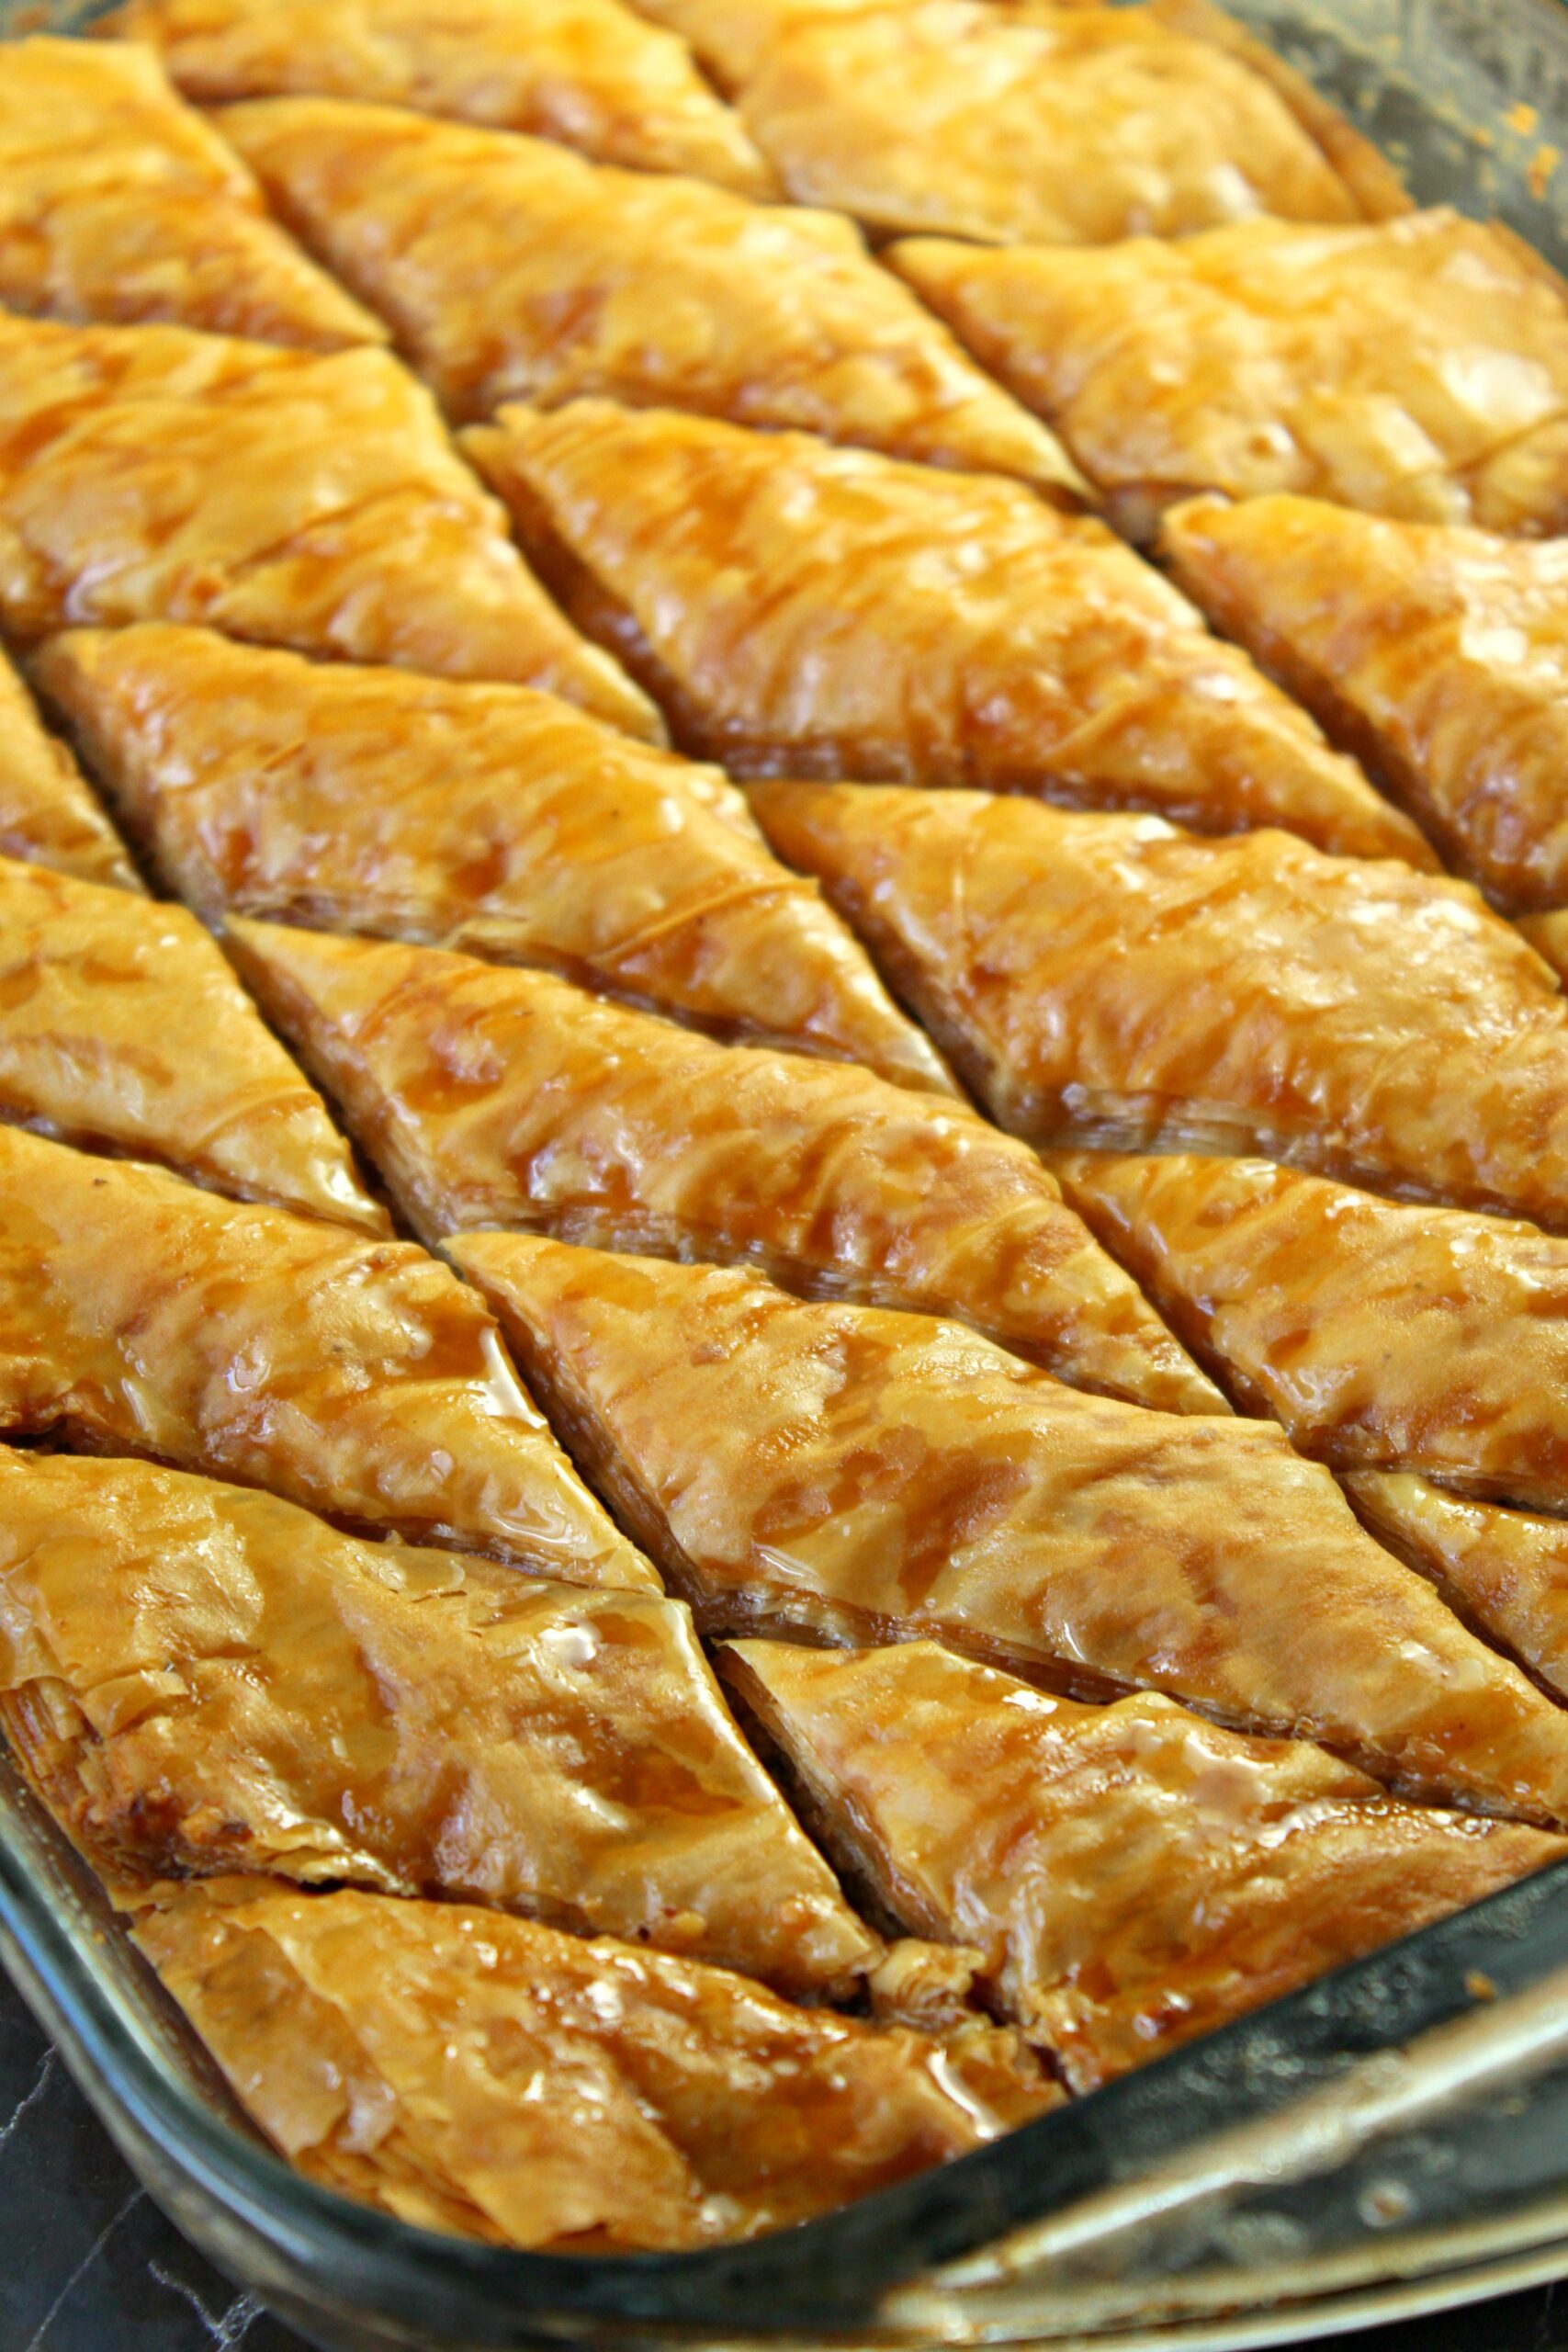
Baklava is a rich, sweet dessert pastry made of layers of filo filled with chopped nuts and sweetened and held together with pure honey. It is very popular in Greek culture!
I grew up watching my mom carefully stack those delicate sheets of dough, brushing each one with melted butter like it was a work of art. She’d stand at the stove, stirring the syrup with the patience only a seasoned baker could master. And the payoff? That unmistakable aroma that filled the house and the sticky fingers we all looked forward to.

Baklava is usually prepared in a large baking pan with numerous layers of filo dough, separated with melted butter, then layers of chopped nuts, typically walnuts or pistachios, but almonds could also be used.
This version is simple and timeless, perfect for holidays, potlucks, or anytime you want to wow a crowd with an authentic, made-from-scratch treat. It’s one of those desserts that gets even better the next day (if it lasts that long!). Whether you’re already a baklava lover or trying it for the first time, this recipe will guide you every flaky, buttery step of the way.

My husbands family is all from Greece, so this is a staple at any holiday gathering or even for an amazing dessert that everyone loves! ‘
Frequently Asked Questions (FAQ)
Can I make baklava ahead of time?
Yes! Baklava is one of the best make-ahead desserts. In fact, it often tastes even better the next day once the syrup has fully soaked in. Just keep it covered at room temperature for up to 5 days, or refrigerate for slightly longer storage.
How should I store leftover baklava?
Store it in an airtight container at room temperature for 3–5 days. If your kitchen is humid or warm, you can refrigerate it, but keep in mind that refrigeration can make the layers less crisp. To refresh, place a piece in the oven at 300°F for a few minutes.
Can I freeze homemade baklava?
Absolutely. Baklava freezes well. Let it cool completely, then wrap tightly in plastic wrap and foil, or use an airtight container. Freeze for up to 3 months. Thaw overnight in the refrigerator and bring to room temperature before serving.
Do I need to use walnuts or can I try other nuts?
Walnuts are traditional, but you can absolutely mix in or substitute other nuts like pistachios, almonds, or pecans. A combination of walnuts and pistachios is especially flavorful!
What’s the best way to cut baklava?
Use a very sharp knife and make sure to cut all the way through the layers before baking. Cutting after baking can cause the delicate filo to crumble and flake apart. The classic diamond shape is traditional, but squares or triangles work too.
Why is my baklava soggy?
Usually, sogginess happens when the syrup is too hot and gets poured over hot baklava—or vice versa. One should be hot and the other completely cool. In this recipe, the baklava is hot out of the oven and the syrup is cooled, which helps it absorb properly without turning soggy.
Can I make this recipe without honey?
Honey adds signature flavor, but you can use more sugar or substitute with maple syrup or agave for a slightly different twist. Keep in mind this will slightly alter the taste and texture.
Is baklava difficult to make?
It looks fancy but isn’t as hard as it seems! The key is patience and a gentle hand when working with the delicate filo sheets. As long as you keep them covered with a damp towel and butter each layer, you’ll get those signature crispy, flaky layers every time.
Is baklava Greek or Middle Eastern?
Both! Baklava is beloved across many cultures including Greek, Turkish, Lebanese, and Persian cuisines. Each version has subtle differences—some use pistachios, others add rosewater or orange blossom. This recipe leans more Greek in style, with buttery filo, a lemony honey syrup, and chopped walnuts.

You will never buy store bought again if you’re a Baklava fan like I am- with a greek husband you learn to make it 😉
Tips for Working with Filo Dough (Without the Stress!)
If you’ve ever been intimidated by filo (or phyllo) dough, you’re not alone! It’s paper-thin and dries out quickly—but once you know how to handle it, it’s surprisingly simple. Here’s how to work with it like a pro:
-
Thaw It Properly: Always thaw filo in the refrigerator overnight, not on the counter. This helps prevent the sheets from sticking together or becoming gummy.
-
Keep It Covered: As soon as you unwrap the dough, place it under a slightly damp kitchen towel or paper towel. This prevents the edges from drying and cracking while you work.
-
Work Quickly But Gently: Filo is delicate but forgiving. If one sheet tears, just layer another on top—no one will notice once it’s baked.
-
Brush, Don’t Drench: Use a pastry brush to lightly coat each layer with melted butter. Too much butter can make it greasy or heavy, but too little can make it dry out.
Once you get the hang of it, working with filo becomes second nature—and totally worth it for the crisp, golden layers you’ll get in every bite of this old-fashioned baklava.

I always make it the night before I want to serve it- you don’t have to but for the best results , its recommended! At the very least, allow it to sit around 8-12 hours at room temperature so that the honey can really have the opportunity to soften the layers.

I usually make two when I make Baklava, I leave on with just the honey and another pan drizzled with melted chocolate and nuts. I use a basting brush to spread a very thin layer of butter between each phyllo/ filo sheet.
You only want to lightly brush on the butter, not saturate it. The more wrinkles the sheet has in it, the better. If it turns out soggy, it’s from too much butter, I promise! You want to always cut the Baklava before you bake it, use a sharp knife and cut to within a half inch FROM the bottom of the pan, so then when you pour the honey on top of the cooled Baklava it seeps into every layer and makes it pure perfection!

One of the awesome things about this dessert is how long it keeps- not refrigerated! Don’t refrigerate it because you want to keep its softness and only room temperature can do that.
It keeps for up to two weeks covered well, at room temp.

This is the ultimate best Baklava I’ve ever had! I make it for the holidays every year, christmas, thanksgiving and new years! It goes fast around this house! people request me to make it. LOL!
It’s definitely not the easiest dish to throw together , but WOW is it worth it.

–
Please remember to SHARE on Facebook and PIN IT!
FOLLOW ME ON PINTEREST BY CLICKING HERE <——

Old Fashioned Baklava
Ingredients
- 1 16 oz. package filo pastry dough, thawed
- 13 tbsp. melted unsalted butter divided
- 4 cups walnuts chopped finely
- 1 tsp. cinnamon
- 1 cup white sugar
- 2 tbsp. fresh lemon juice
- 3/4 cup water
- 1/2 cup pure honey
Instructions
- Trim filo pastry dough to 13 x 9 inches and cover with a damp towel.
- Grease a 13 x 9 inch baking dish with 1 tbsp. melted butter and set aside.
- Combine sugar, lemon juice, water, and honey in a medium saucepan over medium-high heat and bring to a boil, stirring to dissolve sugar.
- Reduce heat to medium-low and let simmer another 4 minutes without stirring.
- Remove pan from heat and let cool.
- Preheat oven to 325 degrees F.
- In a food processor, pulse walnuts until chopped finely.
- Combine chopped walnuts and cinnamon in a medium bowl and stir.
- Lay 10 filo sheets one at a time into the prepared baking dish, brushing each sheet with melted butter in between layers. Spread 3/4 cup of the walnut mixture onto the filo dough in an even layer.
- Lay another 5 sheets of filo dough over top of the walnut mixture, brushing with butter between layers, and top with another 3/4 cup of the walnut mixture.
- Repeat until walnut mixture is used up and top with 10 sheets of buttered filo dough.
- Brush the top layer with butter. Slice pastry into 1 1/2 inch strips and slice diagonally in both directions to create diamonds.
- Bake uncovered for 85 minutes (1 hour 25 minutes) until pastry is golden in color.
- Immediately after removing from the oven, drizzle with cooled honey syrup over the pastry in an even layer.
- Let cool completely and serve.
- ENJOY!
Did you make this recipe?
Make sure to follow on Pinterest for more recipes!

Leave A Reply!