Every fall, my kitchen turns into a cozy little bake shop — there’s pumpkin on the counter, cinnamon in the air, and usually a few cookie trays cooling somewhere near the window. These Pumpkin Meringues are one of those recipes that instantly make me think of Ariya’s giggles and Cameron watching curiously from his high chair as I pipe little orange “pumpkins.” They’re crisp, light-as-air, melt-in-your-mouth cookies that look like miniature pumpkins — perfect for Halloween parties, Thanksgiving dessert trays, or even teacher gifts. Best of all, they’re surprisingly easy to make and totally foolproof once you know the meringue basics.

What Are Pumpkin Meringues?
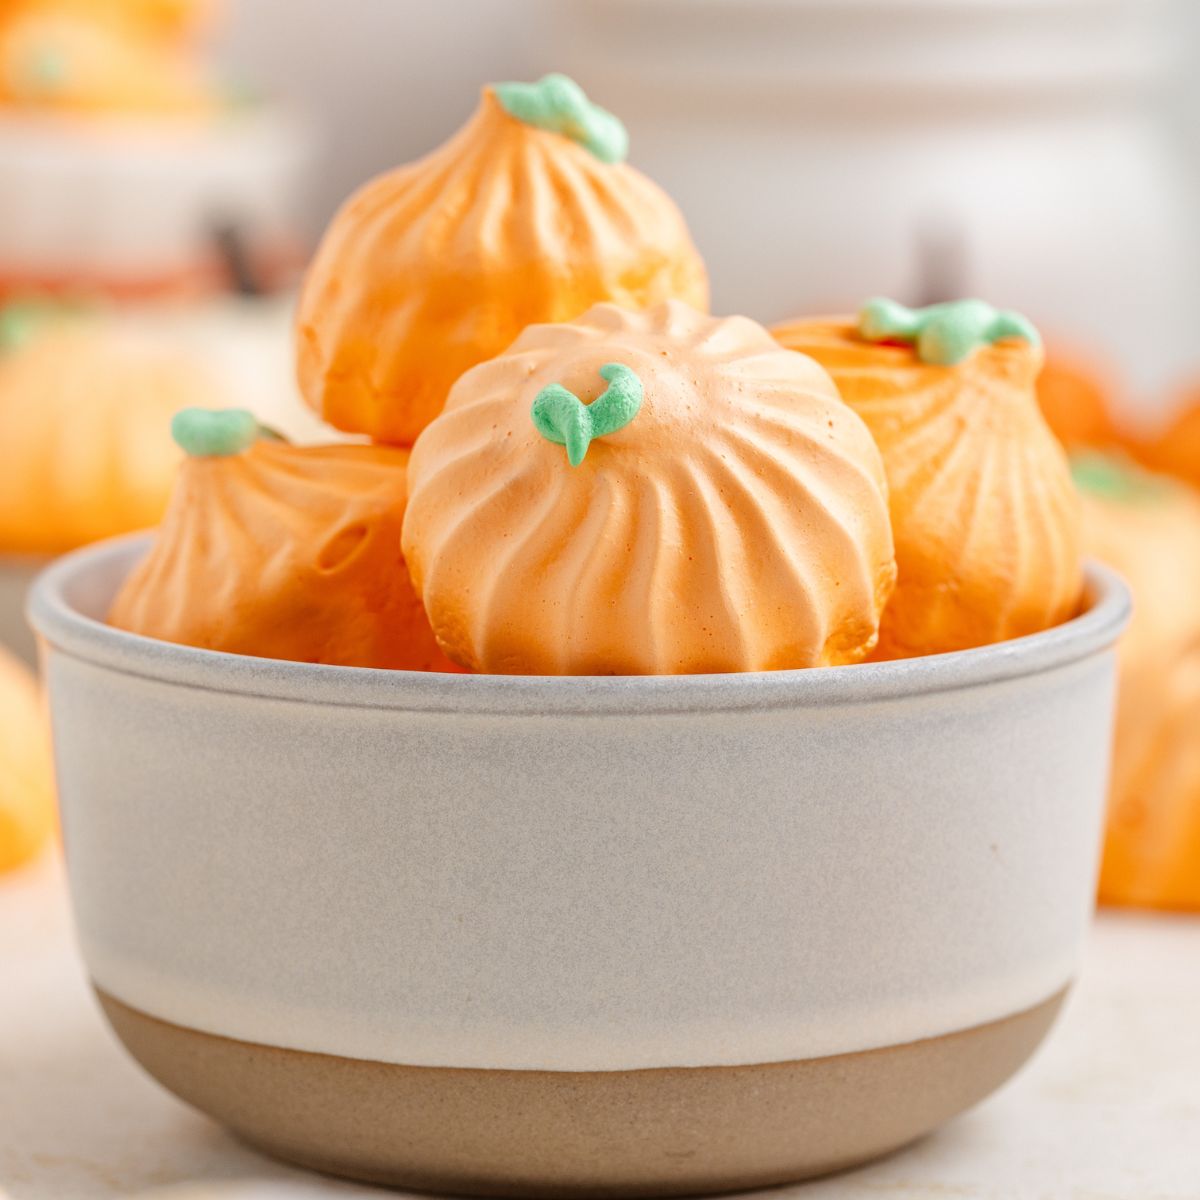
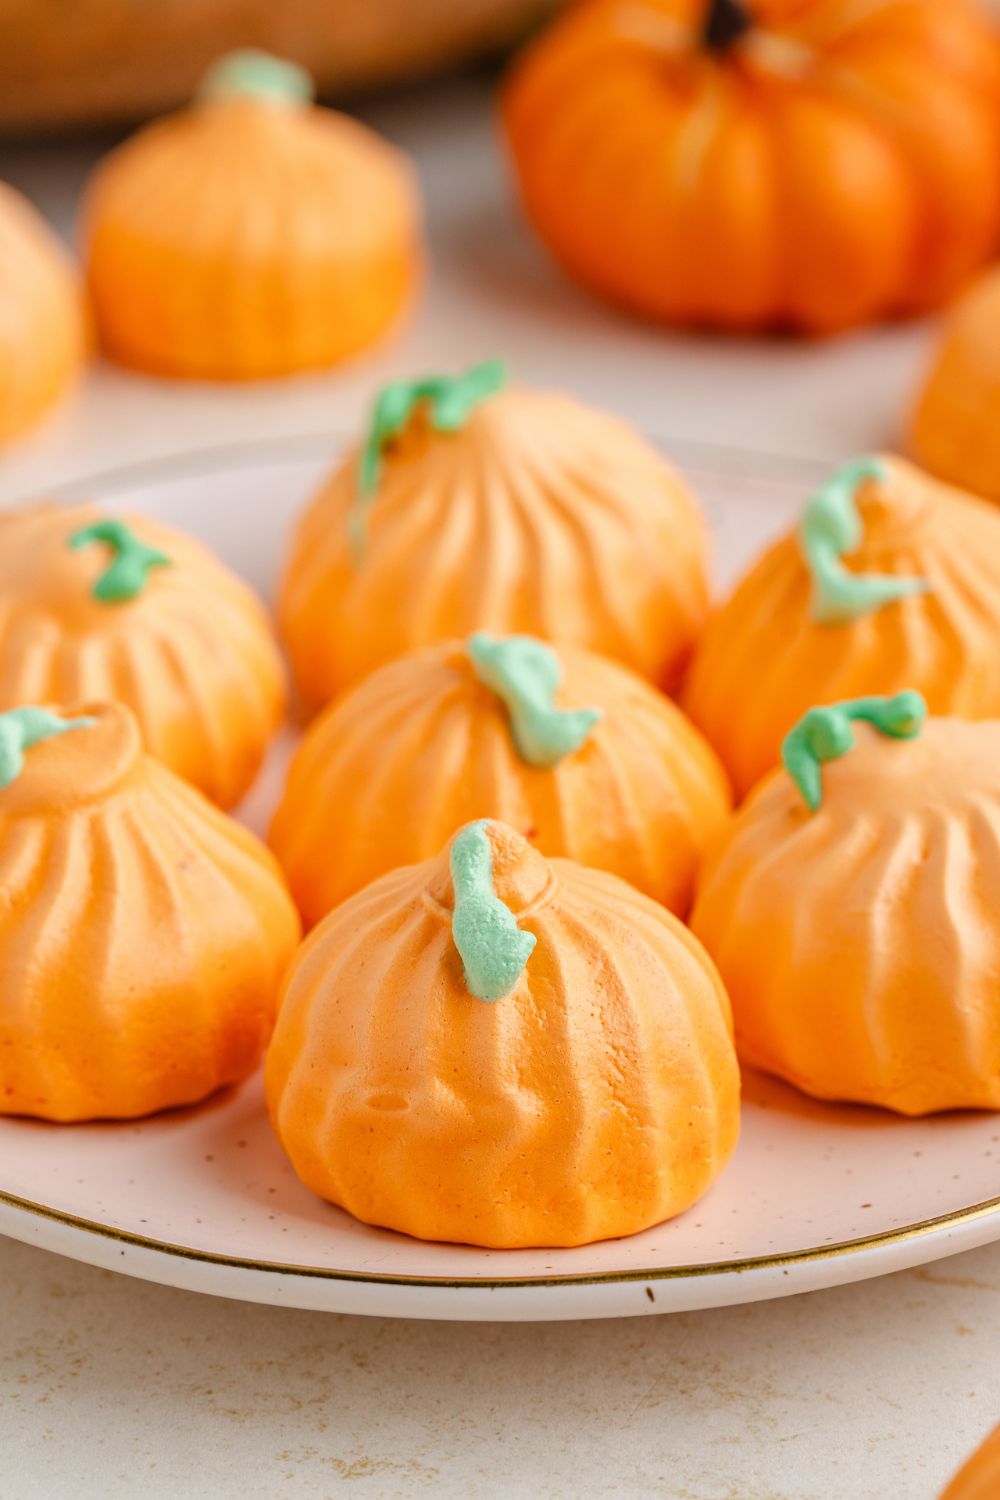
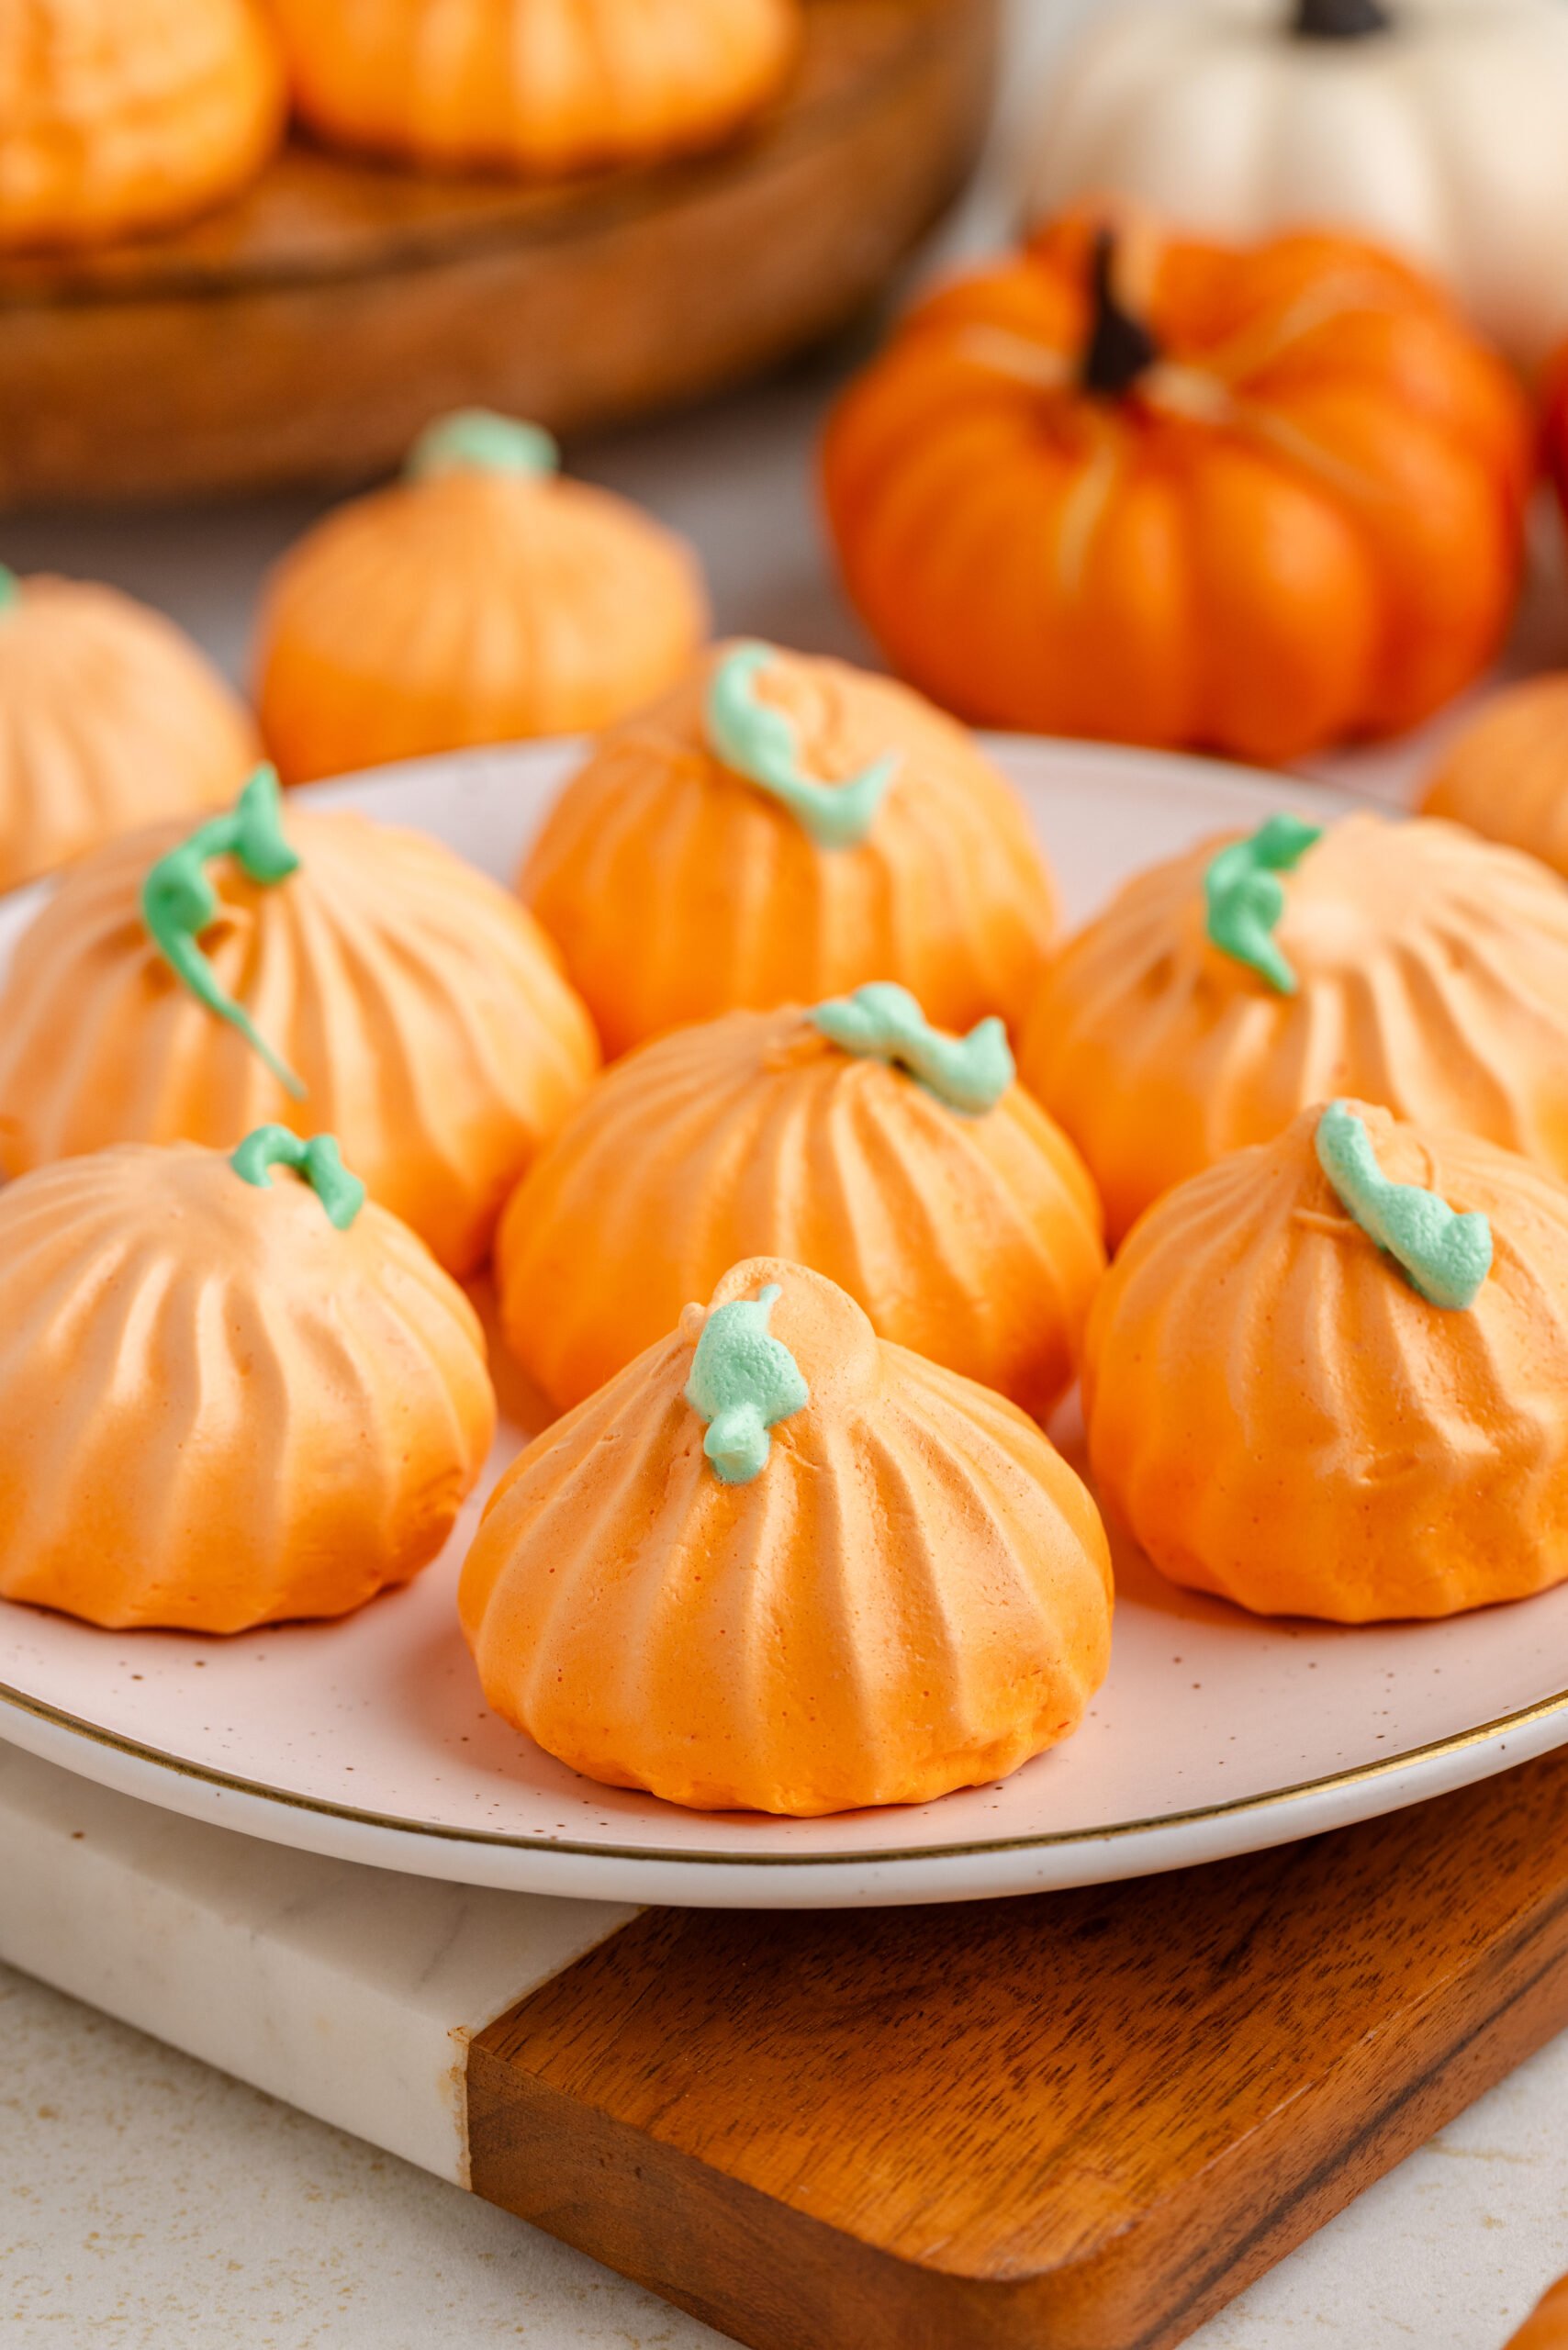
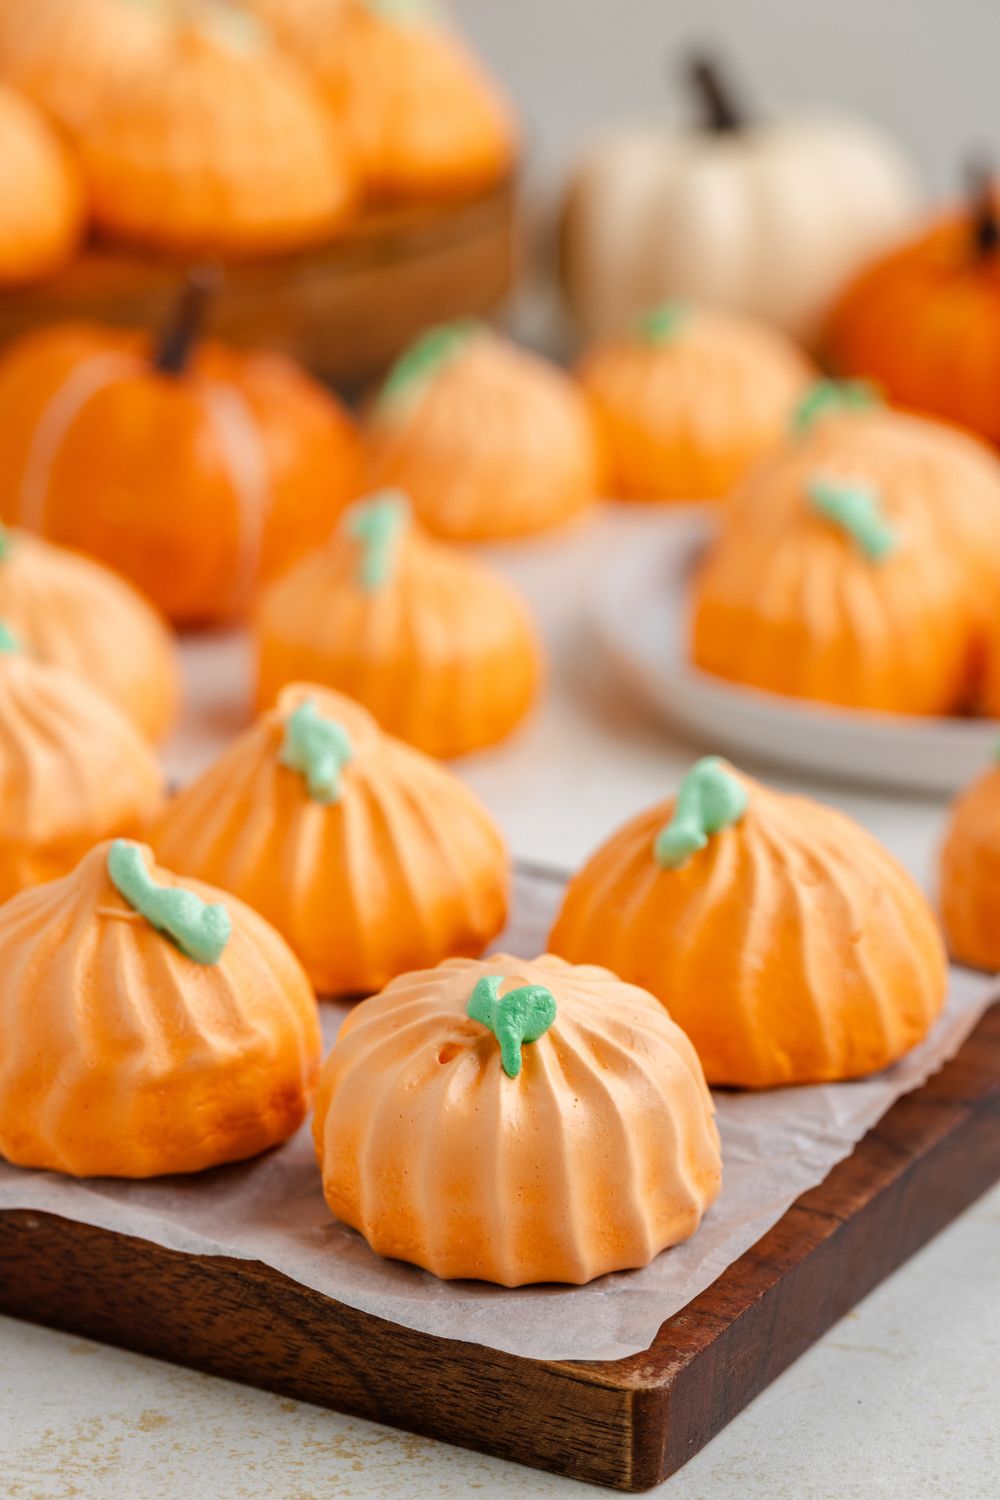
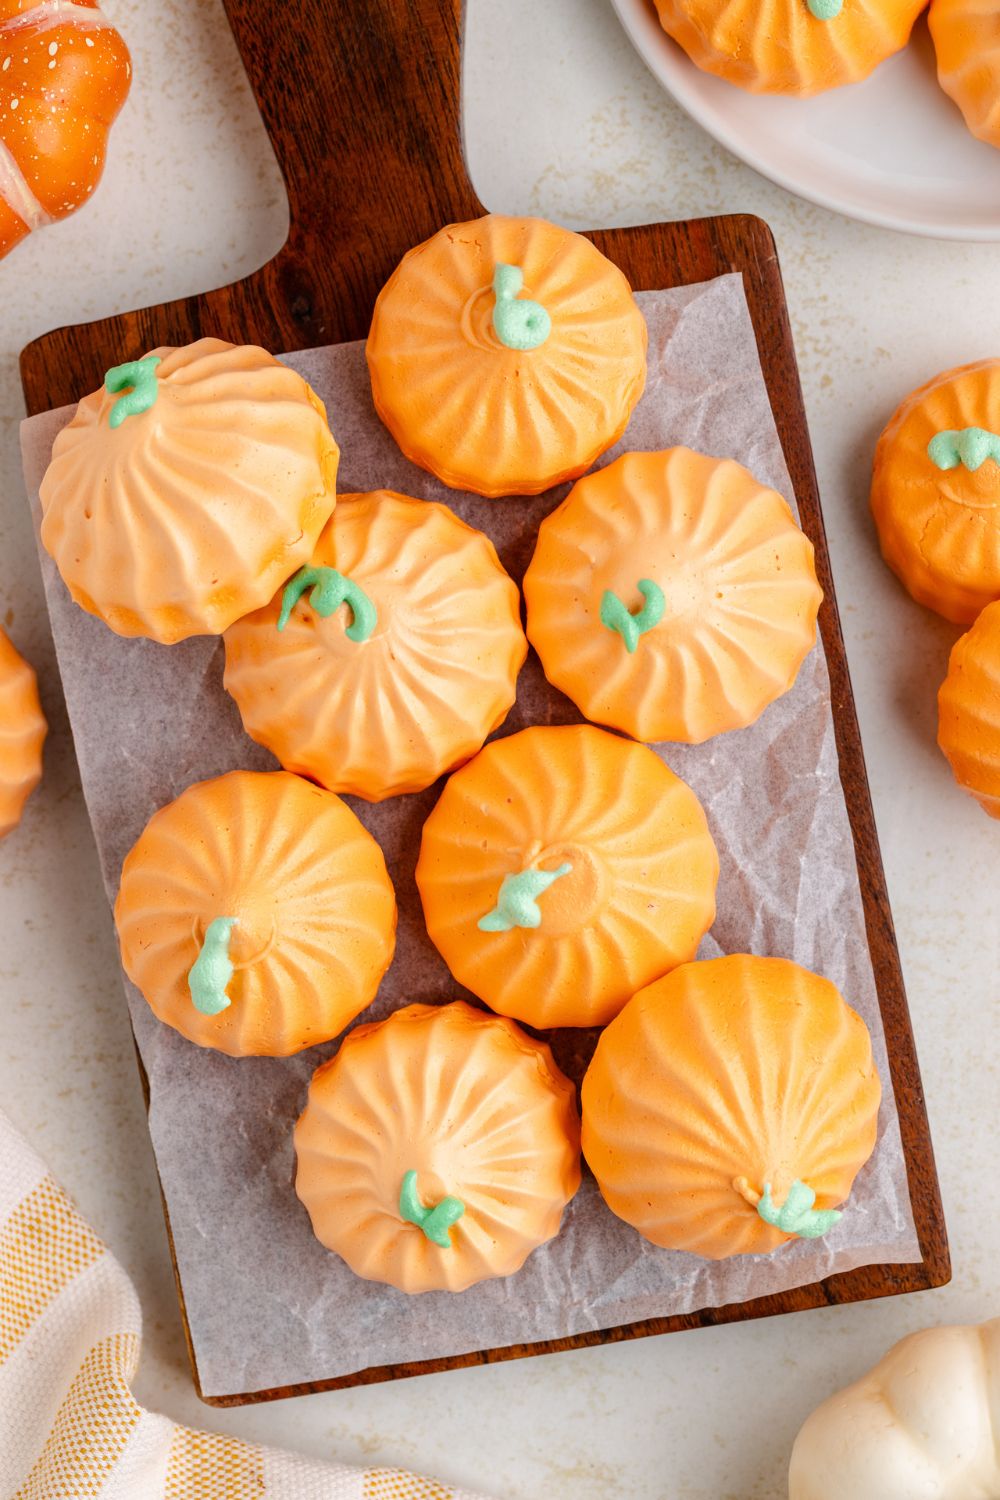
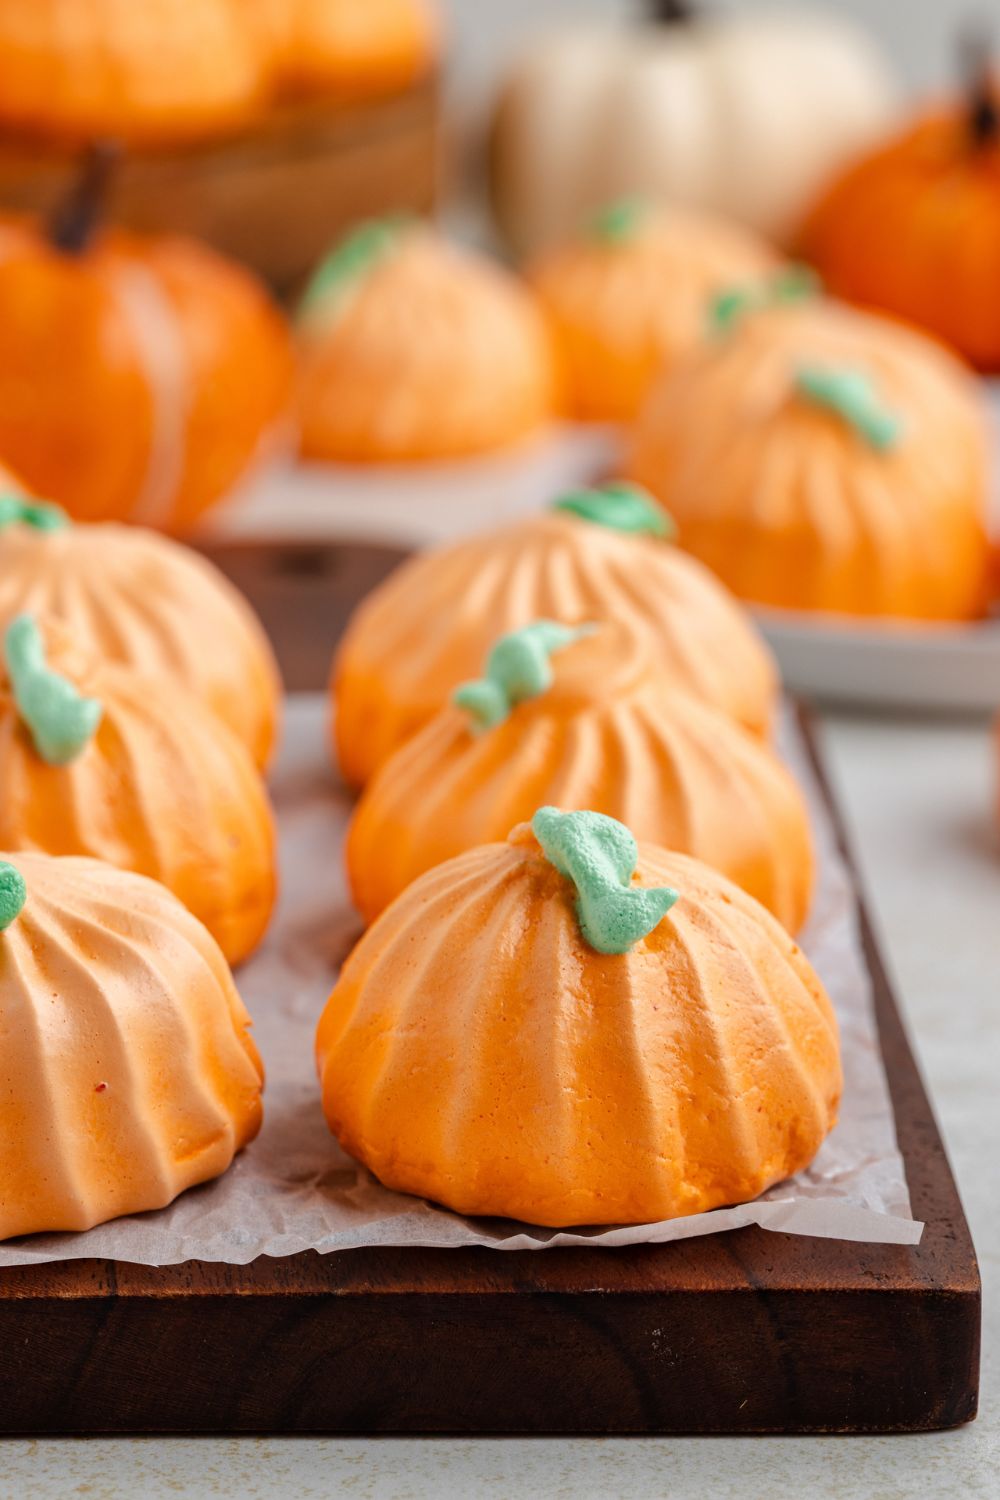
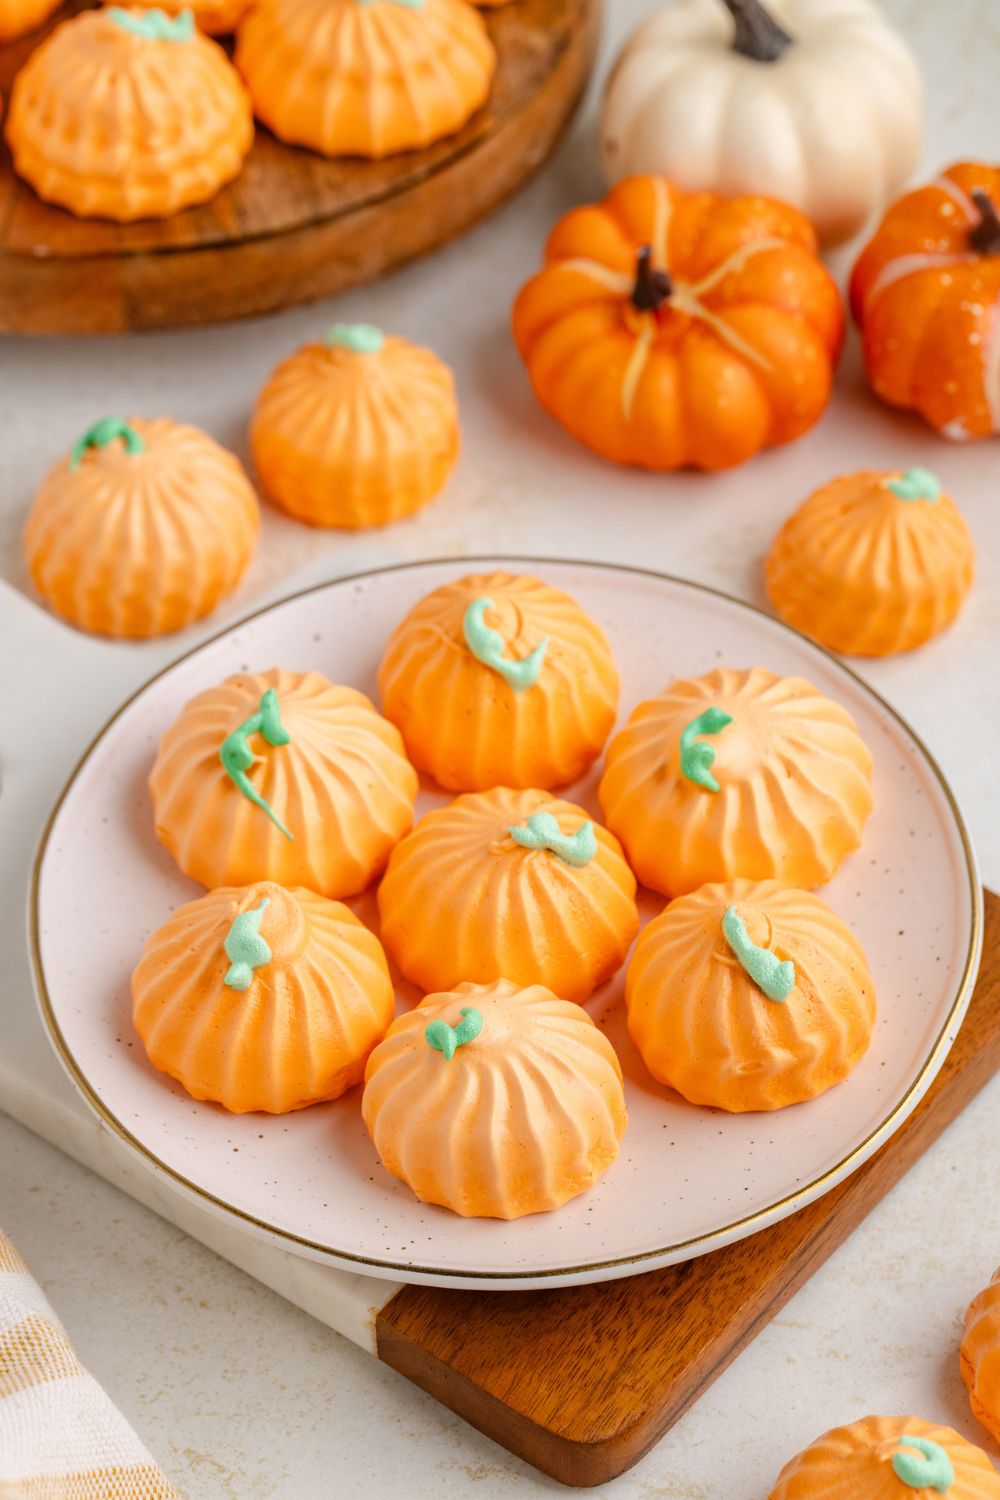
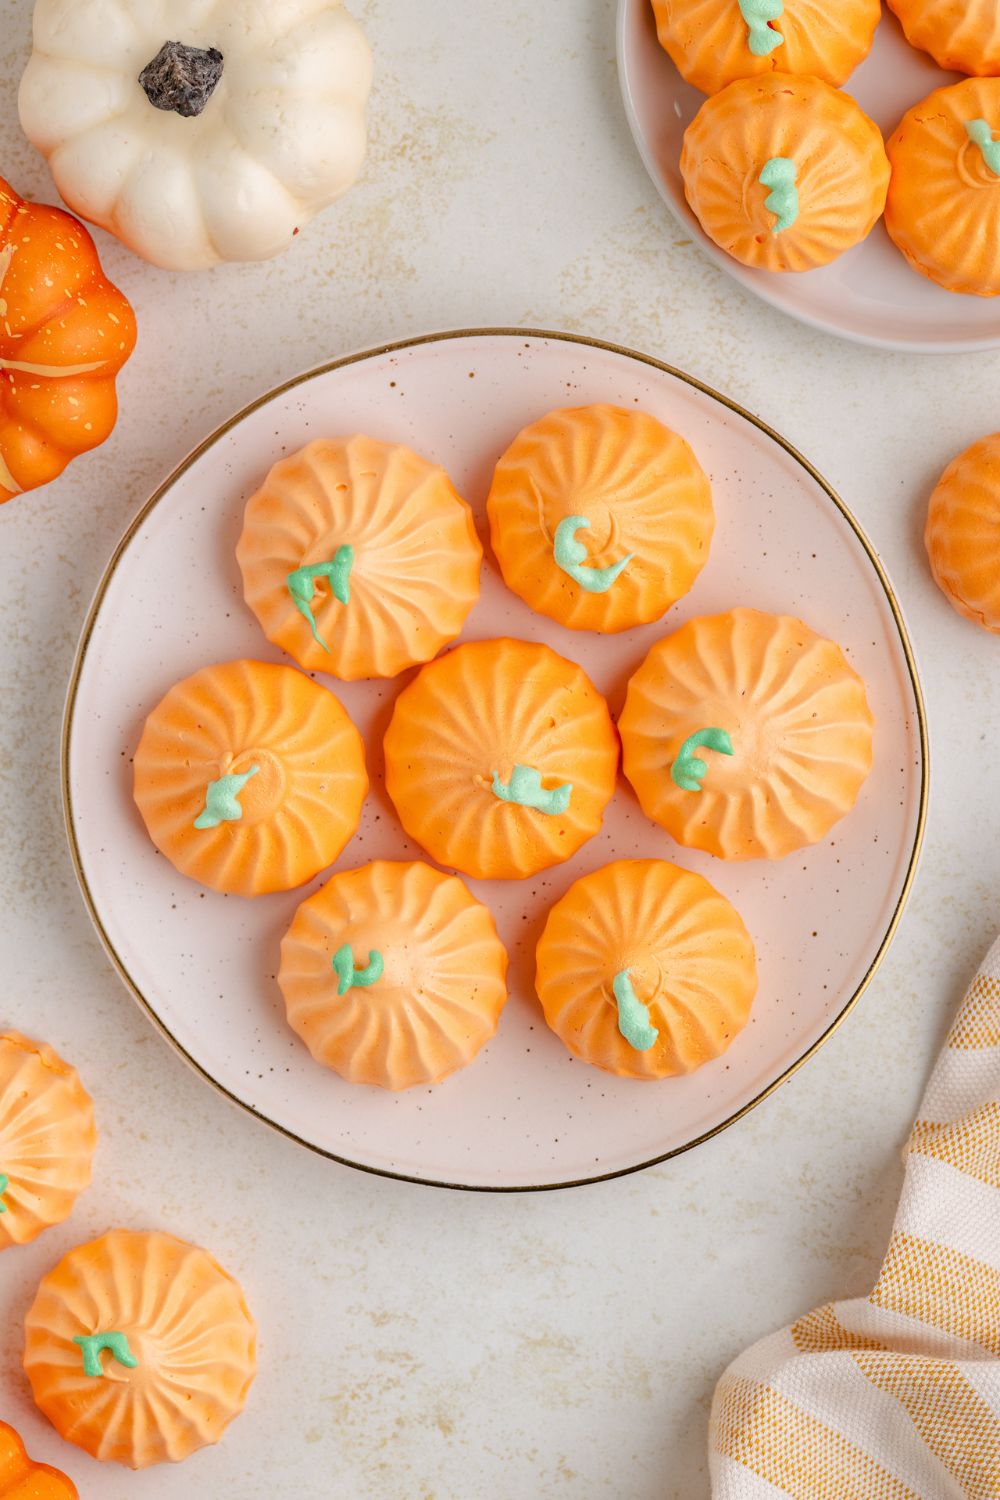
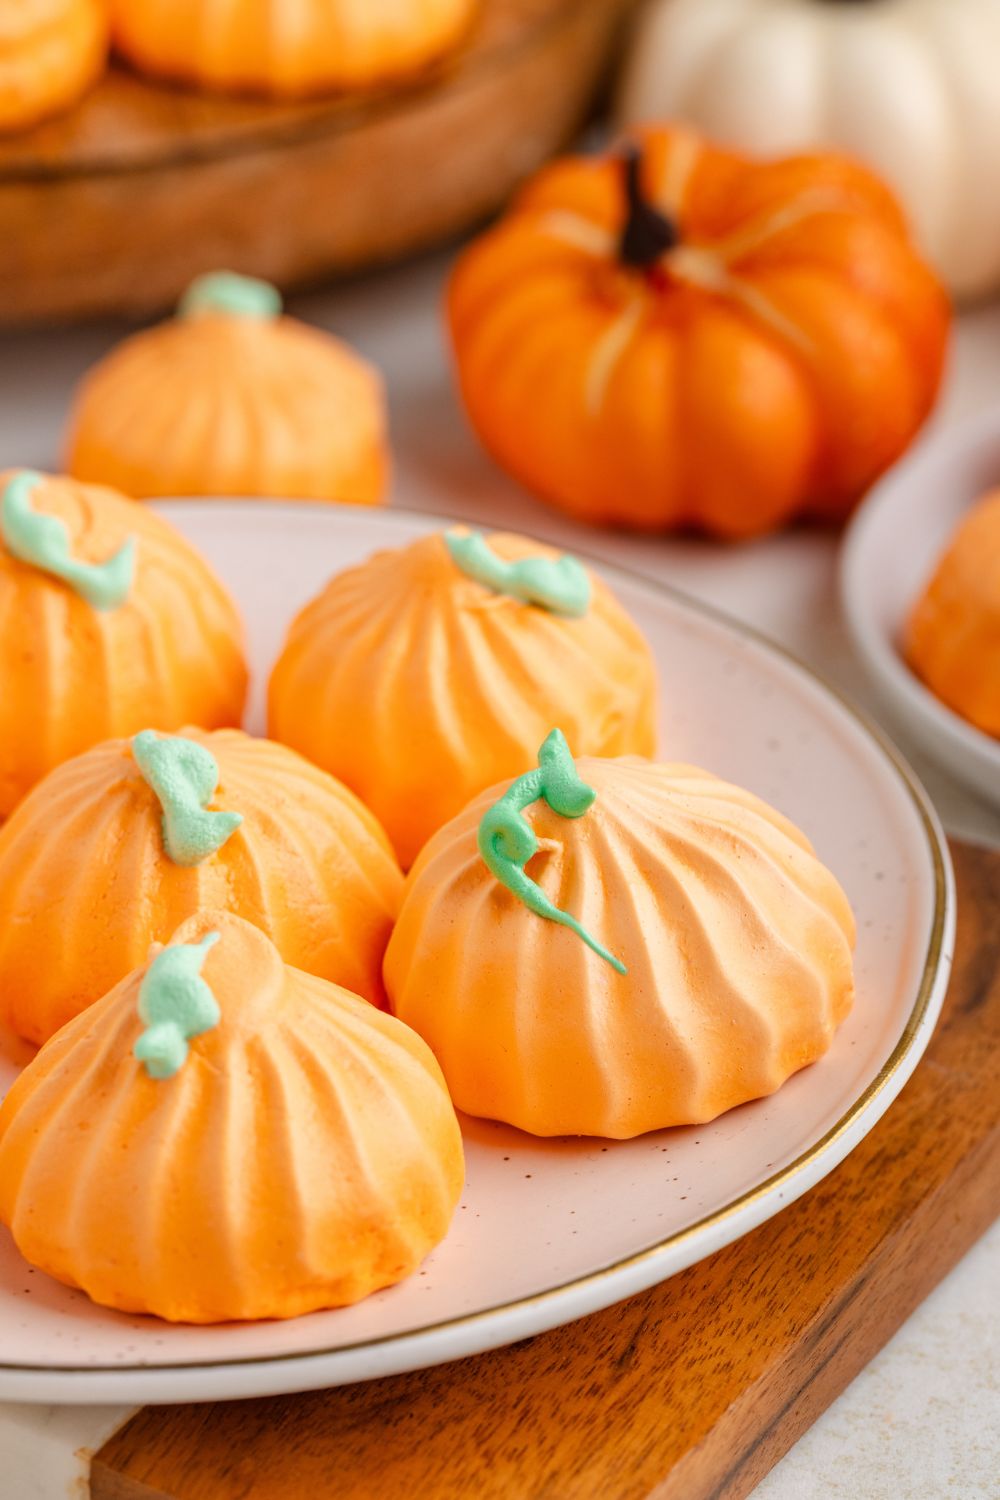
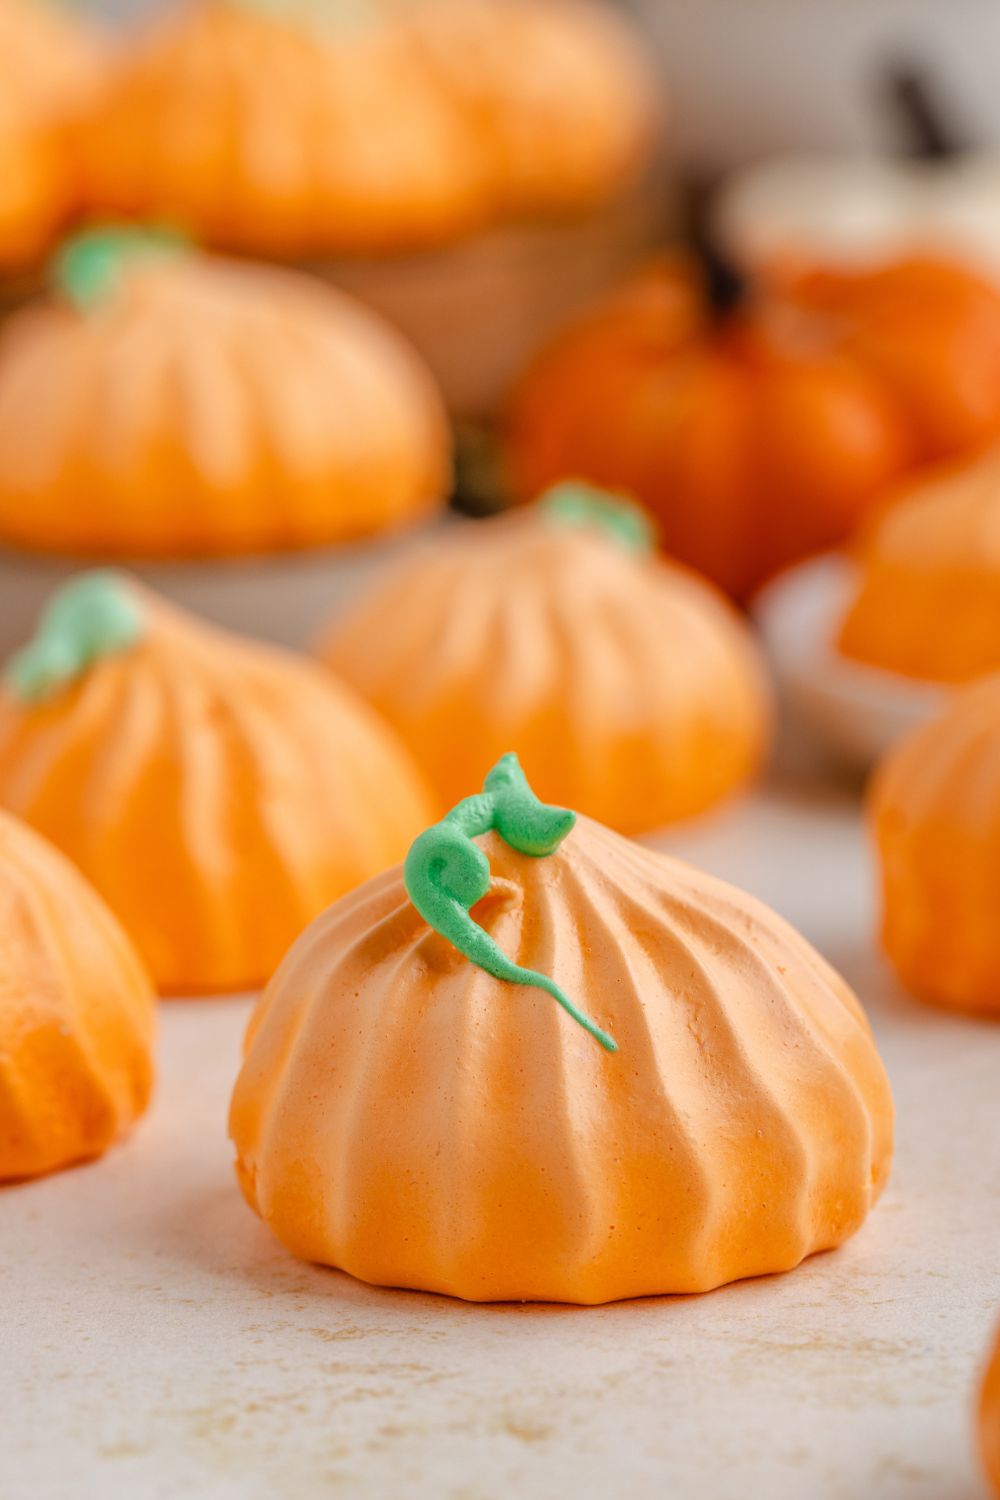
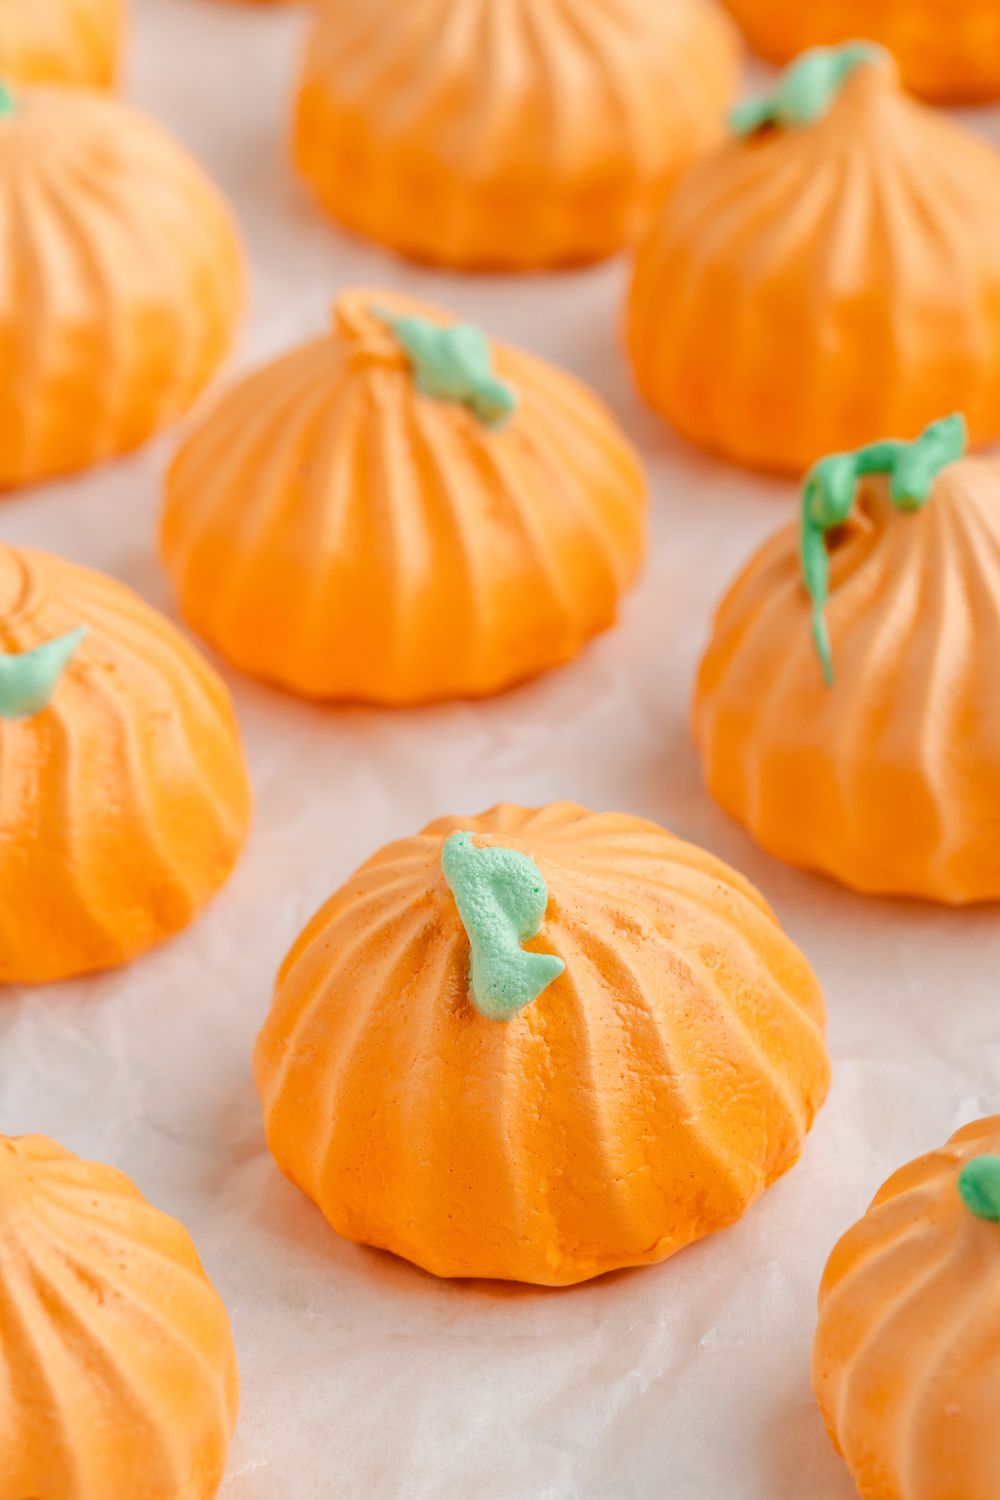
These Pumpkin Meringues are sweet, airy cookies made from whipped egg whites, sugar, and just a few drops of food coloring — shaped like tiny pumpkins with cute little green stems. They’re baked low and slow until perfectly crisp, giving you that melt-away texture that makes meringues so special. While they look fancy and professional, they’re actually made with simple ingredients and no special equipment beyond a mixer and some piping bags. They’re the kind of treat that makes everyone smile — part art project, part dessert, and 100% adorable.
Why This Recipe Works
- Low and Slow Baking: The gentle 200°F oven temperature dries the meringues instead of baking them harshly, so they keep their color and shape.
- Cream of Tartar = Stability: It strengthens the whipped egg whites so they hold stiff peaks and don’t deflate.
- Gradual Sugar Addition: Helps the meringue stay glossy, smooth, and pipe beautifully.
- Resting in the Oven: The secret step that gives you perfect crunch — no cracks, no collapsing, just delicate, crisp cookies that last for days.
Ingredient Breakdown: What They Do
- Egg Whites: The base of every meringue. They whip into glossy peaks that form the body of the cookies.
- Cream of Tartar: Stabilizes the egg whites and helps them whip higher and stay firmer.
- Granulated Sugar: Sweetens the meringue and creates structure — it’s what transforms foam into glossy, pipeable peaks.
- Vanilla Extract: Adds subtle flavor and warmth that balances the sugar.
- Orange Gel Food Coloring: Gives that iconic pumpkin color. Gel is best since it won’t thin the batter.
- Green Gel Food Coloring: Used for the stems — just a small touch adds that perfect pop of color.
When to Serve
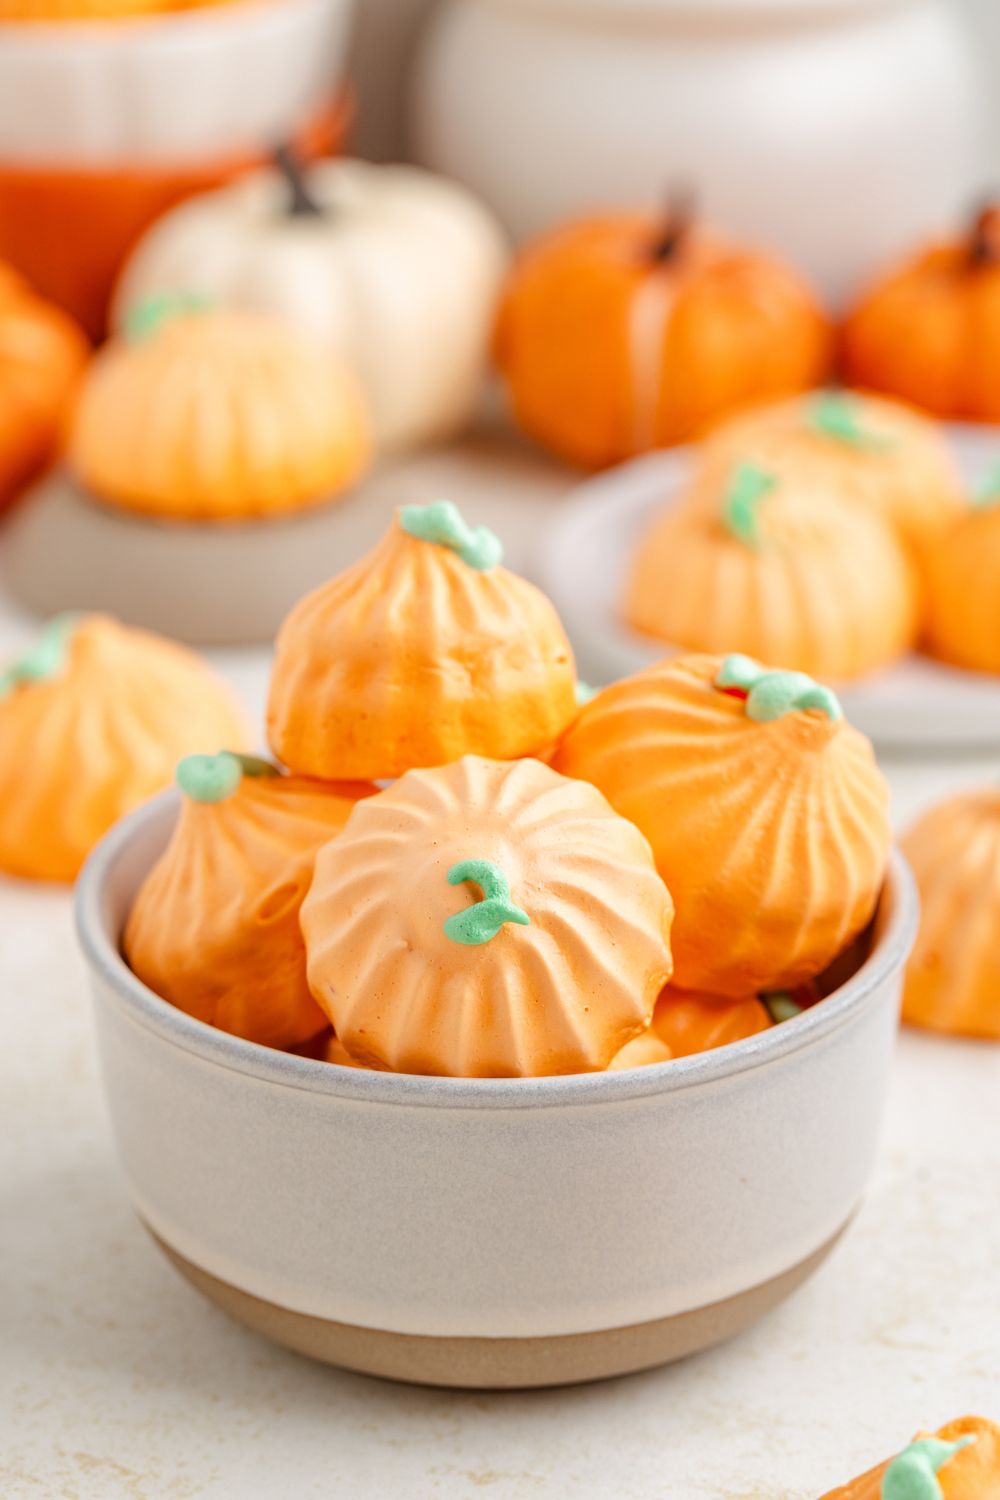
These are perfect for any fall celebration — and honestly, they’re so cute you might find yourself looking for excuses to make them.
- Halloween parties — serve them on a tray with spooky cupcakes or “witch finger” cookies.
- Thanksgiving dessert platters — they look amazing next to pumpkin pie and apple crisp.
- Harvest fairs or school bake sales — easy to package, totally eye-catching.
- Homemade gifts — tuck them into little clear treat bags for friends, teachers, or neighbors.
Make-Ahead & Storage Tips
You can easily make Pumpkin Meringues ahead of time since they store beautifully.
- Once cooled, store in an airtight container at room temperature for up to 5 days.
- Do not refrigerate or freeze — humidity is their worst enemy.
- To make ahead: Bake, cool, and store on the counter in a sealed tin with parchment between layers.
- For humid days, pop a few grains of dry rice in the container to help absorb moisture.
Why You’ll Love This Recipe
- They’re so fun to make! Like an edible craft project.
- Naturally gluten-free and fat-free — a lighter dessert option.
- Long shelf life: Unlike cookies that go stale, meringues stay perfect for days.
- Visually stunning: They add an instant “wow” factor to your dessert table.
- Kid-friendly: Fun to help decorate and color.
FAQ Section
Can I use a hand mixer instead of a stand mixer?
Yes! A hand mixer works fine. You’ll just need to beat a bit longer — usually around 10 minutes on high speed — until stiff, glossy peaks form. The stand mixer makes it easier, but you can absolutely do it by hand.
What if my meringue won’t stiffen?
That usually means there’s a bit of grease or egg yolk in the whites. Make sure your bowl and beaters are spotless and completely dry before starting. Even a drop of fat can stop the egg whites from whipping properly.
Can I make these without cream of tartar?
You can — the texture might be slightly softer, but they’ll still be delicious. A squeeze of lemon juice or a dash of white vinegar can also help stabilize the whites if you don’t have cream of tartar.
Why did my meringues crack or deflate?
Two main culprits: temperature and timing. If they bake too hot or cool too fast, the air expands too quickly and causes cracks. Always bake at 200°F and let them cool inside the oven (with the door closed!) for at least 2 hours.
Can I color the meringue with liquid food coloring?
Stick with gel. Liquid coloring can water down the meringue and make it too soft to pipe properly.
How can I make them look extra cute for fall?
Pipe different sizes for a “pumpkin patch” effect! You can also add tiny faces with edible markers for Halloween, or drizzle a little white chocolate for a “frosted pumpkin” look.
What can I do if the weather is humid?
Humidity is meringue’s enemy. Try baking on a drier day, or use a dehumidifier in the kitchen. If your meringues start to soften after storage, you can pop them back in the oven at 200°F for 10 minutes to re-crisp them.
Can I make other shapes with this recipe?
Absolutely! You can use this same meringue base to pipe ghosts, candy canes, hearts, Christmas trees, or any other shape you want — just change up your colors and tips.
Variations & Substitutions
- Flavor twist: Add a few drops of almond or maple extract instead of vanilla.
- Color play: Try ombré orange tones by mixing lighter and darker shades of orange.
- Mini pumpkins: Use a smaller piping tip for tiny bite-sized versions.
- Chocolate stem: Skip the green meringue and add a mini chocolate chip to the top after baking!
Leftover Ideas
If you have a few cracked meringues (it happens to all of us), crumble them up and use them as:
- A crunchy topping for pumpkin pie or pudding
- Mixed into ice cream for texture
- Stirred into whipped cream for a “meringue crunch” dessert topping
Budget Breakdown
Eggs: $1.25
Sugar: $0.50
Cream of Tartar: $0.20
Vanilla & Food Coloring: $0.60
Total: around $2.55 for 20 pumpkin meringues — or just 13¢ each for a dessert that looks straight out of a bakery window.
Lightened-Up Version
Meringues are naturally light and low-calorie — each one has roughly 30–35 calories.
They’re fat-free, gluten-free, and dairy-free, making them a perfect sweet treat for guests with dietary preferences.
Reader Favorite Tips & Ideas
- Use disposable piping bags for easy cleanup.
- Add a tiny sprinkle of edible glitter before baking for sparkle.
- If gifting, package with parchment between layers so they don’t stick.
- Try making ghost versions for Halloween with just white meringue and black edible eyes!

Troubleshooting Tips
Problem: Meringues sticky after cooling
Fix: Re-bake at 200°F for 10–15 minutes to dry them out.
Problem: No glossy shine
Fix: Sugar wasn’t fully dissolved. Beat longer on high speed after the sugar is added.
Problem: Cracked meringues
Fix: Oven too hot or cooled too quickly. Stick to low and slow baking and never open the door while cooling.
Nutrition Information (Per Meringue, approx.)
Calories: 30
Fat: 0g
Carbs: 7g
Sugar: 7g
Protein: 1g
Fiber: 0g
Sodium: 5mg
Holiday Gifting Section
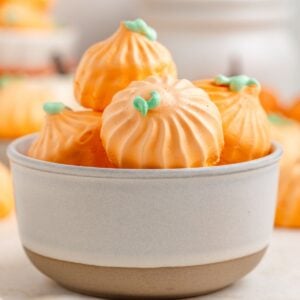
These Pumpkin Meringues make the cutest edible gifts for teachers, friends, and neighbors. I love packaging them in these clear cellophane bags (the ones I personally use and love — link here) and tying them with festive ribbon or twine. Add a small tag that says “You’re the pick of the patch!” or “Pumpkin kisses & harvest wishes.” They look like something straight from a fancy bakery — but no one has to know they cost under $3 to make!
My Personal Kitchen Notes
I’ve learned over time that meringues are one of those desserts that teach patience. They don’t need fancy ingredients — just the right technique and a calm oven. I always make a double batch of these before Halloween because somehow, half disappear before I can even package them. They’re one of those treats that make people stop and ask, “Wait, you made these?” And that’s exactly what I love about them.
My Final Thoughts
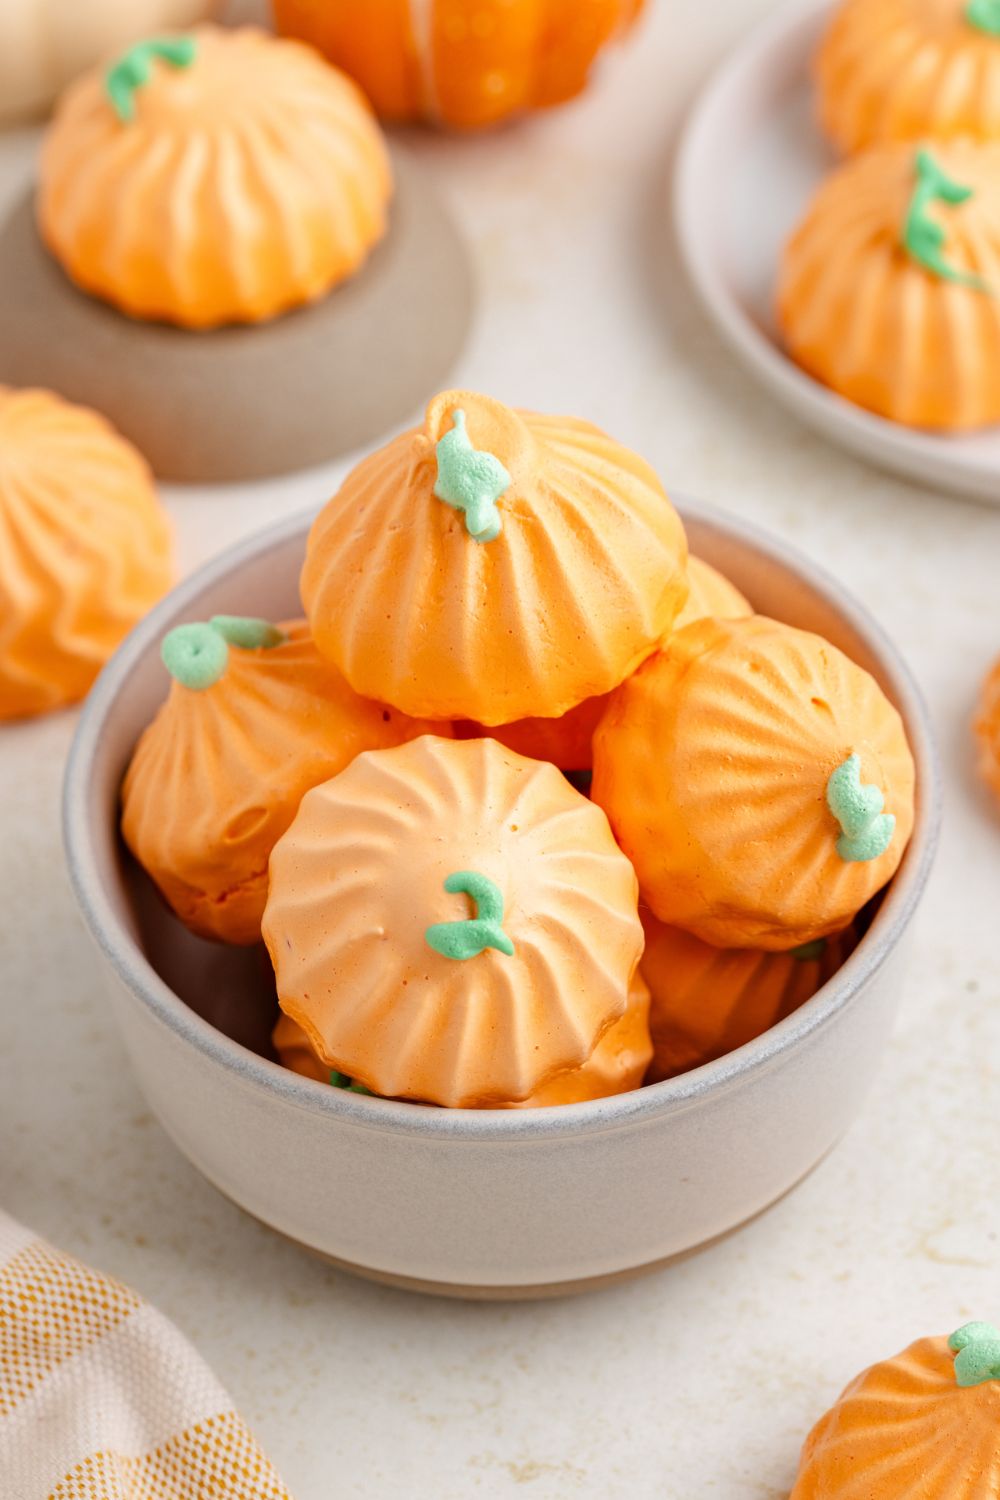
These Pumpkin Meringues are the perfect mix of elegant and fun — the kind of dessert that makes your table sparkle with personality. They’re light, crisp, melt-in-your-mouth sweet, and absolutely irresistible for fall. Whether you make them for Halloween, Thanksgiving, or just because you’re in a pumpkin mood (which, let’s be honest, is always), they’ll become a go-to fall favorite in your kitchen.
Fall Desserts
- Pumpkin Bundt Cake with Cream Cheese Frosting
- Apple Cinnamon Loaf Cake
- Pumpkin Spice Chex Mix
- Easy 2 Ingredient Pumpkin Cinnamon Rolls
Pumpkin Meringue Cookies
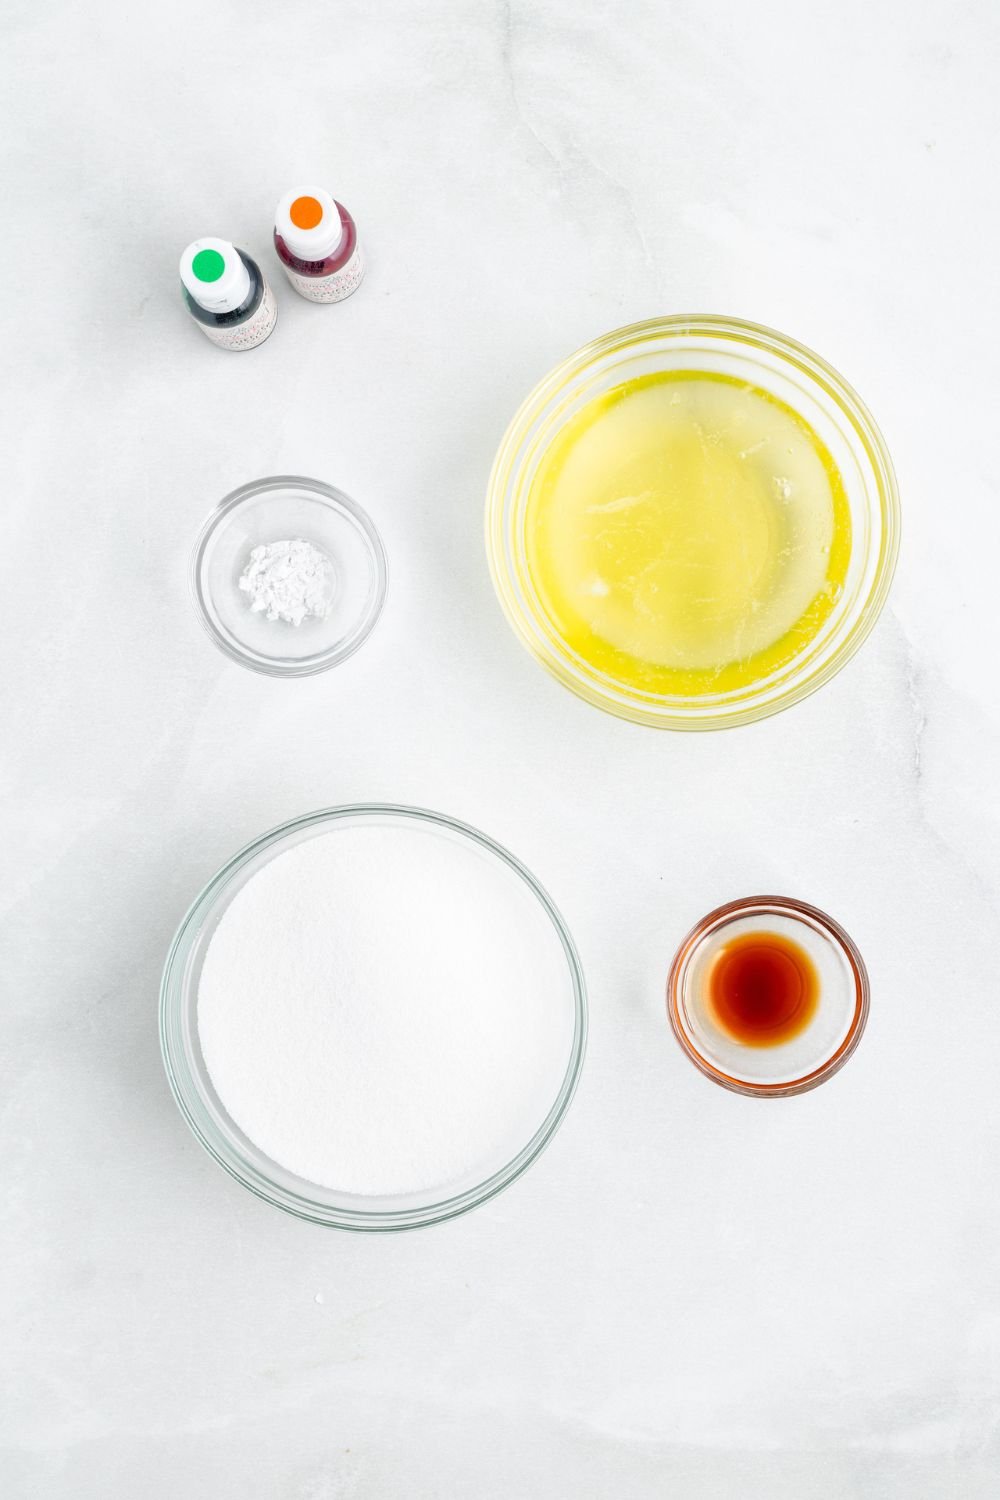
Ingredients
- 4 large egg whites room temperature
- ¼ teaspoon cream of tartar
- 1 cup granulated sugar
- 1 teaspoon vanilla extract
- Orange gel food coloring
- Green gel food coloring
Instructions
- Preheat the oven to 200 degrees Fahrenheit and line two baking sheets with parchment paper.
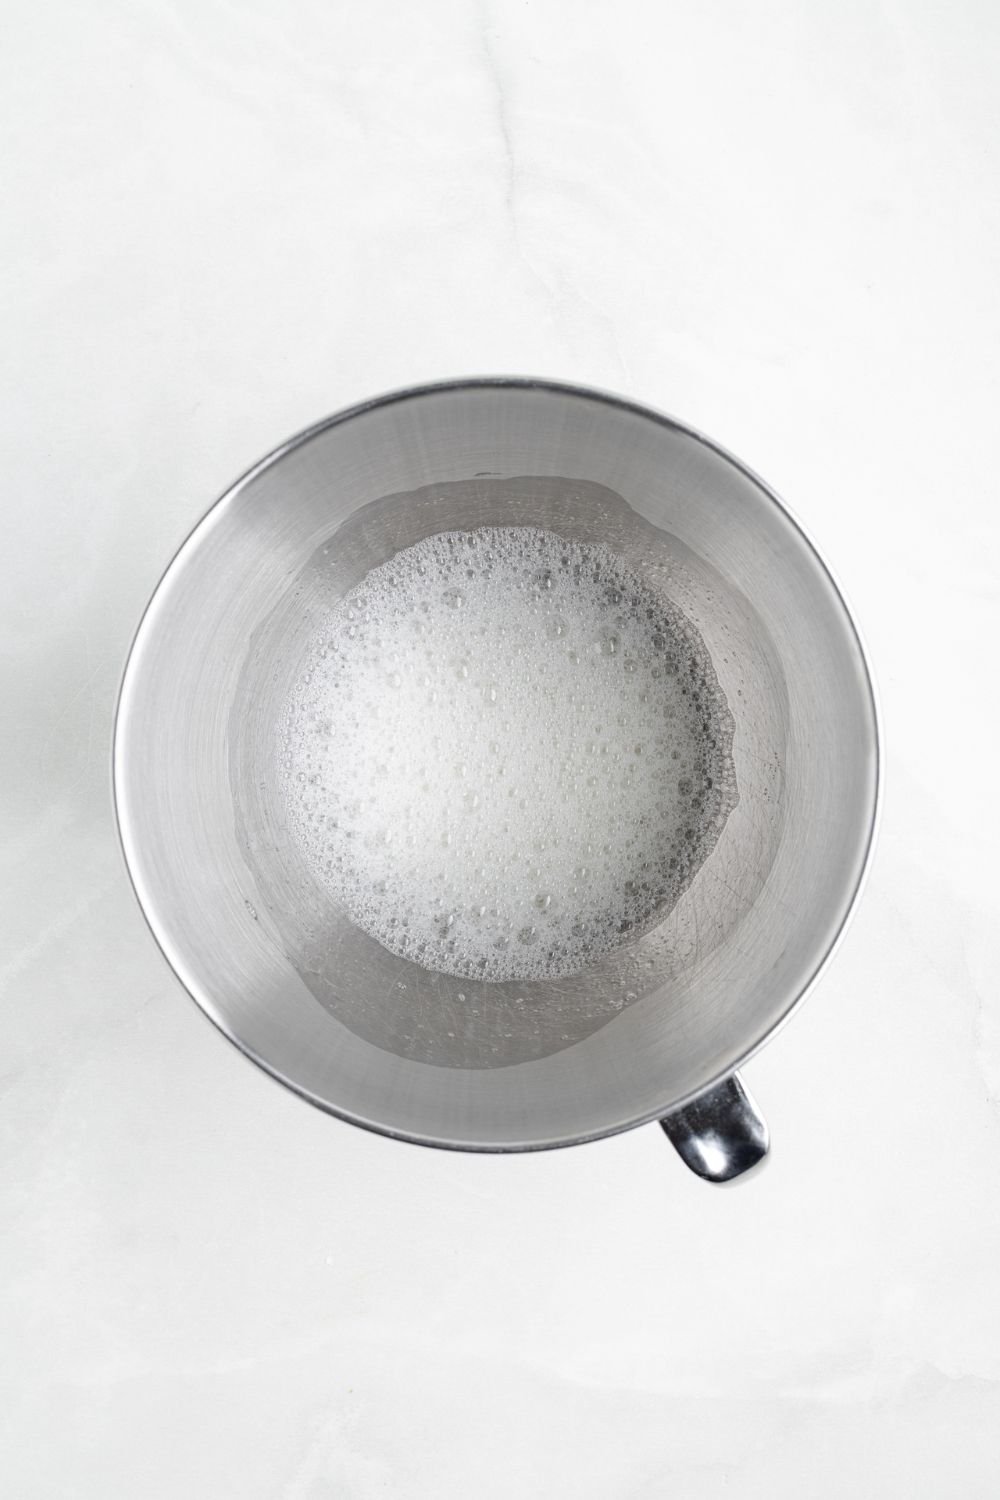
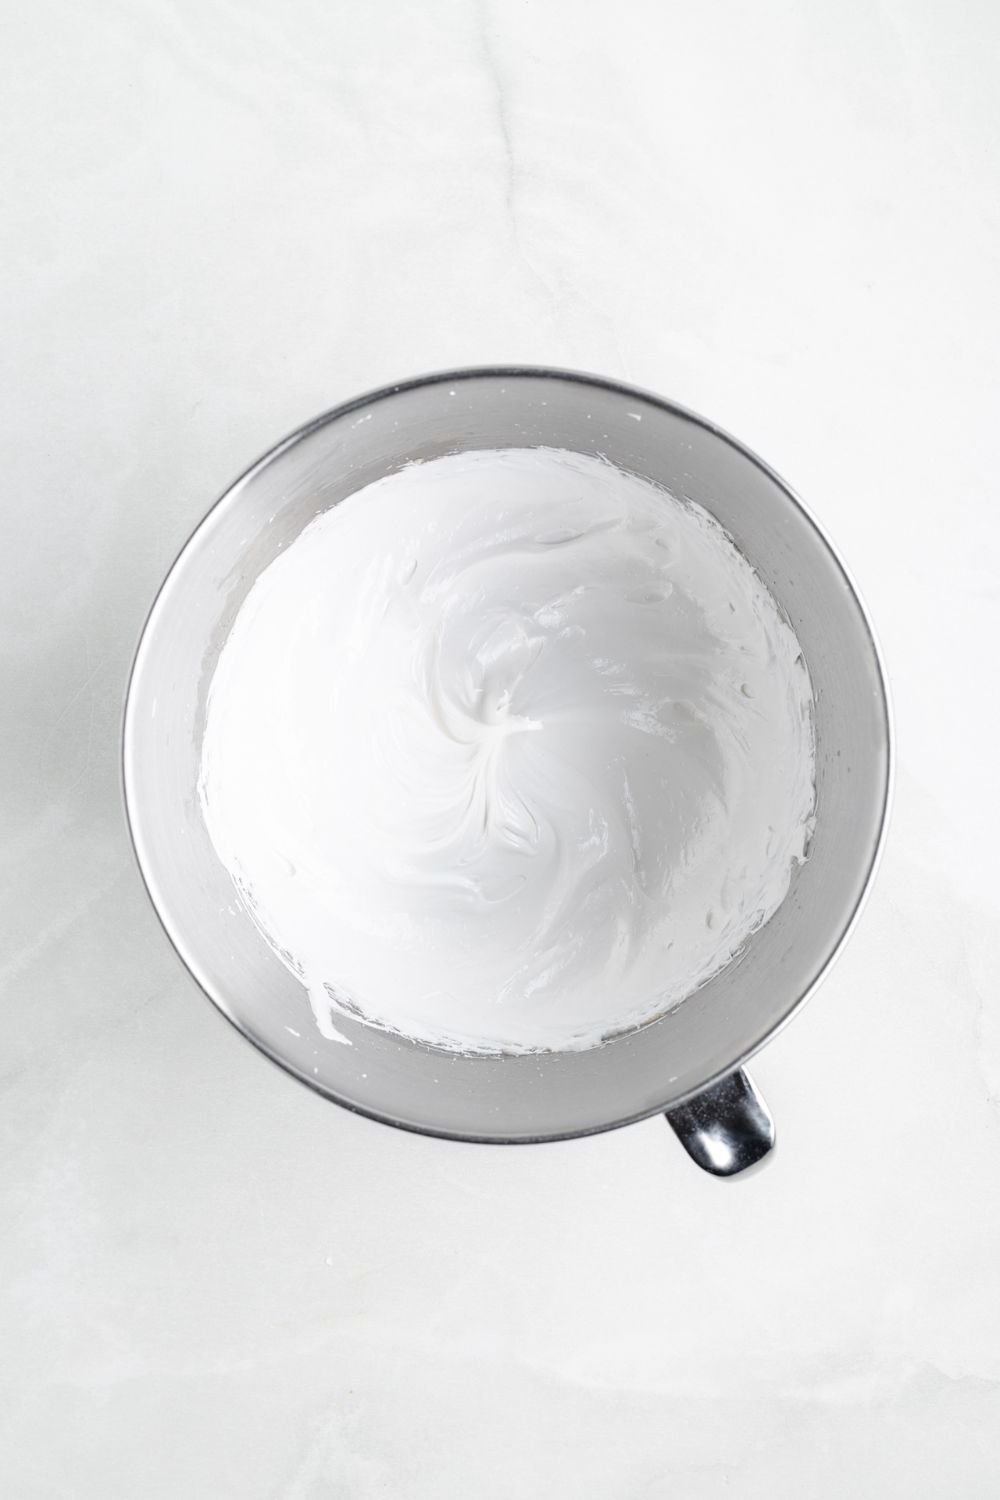
- Add the egg whites and cream of tartar to the bowl of a stand mixer. Beat with the whisk attachment on medium speed until frothy. Ensure your bowl and whisk attachment are clean, dry, and free of any residue before beginning.
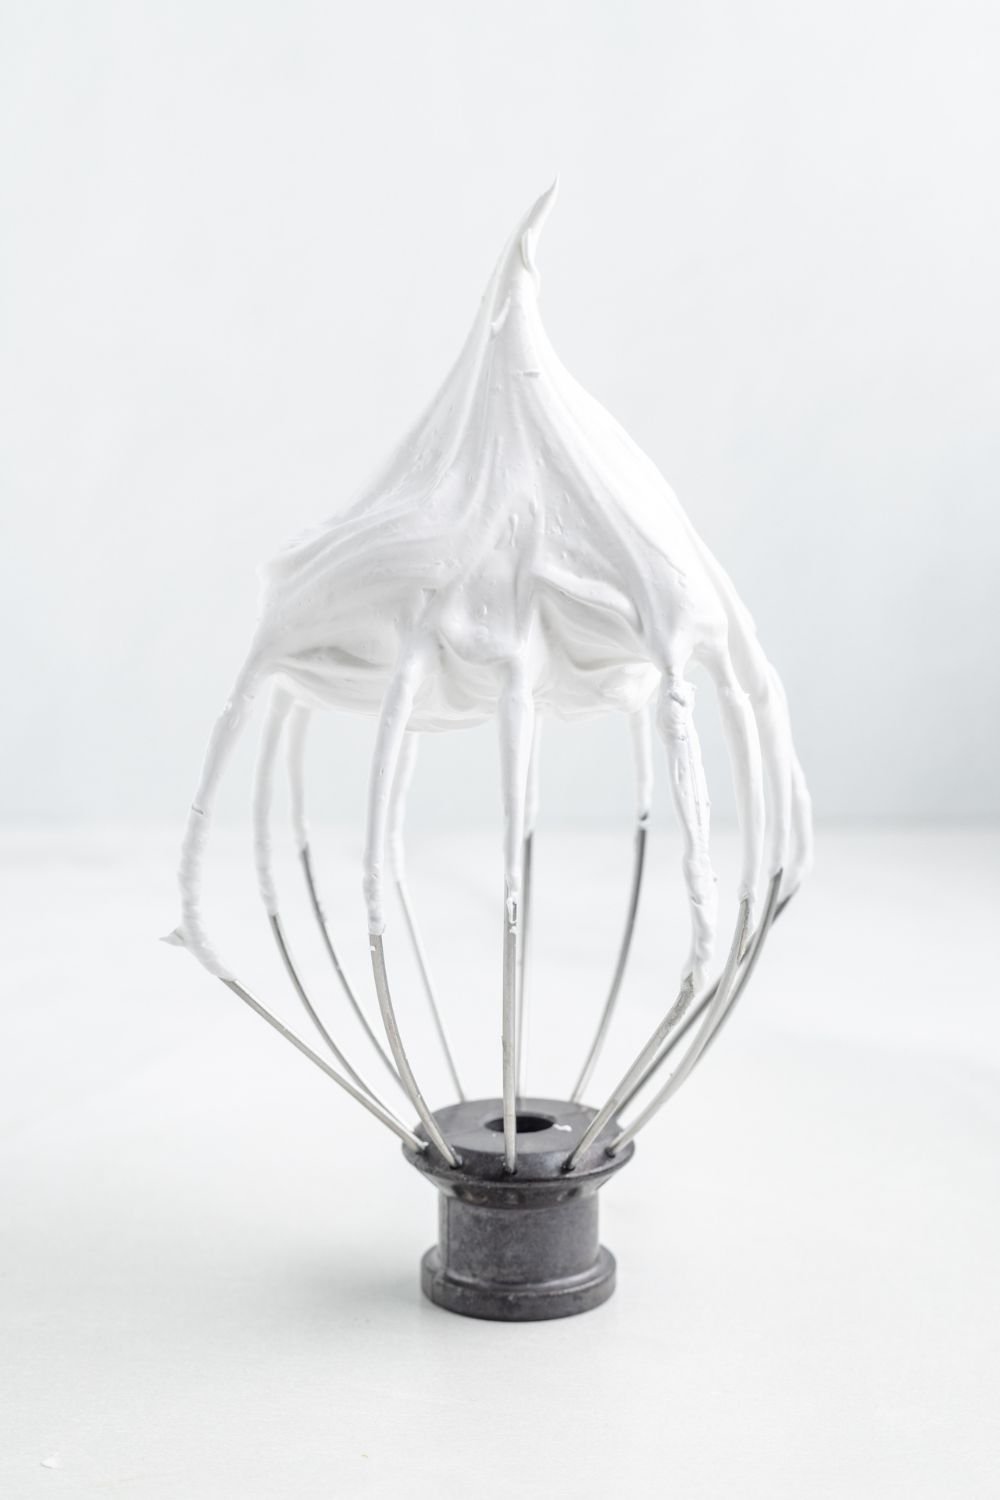
- Gradually add the sugar, 1 tablespoon at a time, while continuing to beat. Once all the sugar is added, increase to high speed and beat until stiff, glossy peaks form and the sugar is fully dissolved.
- Beat in the vanilla extract just until combined.
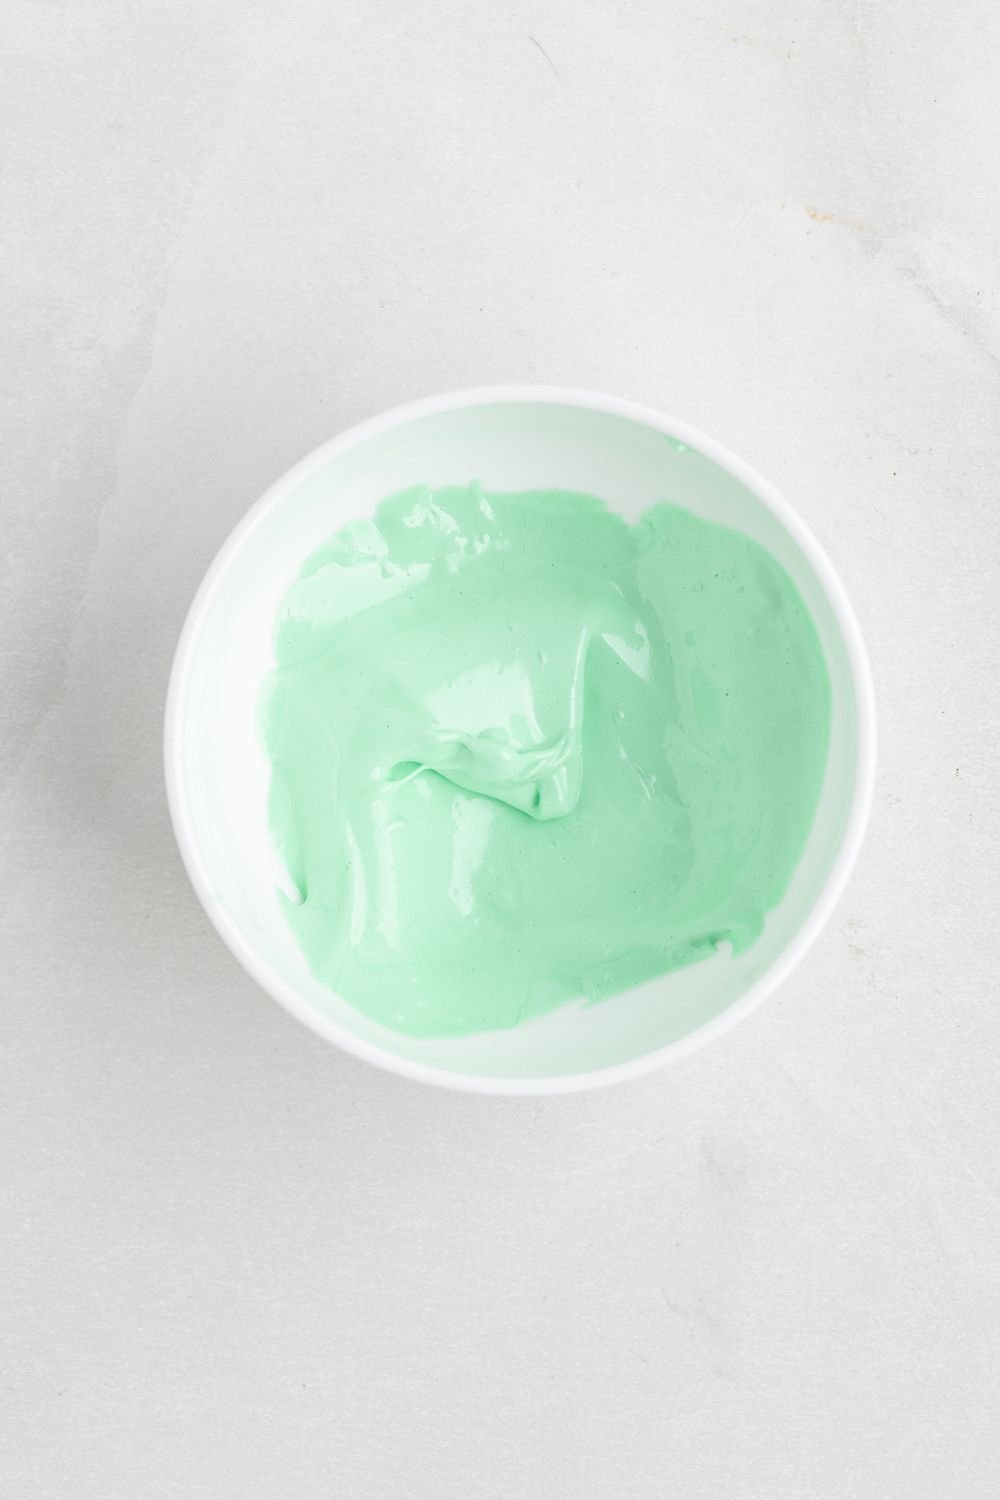
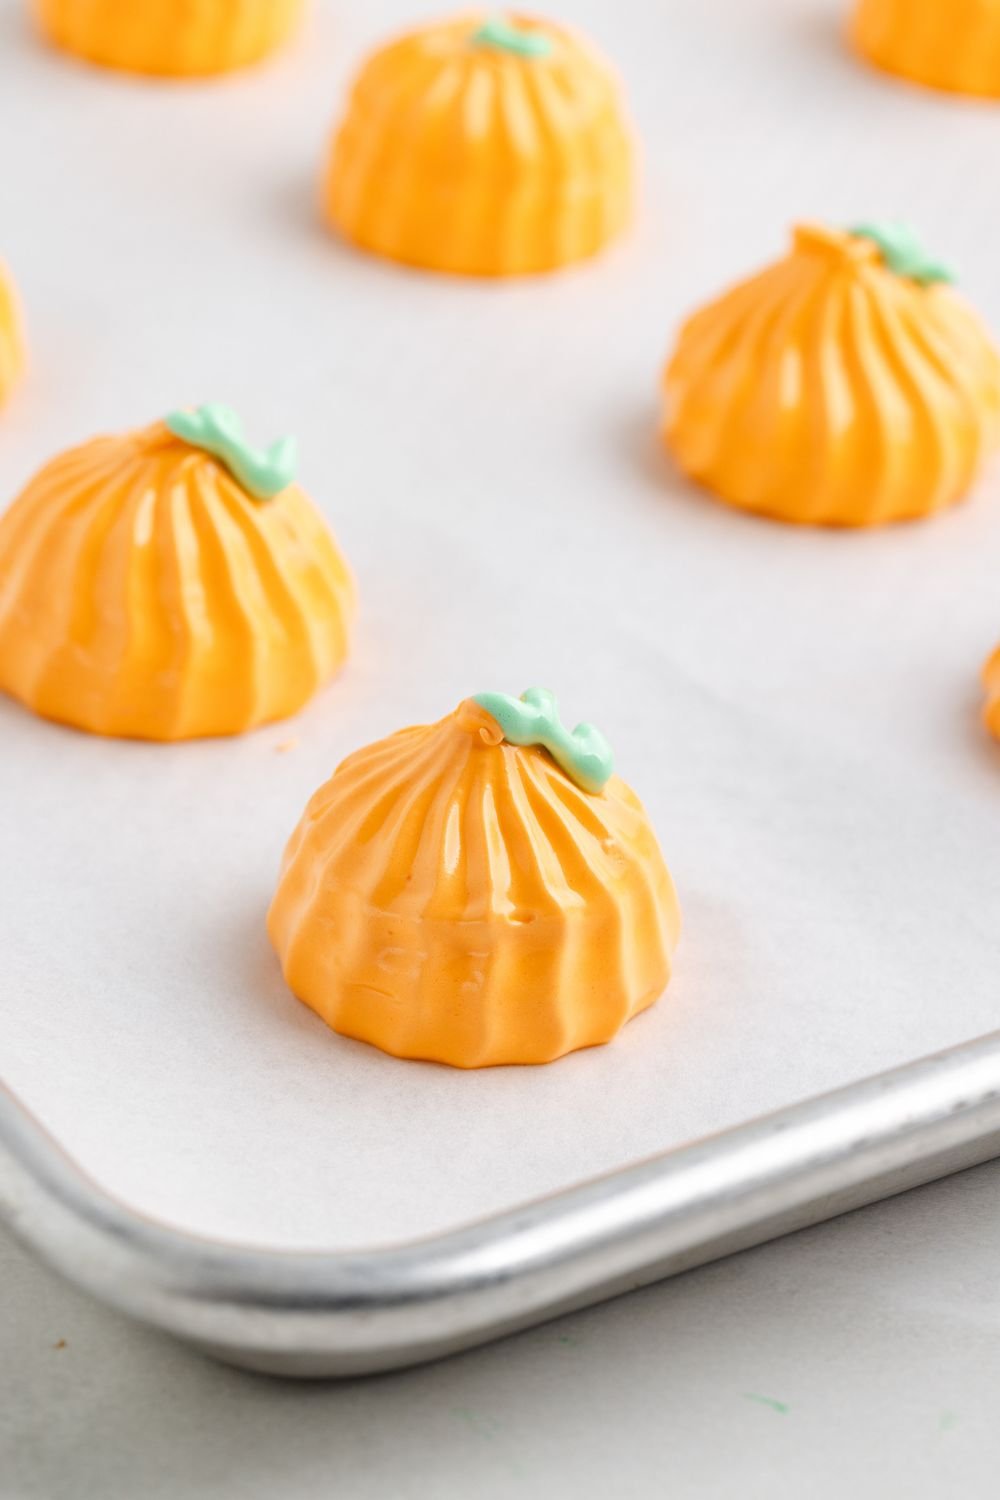
- Scoop about ⅓ cup of the meringue into a small bowl and set it aside. Tint this portion with green gel food coloring and stir until evenly colored.
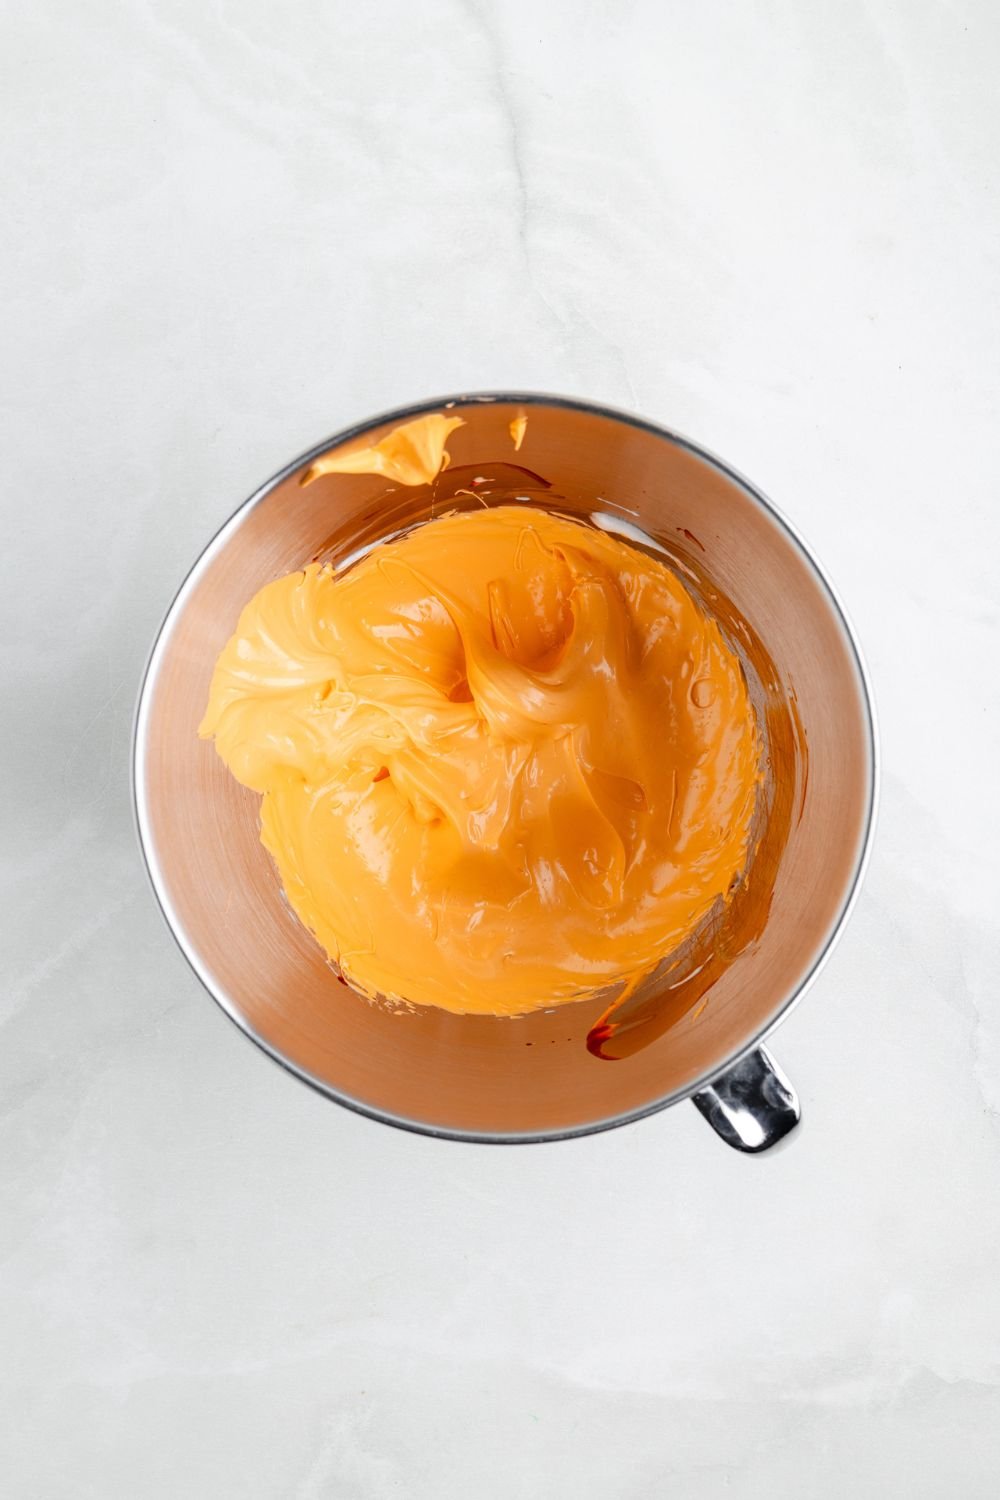
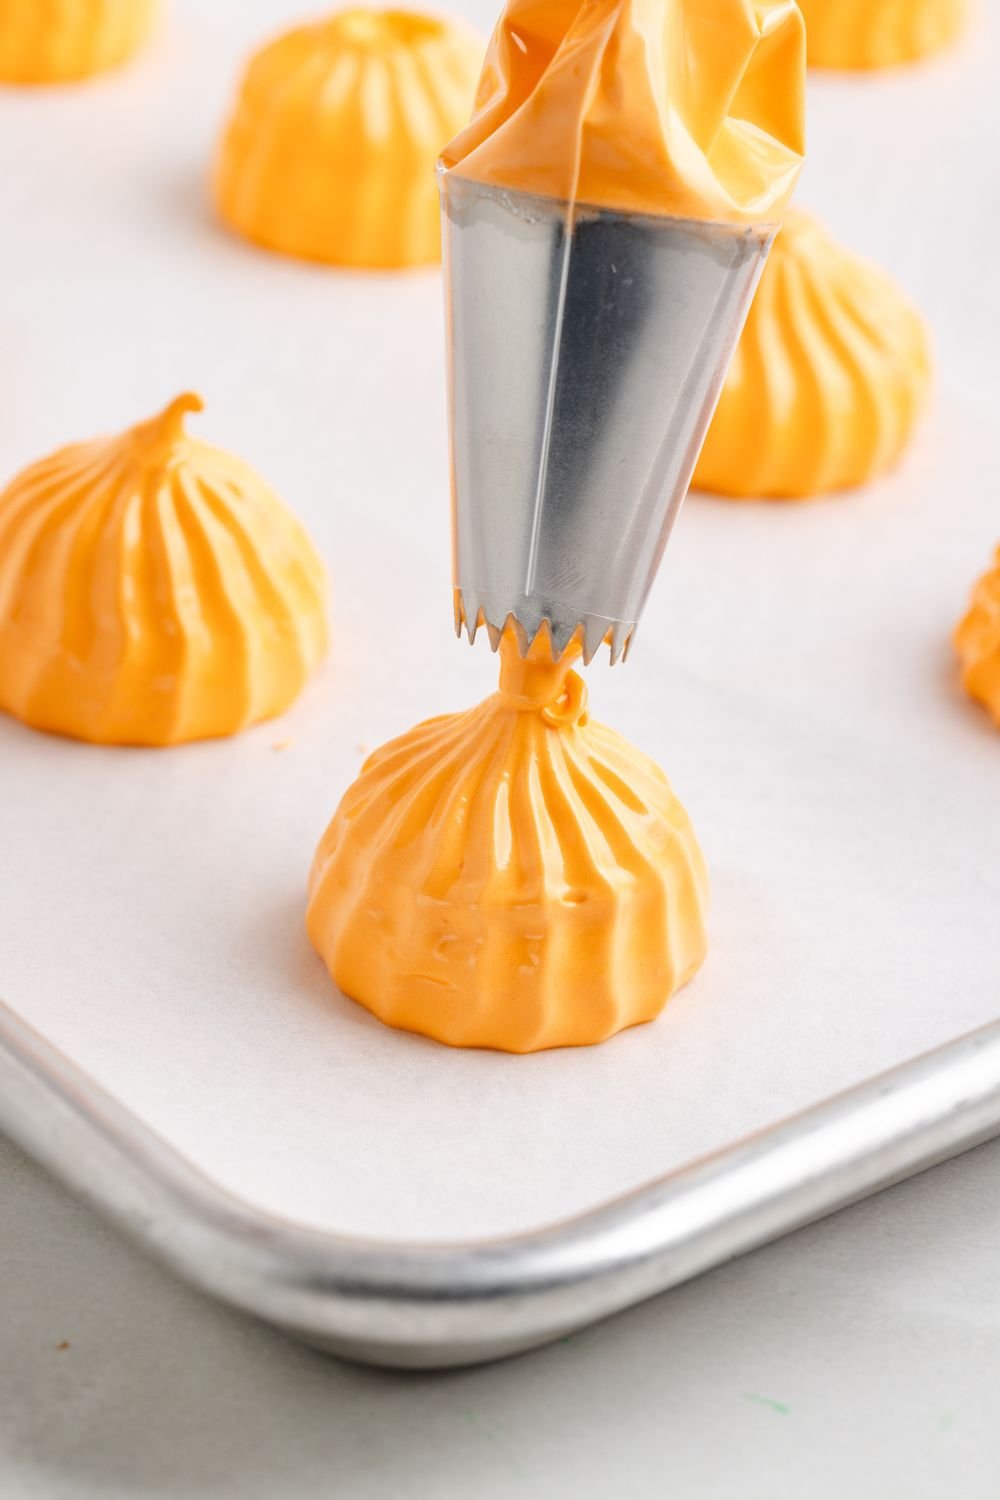
- Add orange gel food coloring to the remaining meringue in the mixer bowl and mix until evenly tinted, adjusting the amount as needed.
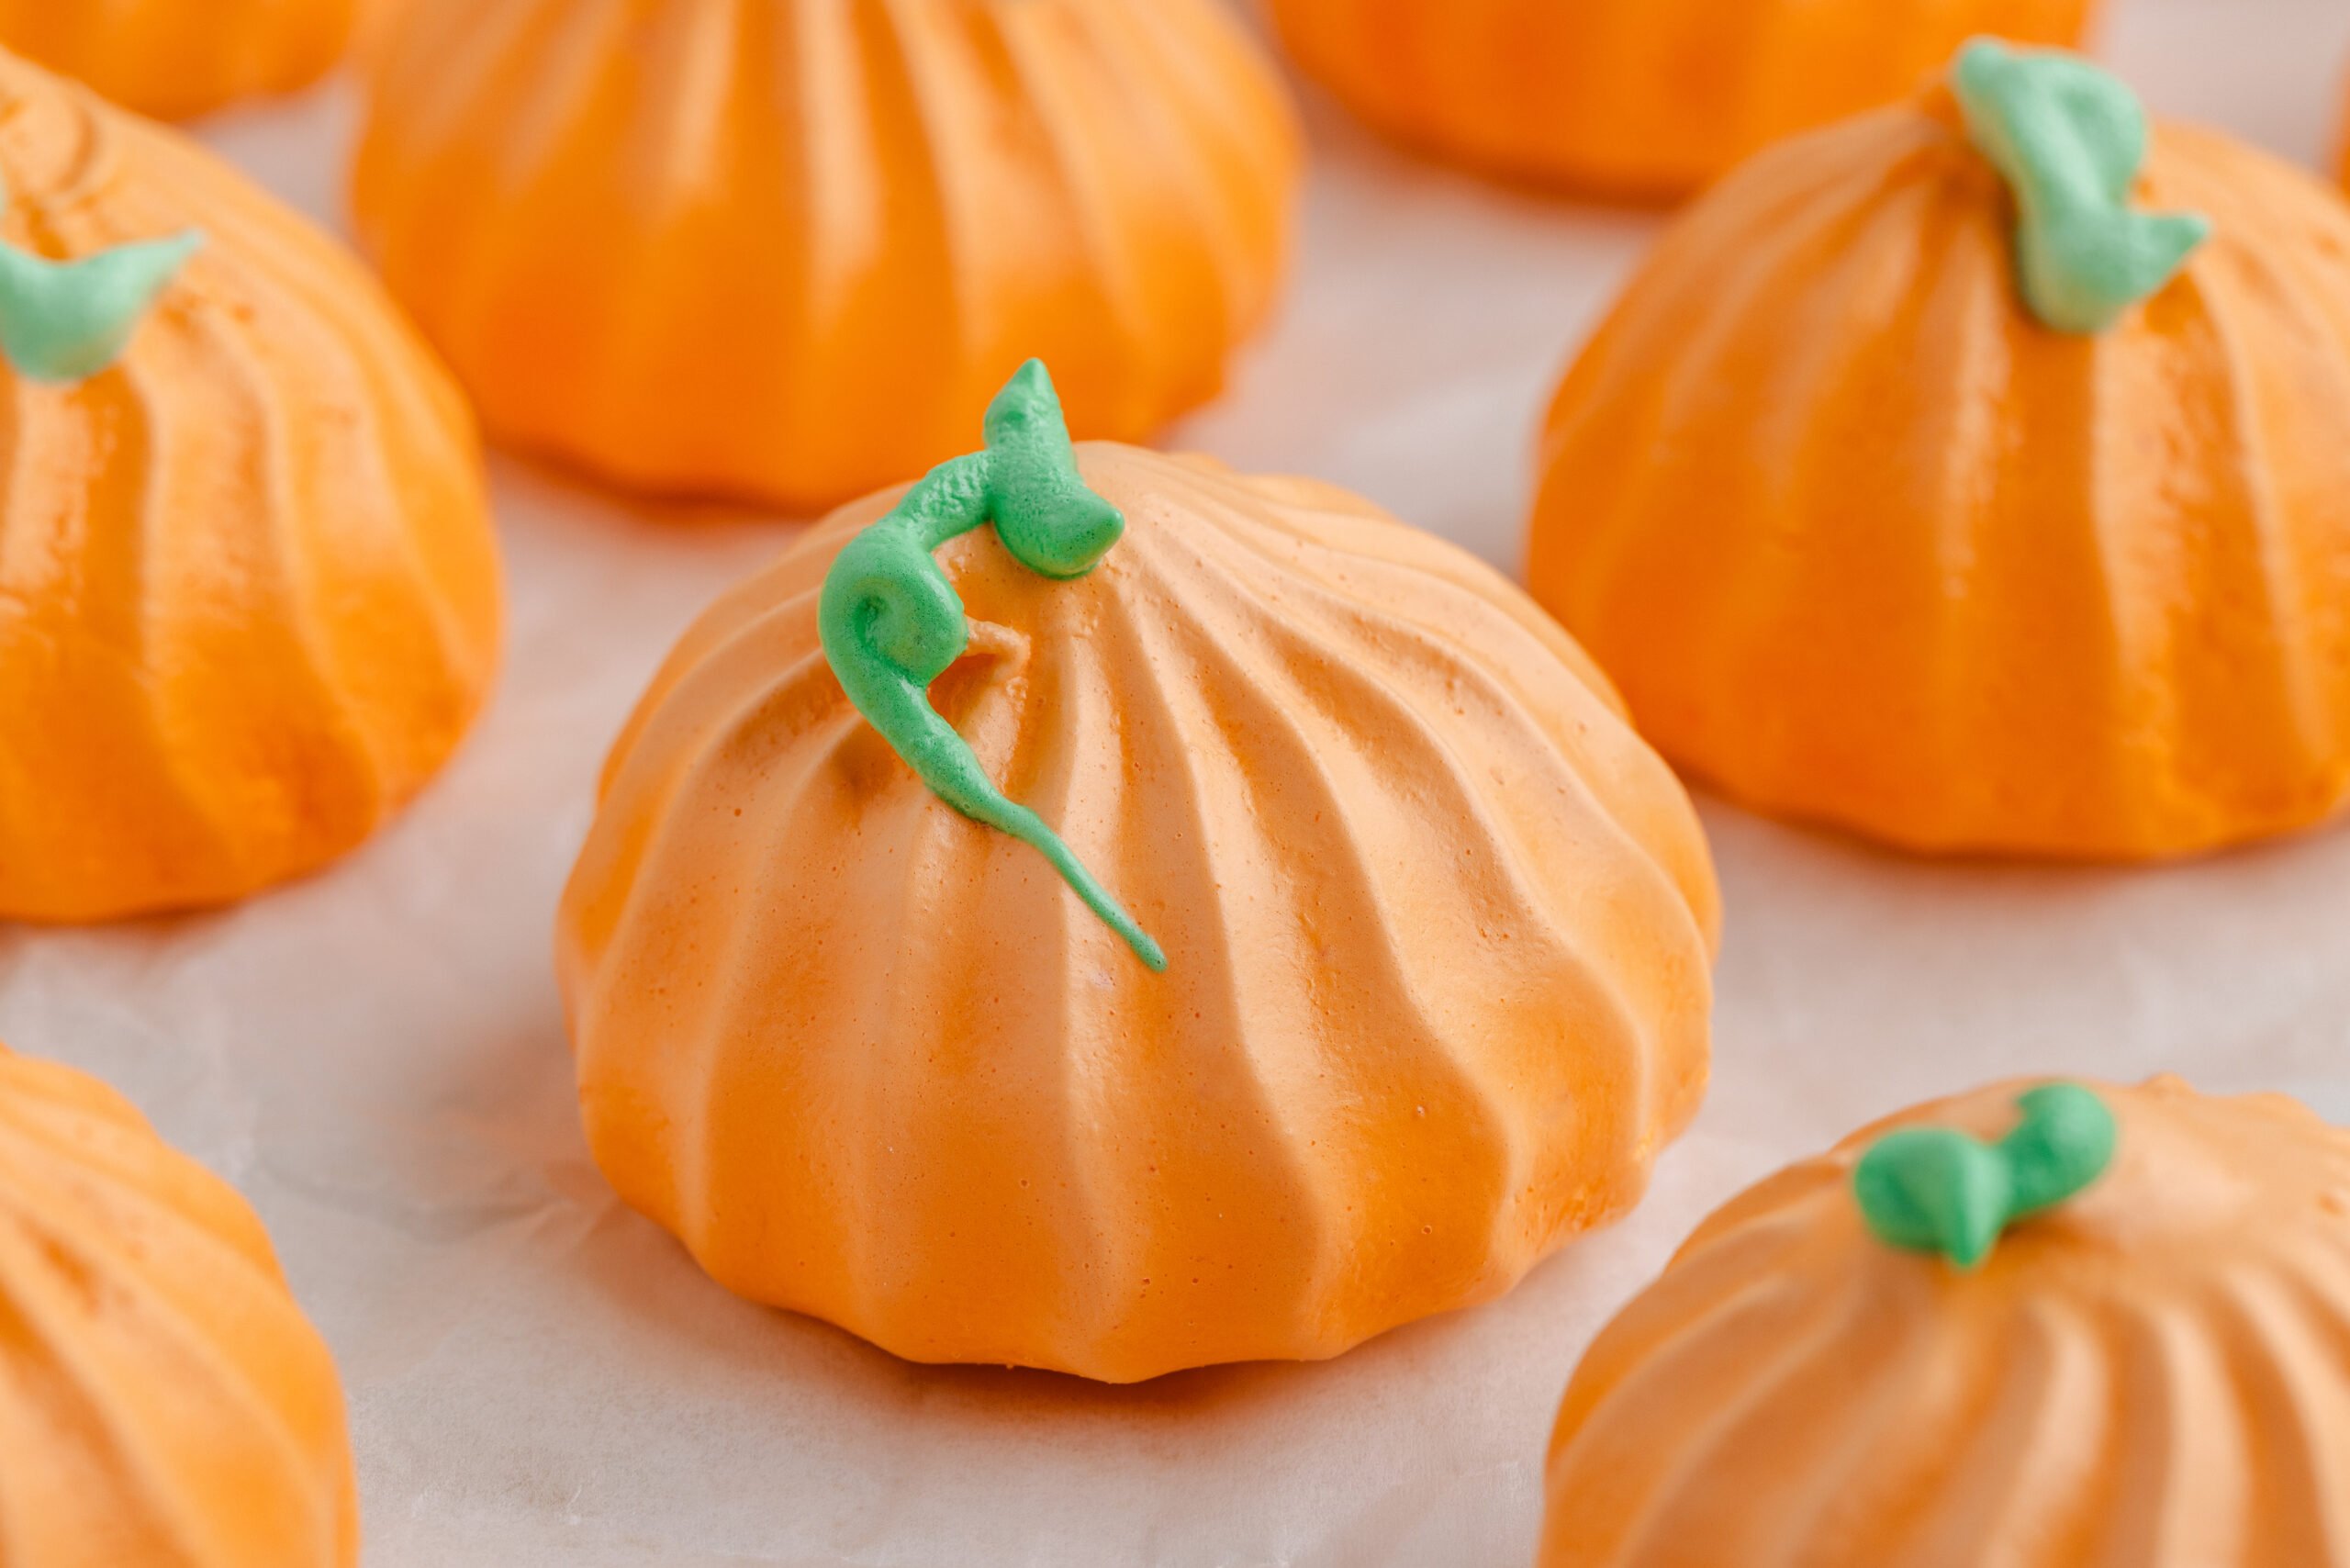
- Transfer the orange meringue to a piping bag fitted with a large round or star tip. (I used a Wilton #8 B star tip) Pipe small pumpkin shapes onto the prepared baking sheets, spacing them about 1 inch apart.
- Transfer the green meringue to a small piping bag fitted with a round tip (or use a zip-top bag with the corner snipped) and pipe small stems on top of each pumpkin.
- Bake for 45 minutes, then turn off the oven and let the meringues cool inside the oven for at least 2 hours or preferably overnight. Do not open the oven door during this time.
- Once fully cooled, store in an airtight container at room temperature.
Did you make this recipe?
Make sure to follow on Pinterest for more recipes!

Leave A Reply!