Now that Fall is ALMOST here, I have already started decorating my whole house in pumpkins and hay bales! It basically looks like Autumn threw up on my house- and you know what? I LOVE IT!

Everyone loves pumpkins, from recipes to carving them and even painting them , like I did here!

.

Super fun and creative and it doesnt involve a knife!

The kids will love to help paint these babies!!

.


Who doesnt love emojis!?

Everyone will be commenting on how freakin adorable these are!!

.

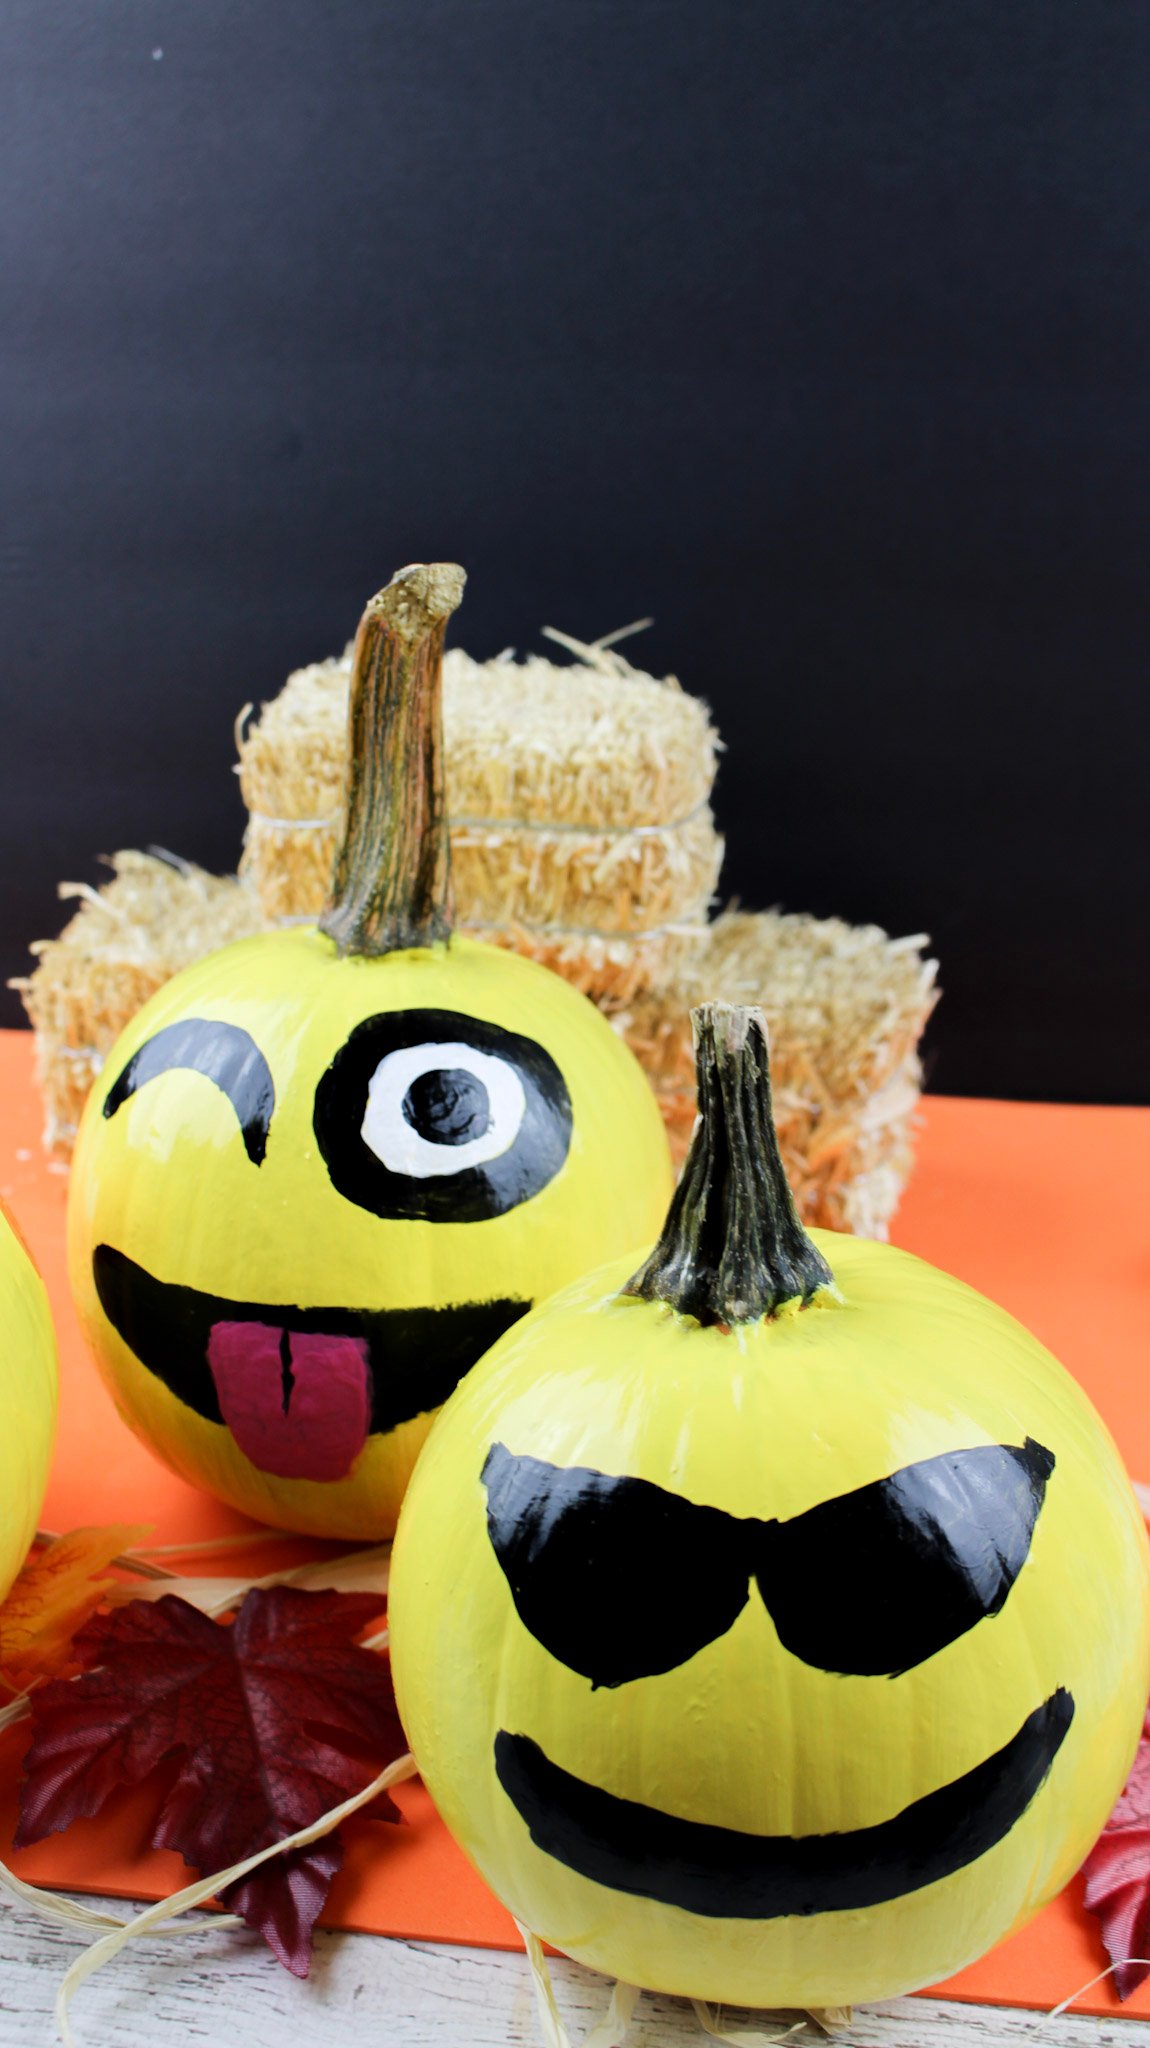
The cool pumpkin 😉

Mr silly pumpkin 😛

Lovey hearts!
Trust me, the neighbors will be trying to copy- mine did LOL

.
Please remember to SHARE on Facebook and PIN IT!
FOLLOW ME ON PINTEREST BY CLICKING HERE
See how below 😉
DIY EMOJI PUMPKINS!
Ingredients
- SUPPLIES NEEDED
- 3 small pumpkins
- Yellow glossy acrylic paint
- Black glossy acrylic paint
- Red glossy acrylic paint
- White glossy acrylic paint
- Pink glossy acrylic paint
- Large paper plate
- 3-4 paint brushes
- Old newspaper
Instructions
- PREP WORK
- 1. Line your workspace with old newspapers and place the pumpkins on top of the newspapers.
- 2. Wipe the pumpkins off with a cloth to remove any dirt or debris.
- 3. Squeeze some yellow paint onto the paper plate.
- 4. Dip a paint brush into the yellow paint and apply the yellow paint to each pumpkin. The first coat of paint will show brush strokes so you are going to want to apply at least 2-3 coats. Wait at least 1 hour in between coats.
- HOW TO PAINT PUMPKIN #1
- 1. Add red and black paint to the paper plate.
- 2. If you don't want to paint freestyle, use a pencil to draw two large hearts as the eyes of the pumpkin.
- 3. Draw a large smile towards the bottom of the pumpkin.
- 4. Paint the two large hearts red. You may have to apply two coats to cover any brush strokes.
- 5. Paint the large smile black in color.
- 6. Allow each coat to dry for an hour before applying any further coverage.
- HOW TO PAINT PUMPKIN #2
- 7. Using a pencil, draw a pair of sunglasses on the pumpkin.
- 8. Draw a large smile towards the bottom of the pumpkin.
- 9. With black paint, paint in the sunglasses and smile. Allow to dry one hour if a second coat is needed.
- HOW TO PAINT PUMPKIN #3
- 1. Add white and pink paint to the paper plate.
- 2. Draw a large circle for the right eye with a pencil.
- 3. With the paintbrush dipped in black paint, color the border of the right eye with black paint. Dry for an hour. Draw a wink for the left eye and paint over it with black paint.
- 4. Draw a large smile at the bottom of the pumpkin with a pencil.
- 5. Paint the smile black and allow to dry for one hour.
- 6. Paint the inside of the eyes white, careful to not crossover the black border. Allow to dry for 1 hour.
- 7. Using a small paintbrush dabbed in black paint, paint a small pupil in the right eye.
- 8. With the pink paint, paint a tongue coming out of the mouth face down. Once dry, draw a black line down the middle of the tongue.
- 9. ENJOY!!
Did you make this recipe?
Make sure to follow on Pinterest for more recipes!

Leave A Reply!