Double Stuffed Oreo Cake – The Ultimate Cookies & Cream Showstopper: Calling all Oreo lovers—this one’s for you. Imagine three layers of rich, chocolatey cake stacked high and frosted with the creamiest vanilla buttercream, then topped with mega stuffed Oreos and cookie crumbs for that final cookies-and-cream finish. Yep, it’s as decadent and dreamy as it sounds. Welcome to the world of Double Stuffed Oreo Cake.
Layers Worth Talking About
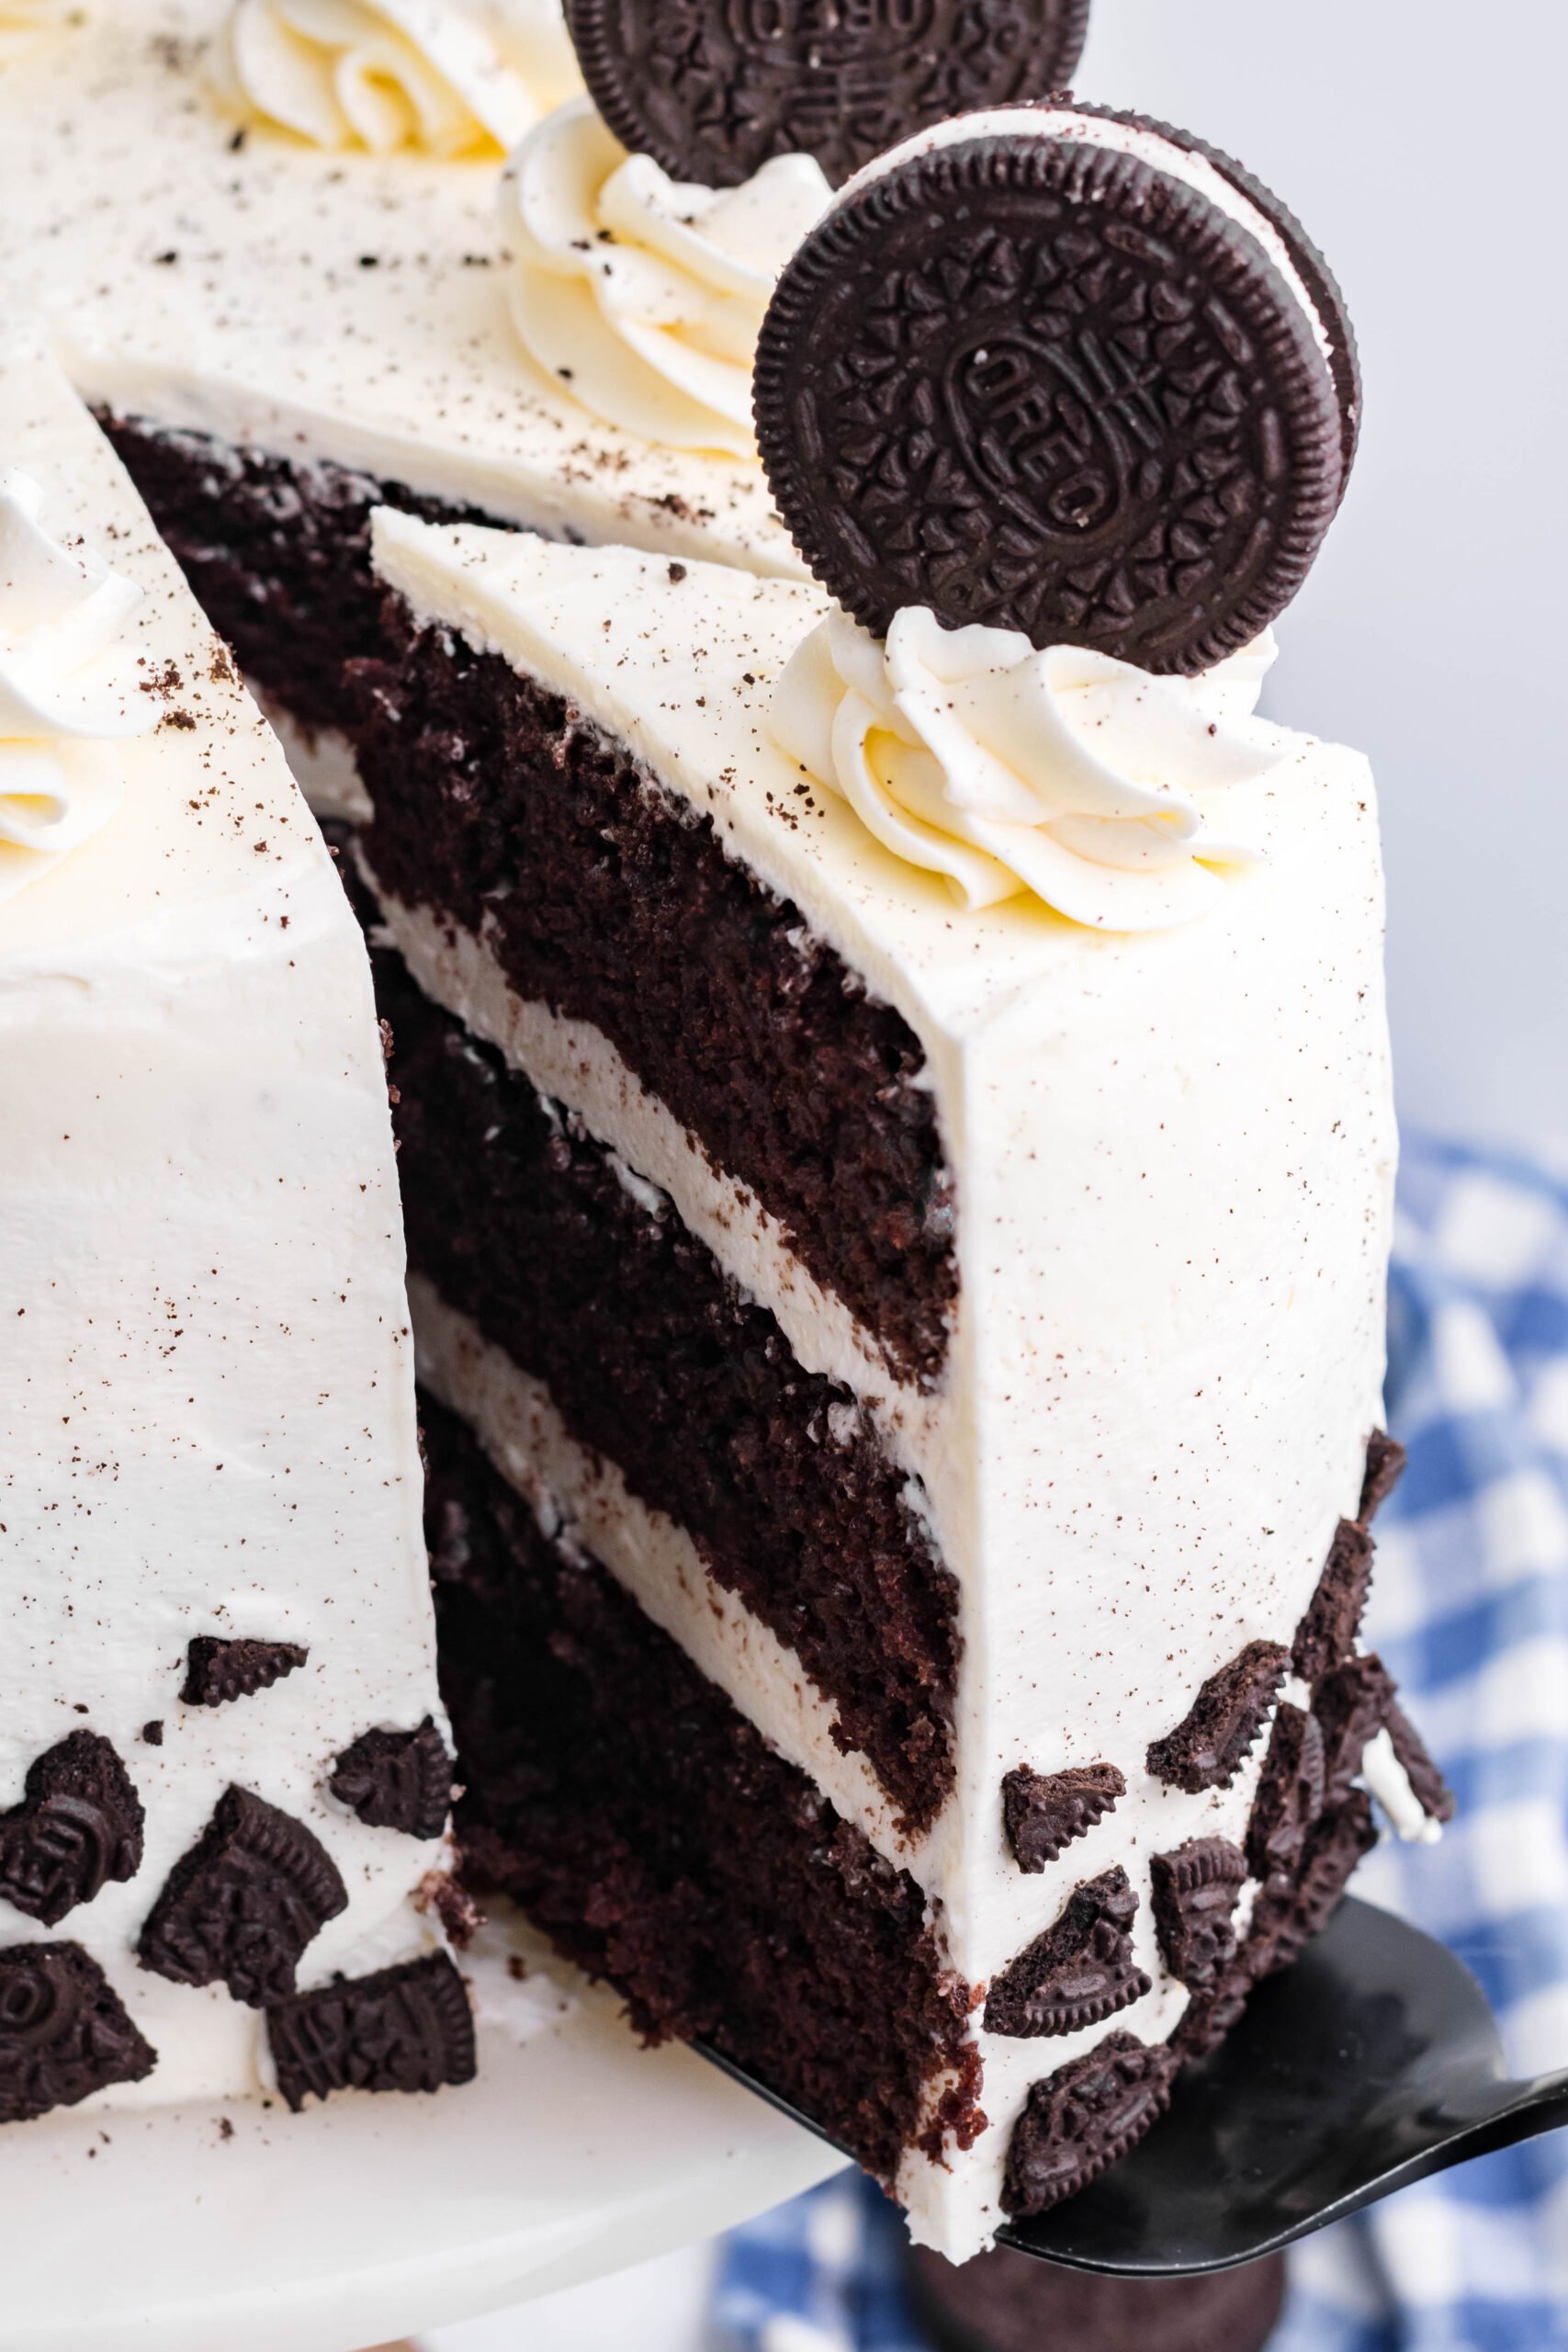
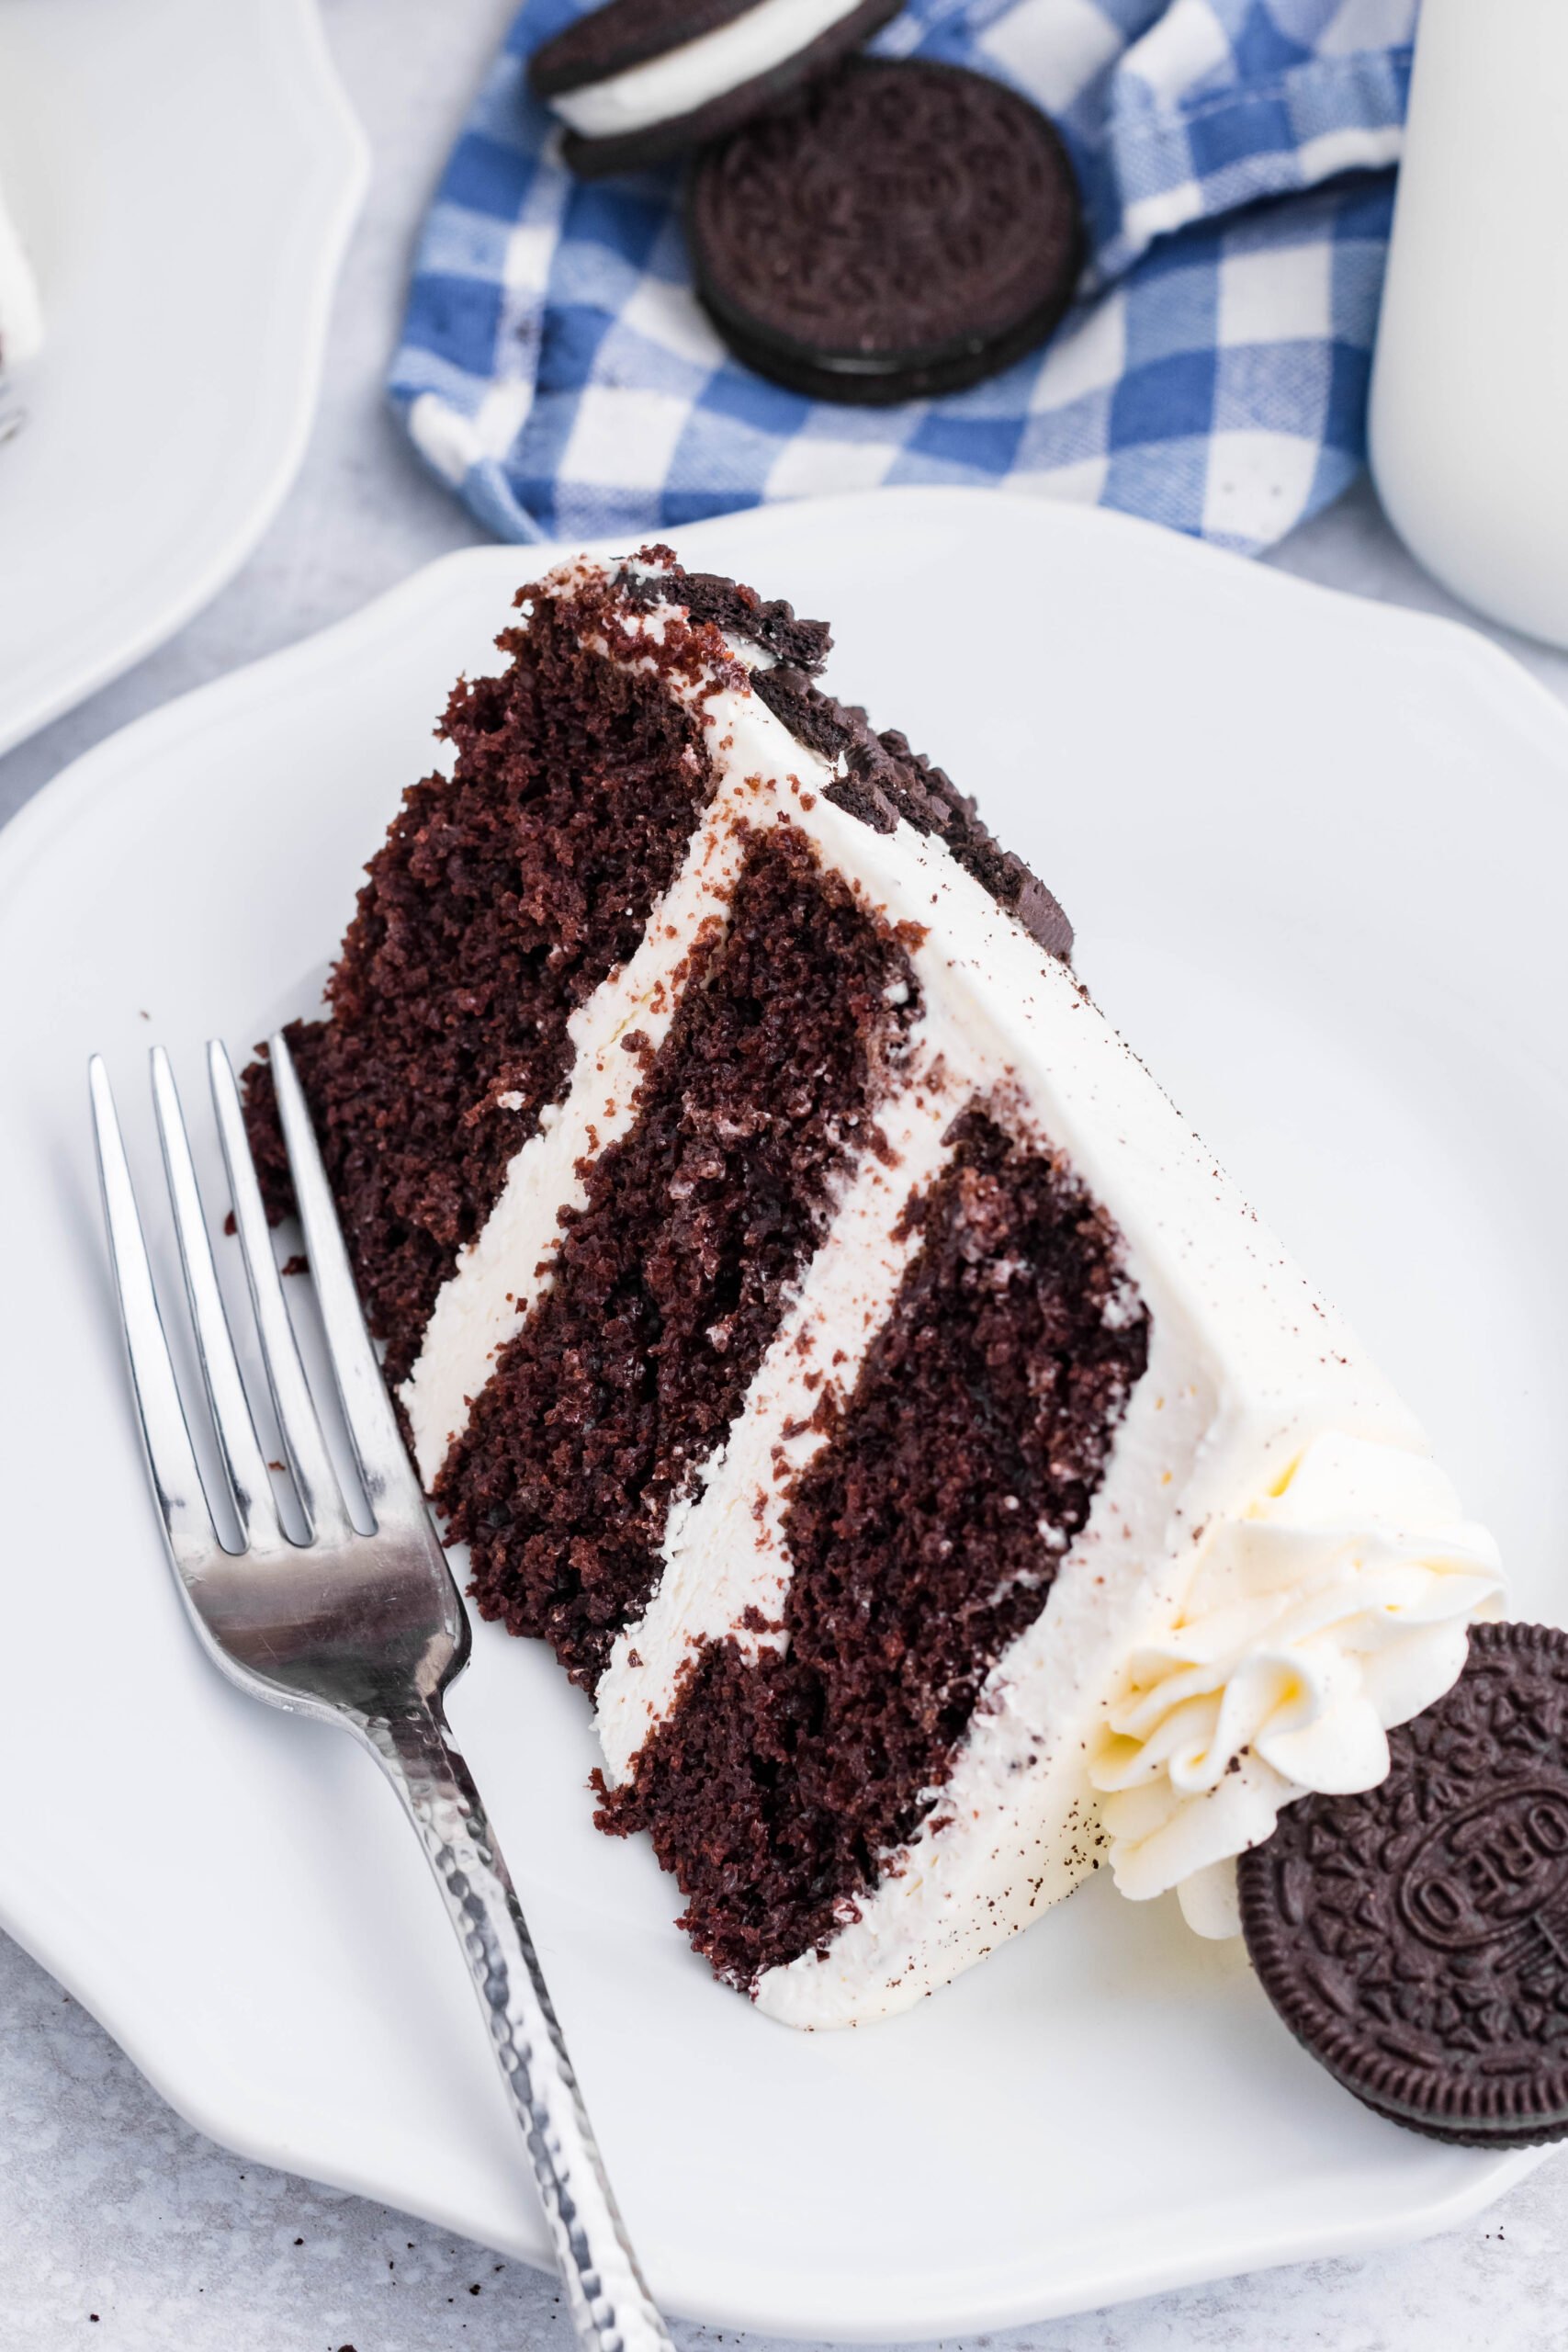
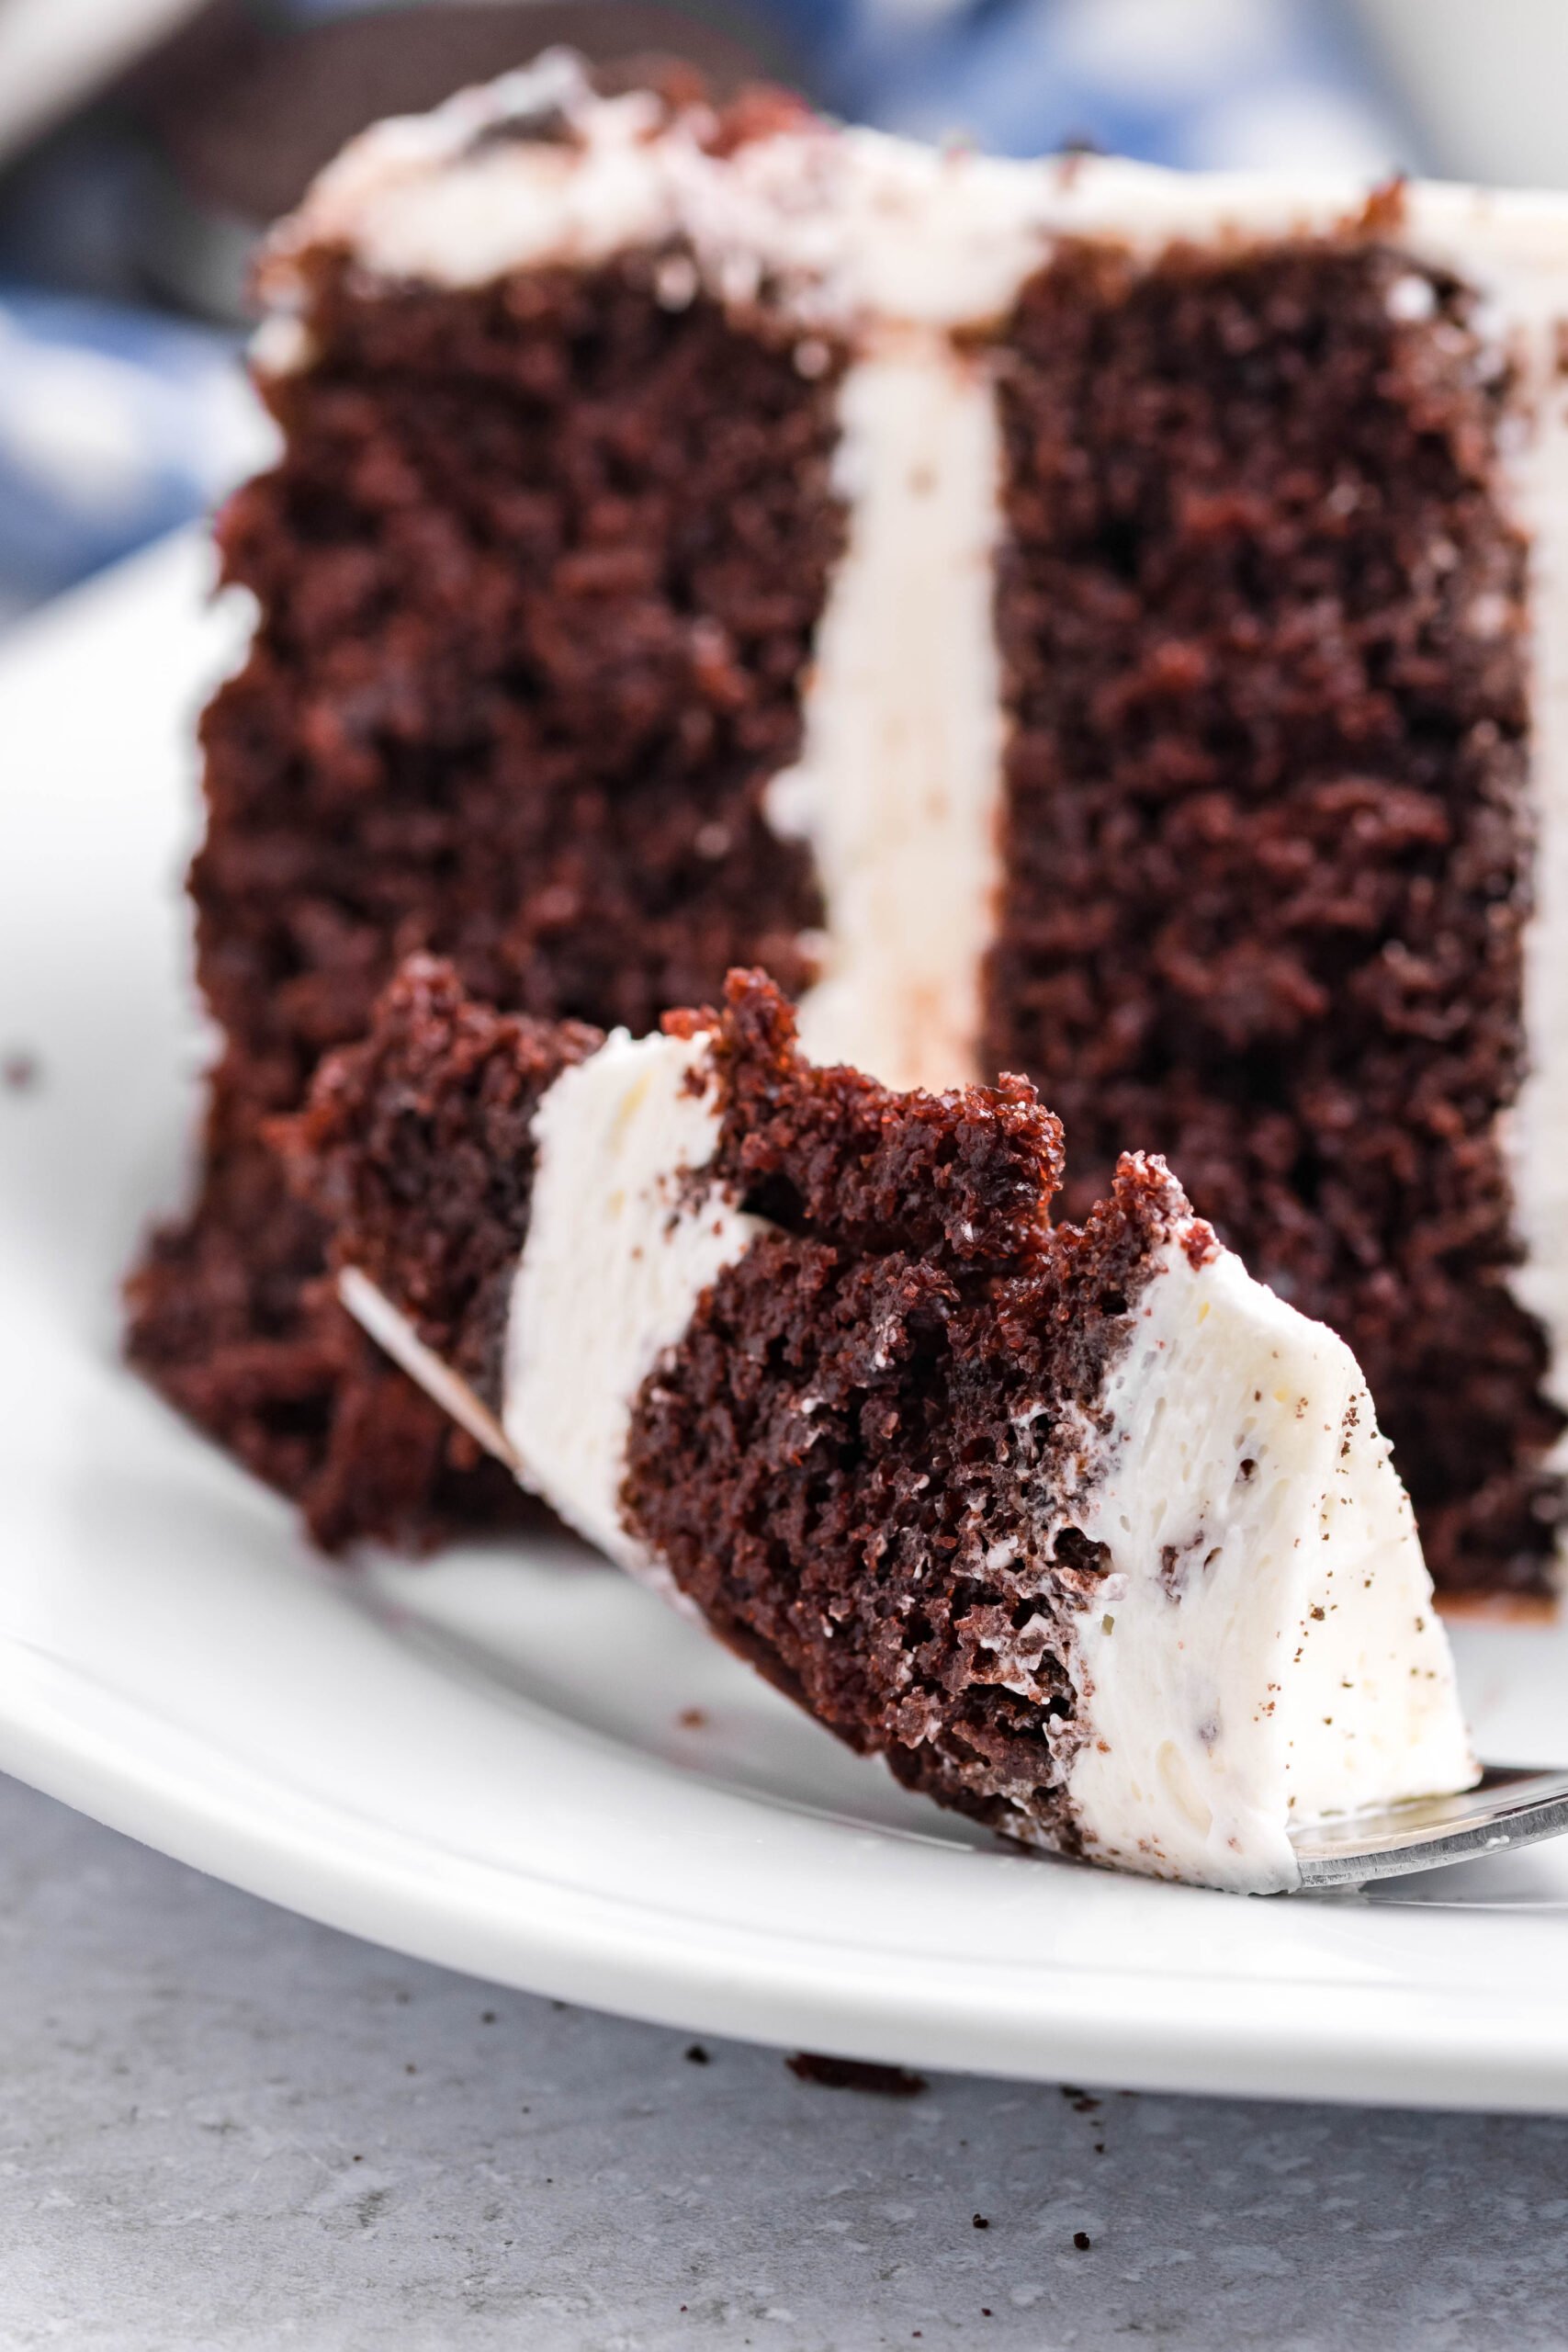
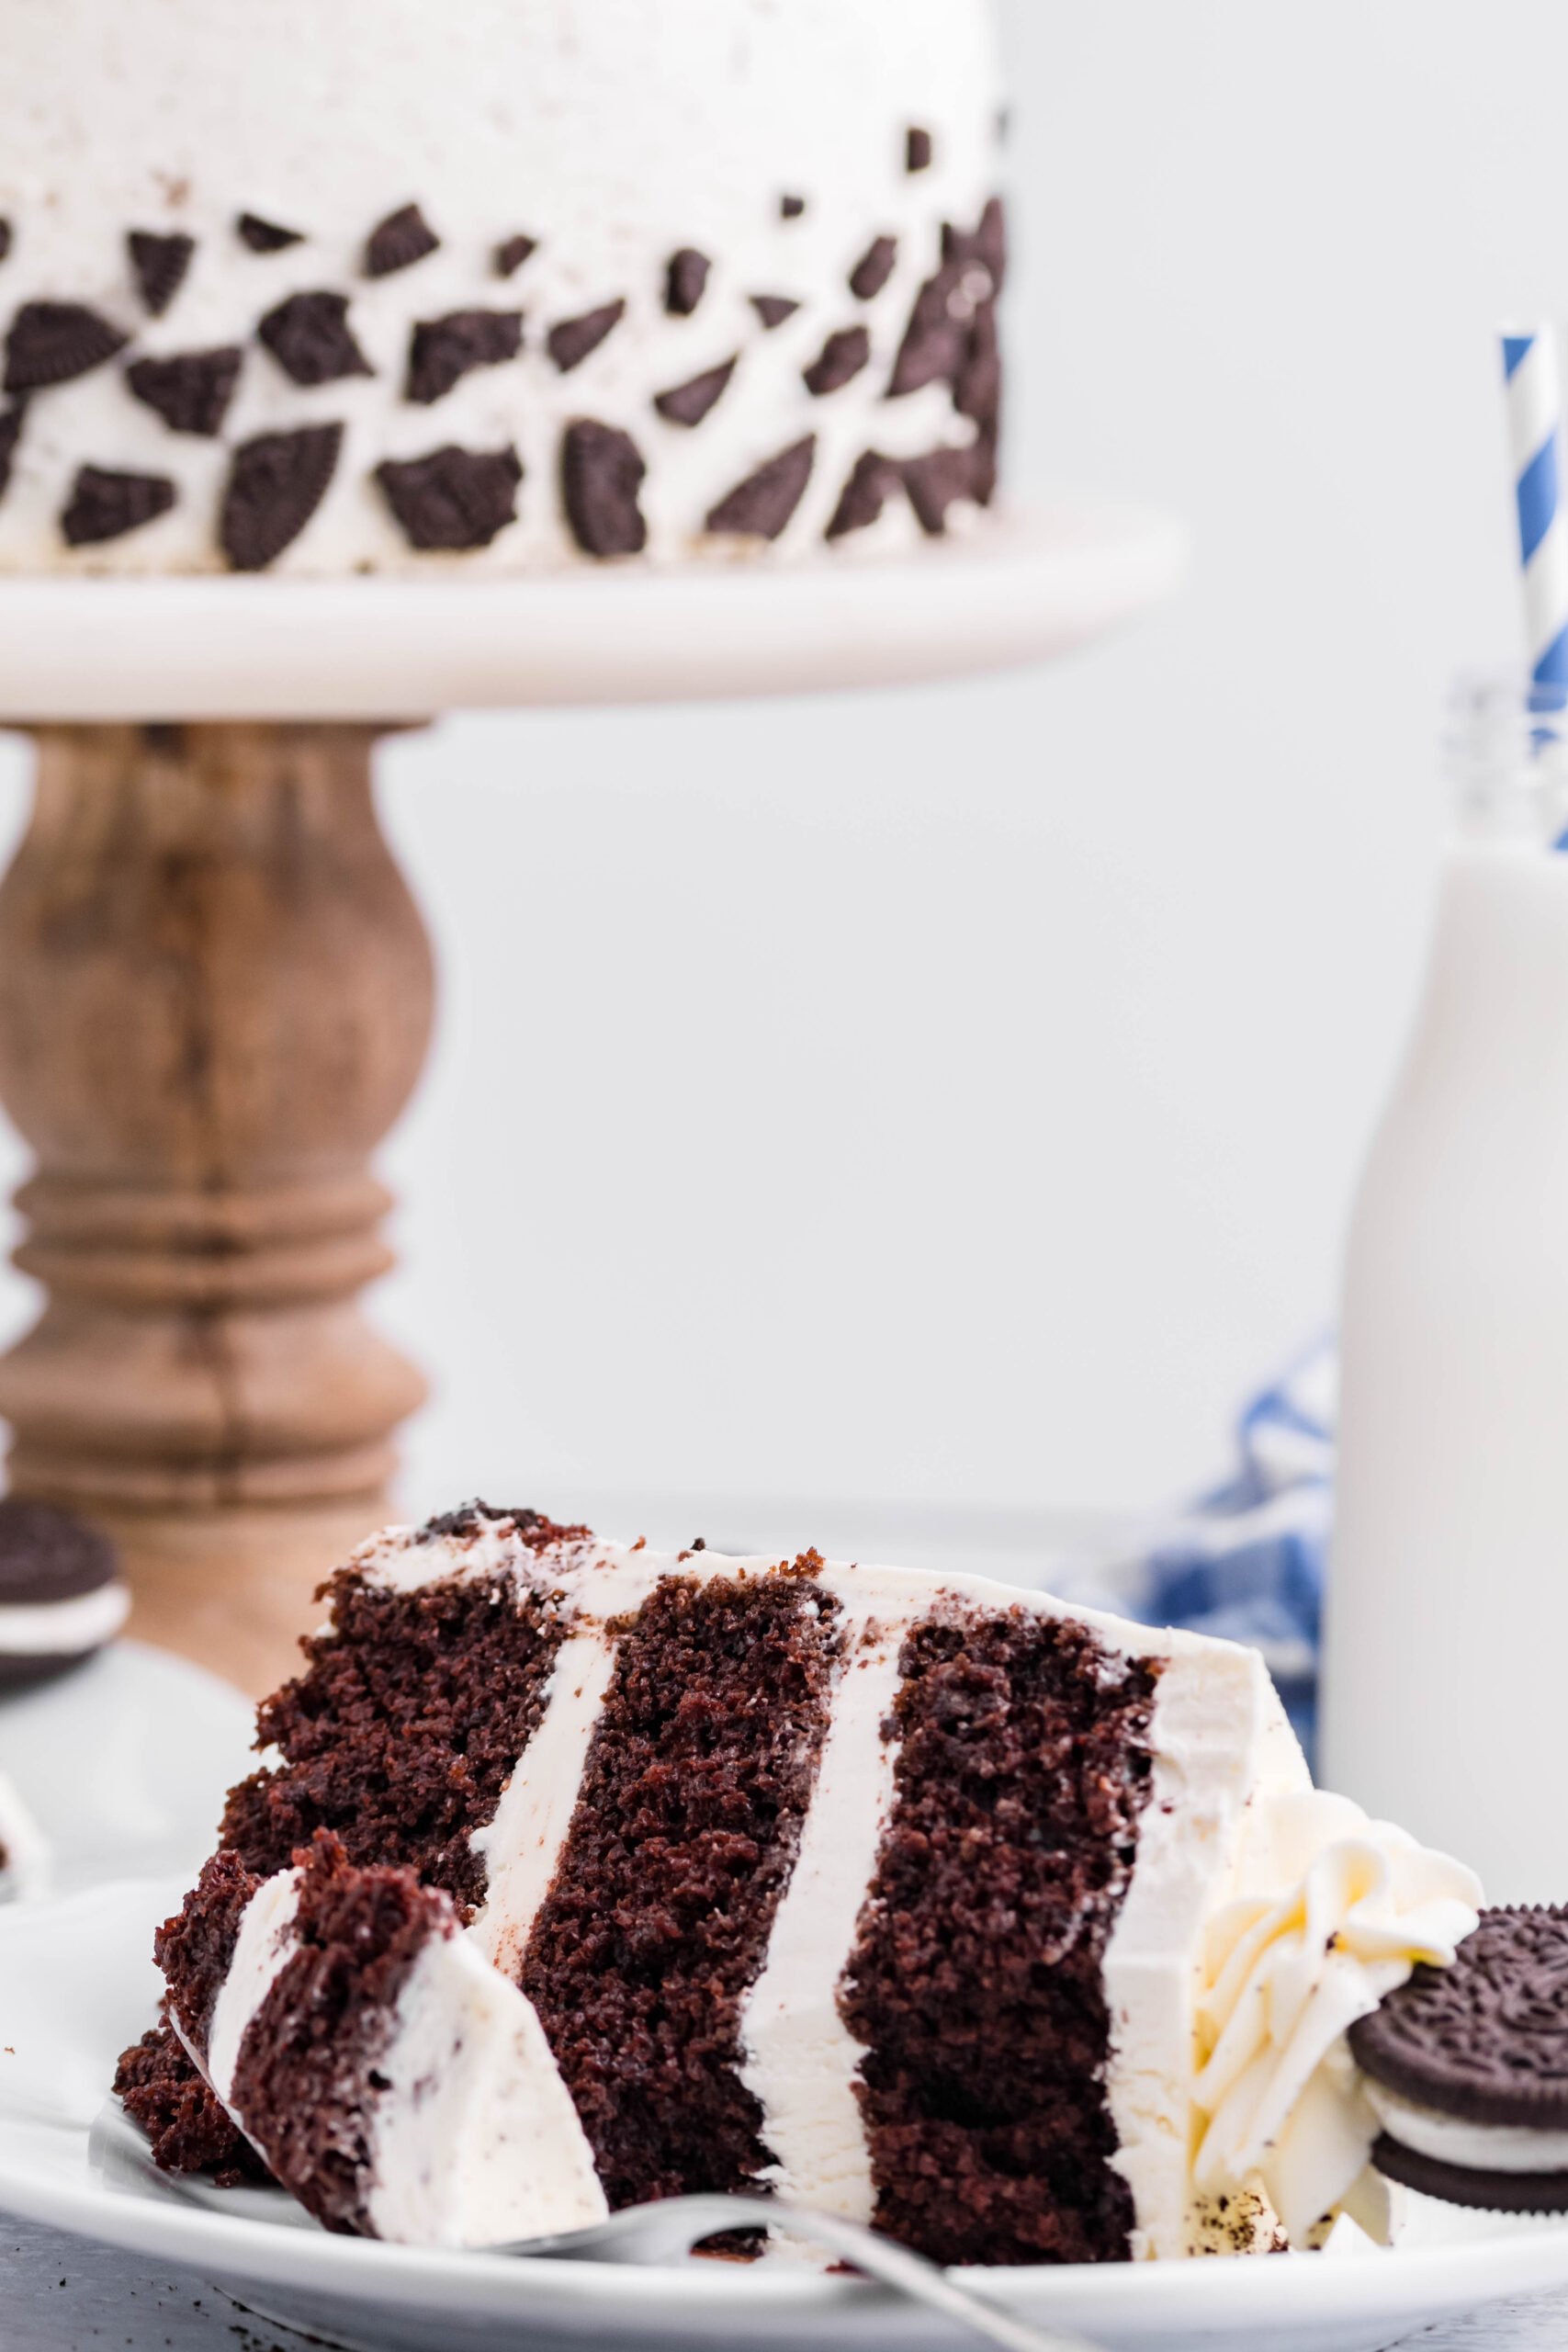
Let’s break it down. The cake layers themselves are rich and moist, with just the right amount of cocoa to give them that classic chocolate flavor without being too overpowering. Hot water in the batter makes everything extra tender and velvety, while the oil keeps it moist for days. It’s the kind of cake that stays soft even after chilling in the fridge—which means leftovers (if there are any) are just as good the next day. And then there’s the frosting. Oh, the frosting. It’s a light, fluffy vanilla buttercream made with plenty of butter and just enough cream to make it smooth and easy to spread. It’s sweet, but not too sweet—perfect for pairing with all that chocolate. You’ll be licking the spoon. (And the bowl. And maybe the beaters too.)
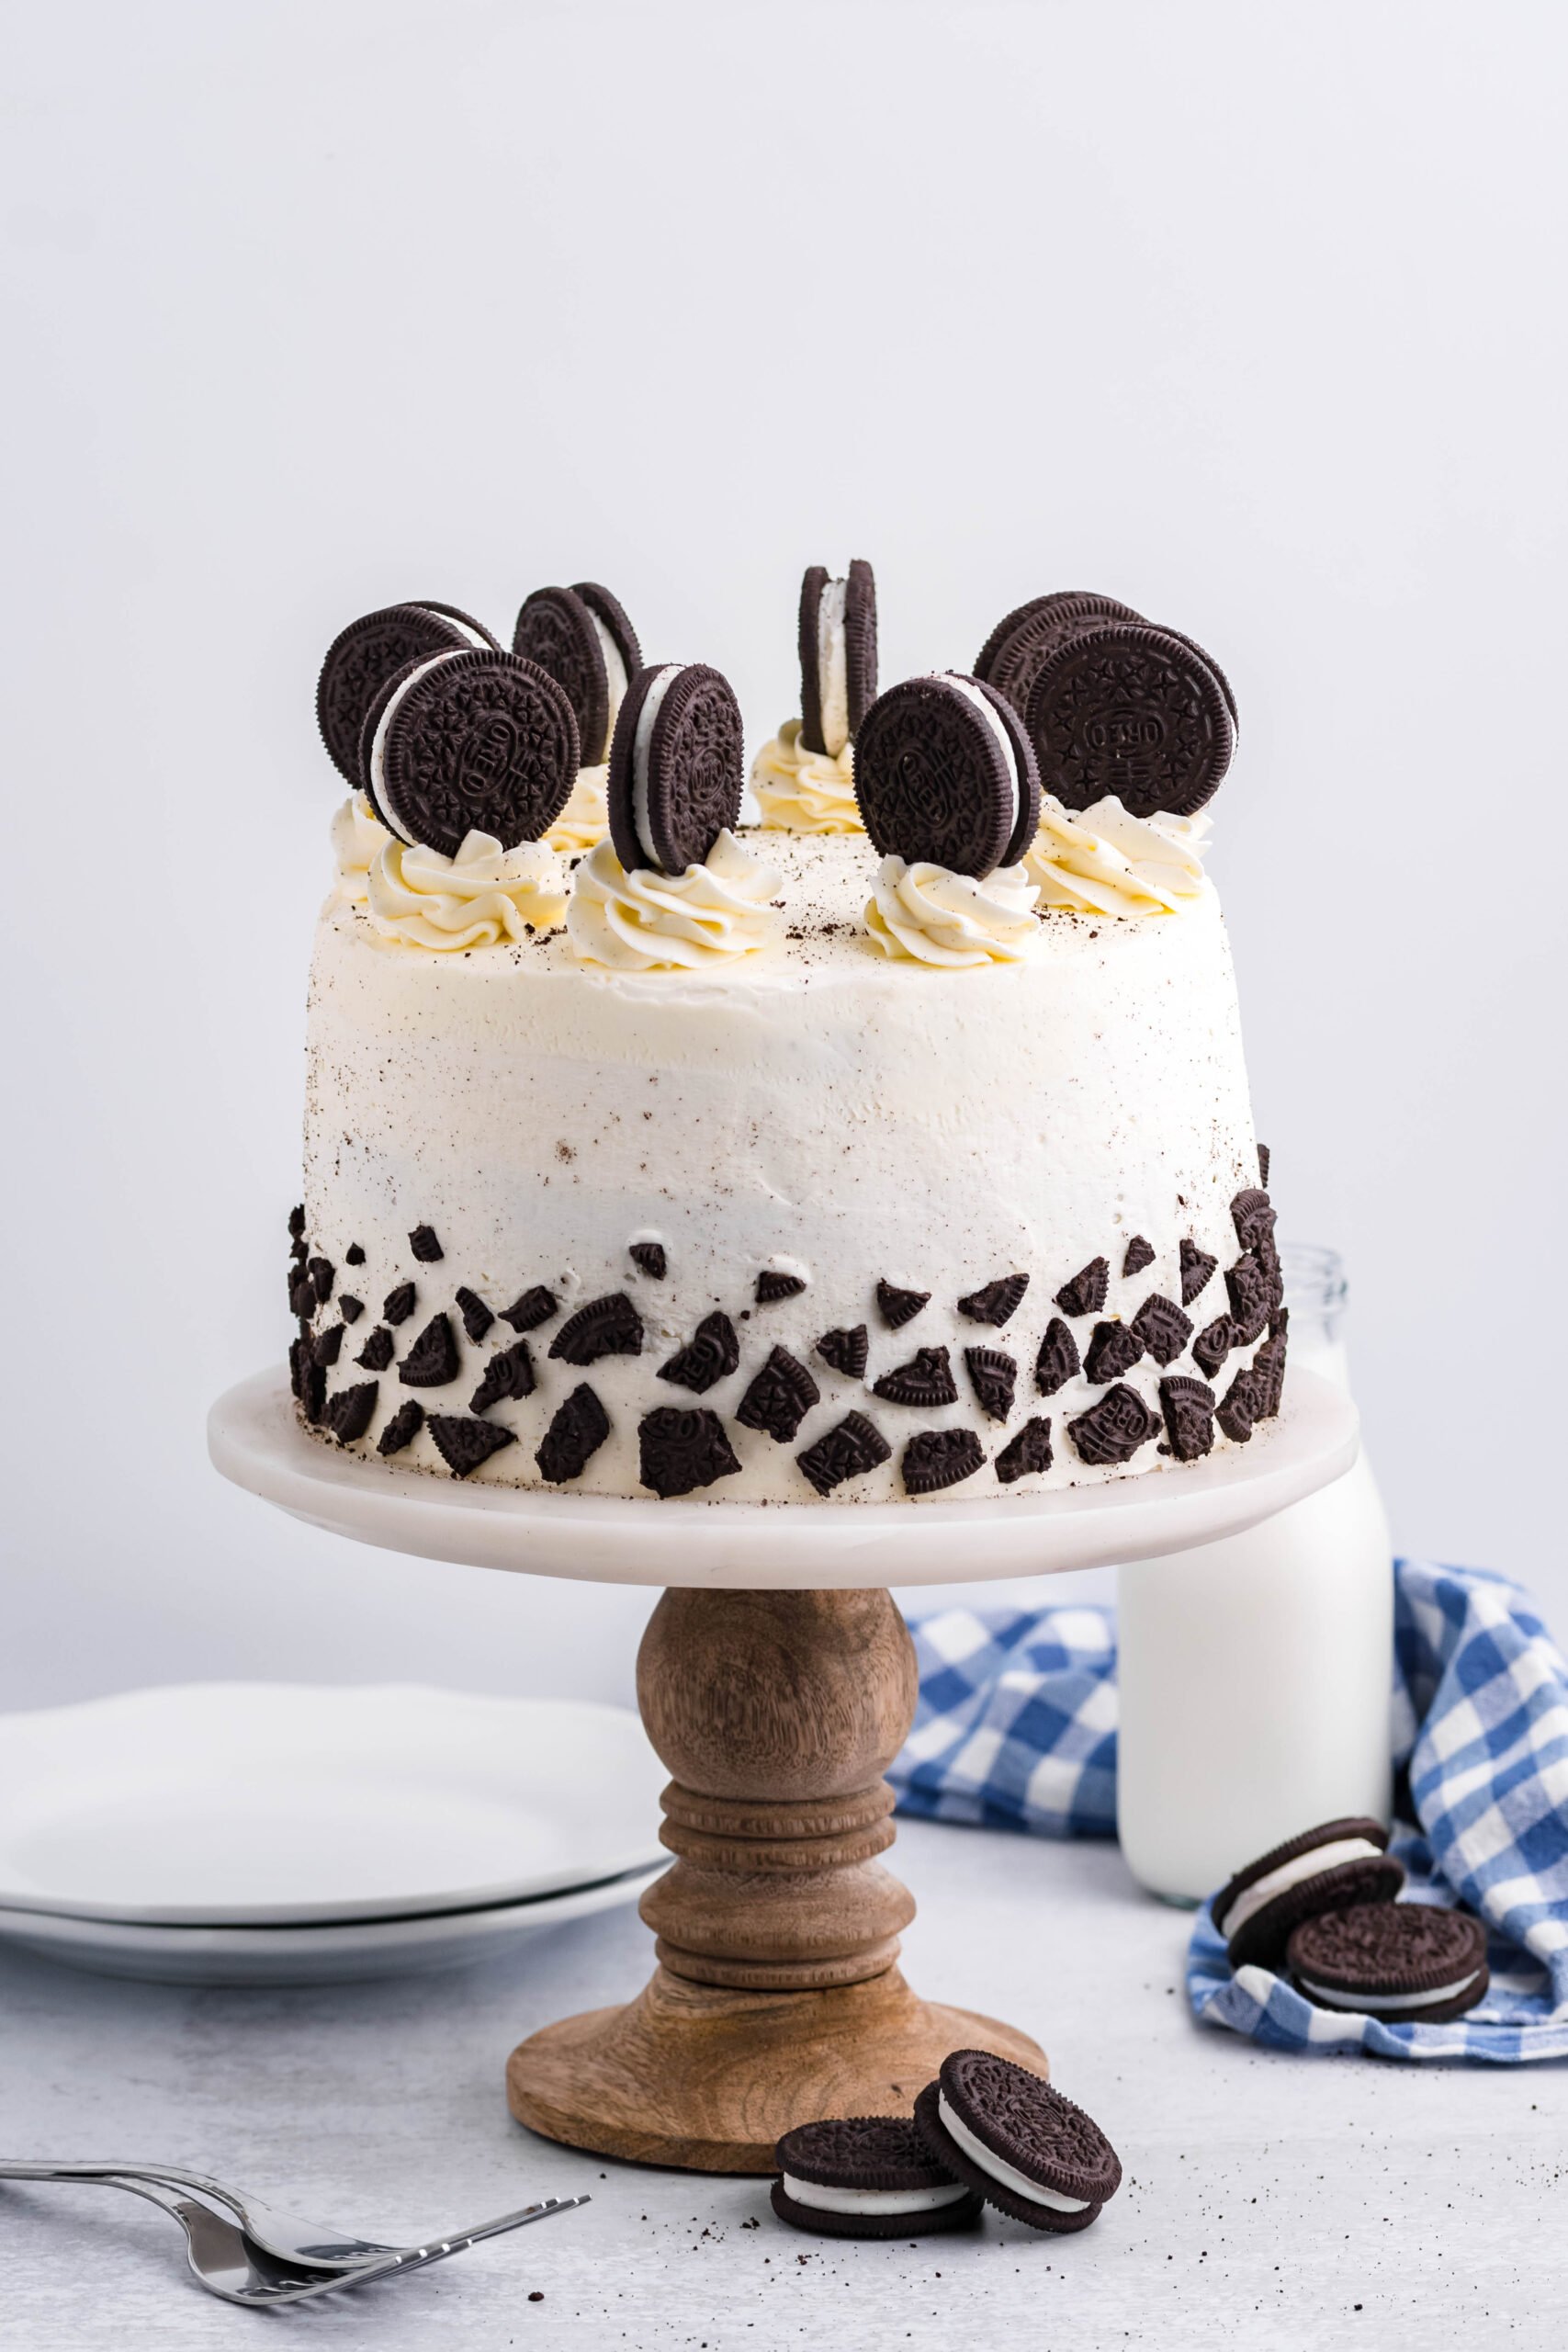
Create a moist and delicious dessert at home with this easy Double Stuffed Oreo Cake. The chocolate cake with homemade vanilla frosting and Oreo cookies on top will leave you wanting a second slice. This is not your average chocolate cake. It’s bold, it’s beautiful, and it’s got that nostalgic Oreo magic baked into every single bite. Whether you’re celebrating a birthday, showing off at a potluck, or just satisfying a serious cookie craving, this cake is guaranteed to steal the show.

Homemade Oreo Cake
Have you been looking for the perfect simple cake recipe to prepare for different occasions? Whether it’s a baby shower, family reunion, or even a birthday party, this Double Stuffed Oreo Cake is a great recipe to try. It won’t take long to make and will leave you with a fresh and flavorful treat to eat. Anyone who loves chocolate cake will enjoy the incredible chocolate taste and texture of this baked cake with its sweet frosting and added crunch from the cookie topping.

Why You’ll Love This Oreo Cake
- It’s a classic dessert. If you love chocolate cake with vanilla frosting, you’re going to enjoy this amazing dessert.
- You can make this a cake or you can pour it into a muffin tin and prepare it as cupcakes to make it even easier for yourself. It’s so simple to serve cupcakes instead of cutting through a cake, so it’s up to you!
- The cake tastes amazing. Nothing beats a homemade cake prepared with simple, fresh ingredients. You’ll love the flavor of this baked treat.
Double Stuffed Oreo Cake Ingredients
You can prepare this cake right from your kitchen using these ingredients:
- All-Purpose Flour – Start with the flour to create the sweet, chocolatey batter for the cake.
- Baking Powder – An ingredient that gives your cake an incredible texture, be sure to include this in your mixture.
- Unsweetened Cocoa Powder – Use the cocoa powder to add a chocolate taste to your cake batter.
- Vanilla Extract – Enhance the taste of your cake with vanilla extract.
You’re also going to need milk, salt, baking soda, vegetable oil, hot water, butter, eggs, and salt. In addition to these cake ingredients, you need a handful of other ingredients to prepare your sweet frosting, such as heavy whipping cream and powdered sugar. Don’t forget the Oreo cookies to add as a finishing touch on top of this cake.
Common Questions
What types of Oreo cookies should I use on top of this cake?
You can use any type of Oreo cookie for the toppings of this cake. Whether you want the Double Stuffed kind or any of the fun flavors they currently sell at the store, it’s totally fine. Use what you like to make this cake taste as good as possible!
Can I add other toppings to this cake?
You can add more toppings. Along with the crushed pieces of cookies, you can add some chocolate syrup, caramel syrup, whipped cream, cherries, and even strawberry slices. The choice is up to you!
What should I do if I don’t have heavy whipping cream?
If you don’t have heavy whipping cream, you have two options. You can use half-and-half as an alternative ingredient or you can prepare your heavy whipping cream by combining whole milk with melted butter.
Which type of unsweetened cocoa powder should I use?
You can use any brand of unsweetened cocoa powder for this recipe. Not sure which one would be good? Hershey’s makes a delicious unsweetened cocoa powder perfect for preparing baked goods. If you can’t find it, you can use any other brand!

The Oreo Factor
This cake isn’t just “Oreo inspired”—it’s loaded with Oreo love from top to bottom. We’re talking Double stuffed Oreos on top, Oreo crumbs sprinkled all over, and that classic cookies-and-cream combo in every layer.
Want to take it even further? You can fold some crushed Oreos right into the frosting for a true cookies-and-cream filling. Totally optional, but highly recommended for Oreo superfans.

Assembly Tips for Cake Success
Don’t be intimidated by the layers—this cake is easier to build than it looks. Chilling your cake layers before assembling makes them easier to work with and helps prevent sliding or leaning. And while it’s tempting to go heavy on the frosting, a light crumb coat followed by a chill in the fridge helps keep things clean and smooth before that final, glorious frosting layer goes on.
Once it’s frosted, go wild with the toppings. Pipe a ring of frosting on top, crown it with those mega stuffed Oreos, and finish it off with a generous sprinkle of cookie crumbs. You can even drizzle on a little chocolate sauce for extra flair. This cake wants to be over the top.

How to Serve (And Store… If You Have Leftovers)
This beauty is best served at room temperature so the frosting is soft and the flavors really shine. If you’ve stored it in the fridge, just let it sit out for 30 minutes before slicing.
It’ll keep well in an airtight container at room temp for a couple of days, or in the fridge for up to three days—though we’re betting it won’t last that long.
Recipe Notes
- When preparing your frosting for the cake, be sure to whip it long enough to the point that it has a whipped consistency. If it doesn’t feel whipped enough, continue mixing until it gets to that point.
- If you notice that your frosting feels a bit too thick, feel free to add a tablespoon or two of heavy whipping cream to it. The frosting should be light and fluffy, making it easy to spread over your cake when you’re ready.
- Let your cake cool down completely before you begin adding frosting to the layers of the cake. You also need to let the cake sit in the fridge for around 15 minutes before adding that final layer of frosting to it.
Double Stuffed Oreo Cake is a dessert that says, “Go big or go home.” It’s rich, fun, indulgent, and guaranteed to make any day feel like a celebration. Whether you’re making it for someone else or just because you really love Oreos, it’s a recipe that brings smiles, second helpings, and maybe a few happy food comas. So grab your mixer, a pack of Oreos, and your biggest appetite—you’ve got a masterpiece to make.
More Recipes You Will Love!
Chocolate-Mint Oreo Cheesecake

Double Stuffed Oreo Cake
Ingredients
- 2 cups all-purpose flour
- ¾ cup unsweetened cocoa powder
- 2 cups sugar
- 2 teaspoon baking soda
- 1 ½ teaspoon baking powder
- 1 teaspoon salt
- ¾ cup butter room temperature
- 2 large eggs
- 1 cup milk
- 1/2 cup vegetable oil
- 1 teaspoon vanilla extract
- 1 cup hot water
Frosting
- 3 cups butter room temperature
- 12 cups powdered sugar
- 1 tablespoon vanilla
- ½ cup heavy whipping cream
- Double Stuffed Oreo cookies for topping
Instructions
Cakes
- Preheat your oven to 350 degrees F. and prepare three 8-inch cake pans by spraying generously with non-stick spray and line the bottom with a circle of parchment paper and set aside.
- In a stand mixer equipped with a whisk attachment, add the flour, sugar, cocoa powder, baking soda, baking powder, and salt. Whisk to combine.
- In a medium bowl or liquid measuring glass, add the eggs, milk, vegetable oil, and vanilla and whisk to combine. With the mixer on low speed, slowly pour the liquid into the dry ingredients and mix until combined. Scrape the sides and bottom of the bowl.
- Last, carefully pour in the hot water and mix on low speed until combined. Increase to high speed for about one minute.
- Divide the batter evenly between the three prepared cake pans and bake for 20-23 minutes until a toothpick inserted in the center of each cake comes out clean.
- Remove from the oven and allow the cakes to cool in the pans for 10 minutes then flip onto a wire rack to cool completely.
- Once the cakes are cool, you can wrap them in plastic wrap and refrigerate them until you are ready to assemble. I recommend chilling your cakes for at least an hour to make them easier to assemble, however it is not required.
Frosting
- Once you are ready to assemble, prepare the buttercream by adding the butter into a stand mixer equipped with a paddle attachment and cream on high speed for 4-5 minutes until smooth with no lumps.
- Add half of the powdered sugar and mix until combined. Scrape the sides and bottom of the bowl.
- Slowly pour in the heavy whipping cream and vanilla extract and mix on low speed until combined.
- Add the remaining powdered sugar and mix on low speed until combined.
- Once the powdered sugar is all combined. Turn the mixer on med-high speed and mix for 3-4 minutes to get a nice whipped consistency.
Assembly
- If needed, remove the domes off of the cake layers by using a large serrated knife.
- Place one cake layer face down on a cake serving tray and top with about 1 ½ cups frosting and smooth evenly. Repeat with the remaining cake layers.
- Smooth a thin layer of frosting over the outside of the cake making sure to seal in all of the crumbs.
- Refrigerate for 10-15 minutes. Remove the cake and apply another thicker layer of frosting over the entire cake and smooth.
- Use any left-over frosting and pipe a ring of frosting around the top of the cake using a large star piping tip. Top with additional mega stuffed Oreo cookies and sprinkle with oreo cookie crumbs if desired.
- You can keep the cake in an airtight container at room temperature for up to two days, or refrigerated up to three days.
- Bring to room temperature before serving and enjoy!
Did you make this recipe?
Make sure to follow on Pinterest for more recipes!

Leave A Reply!