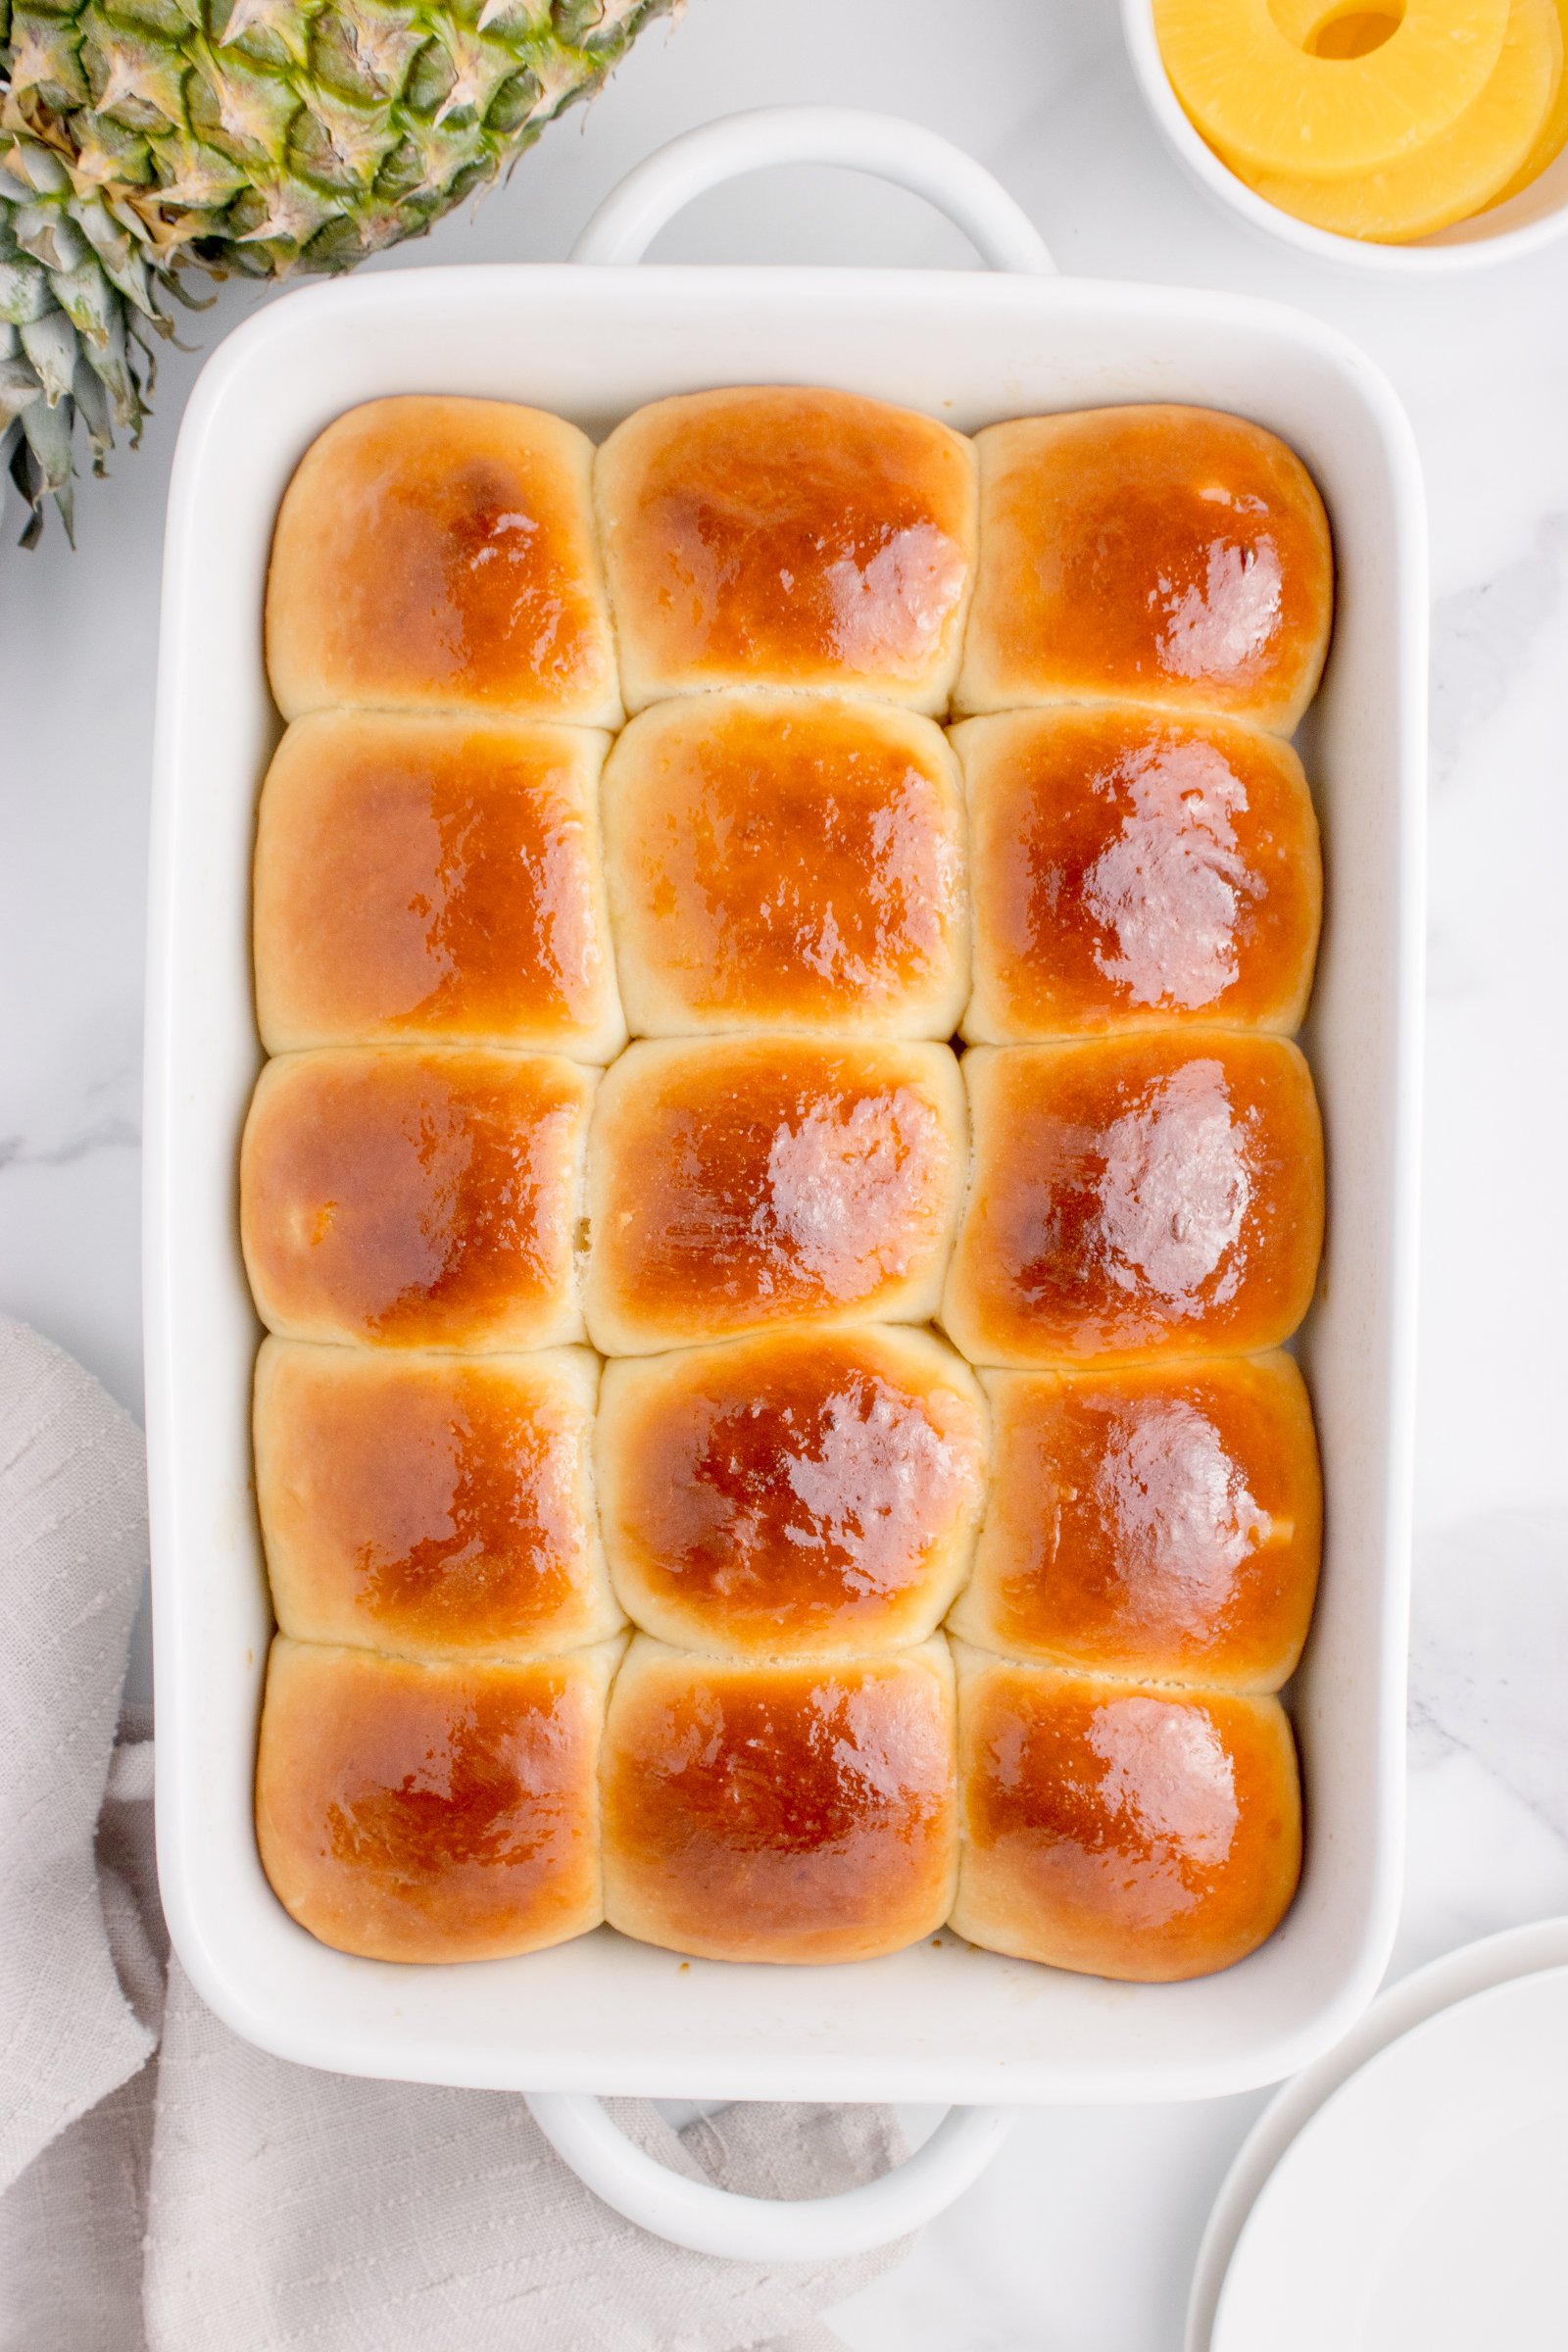
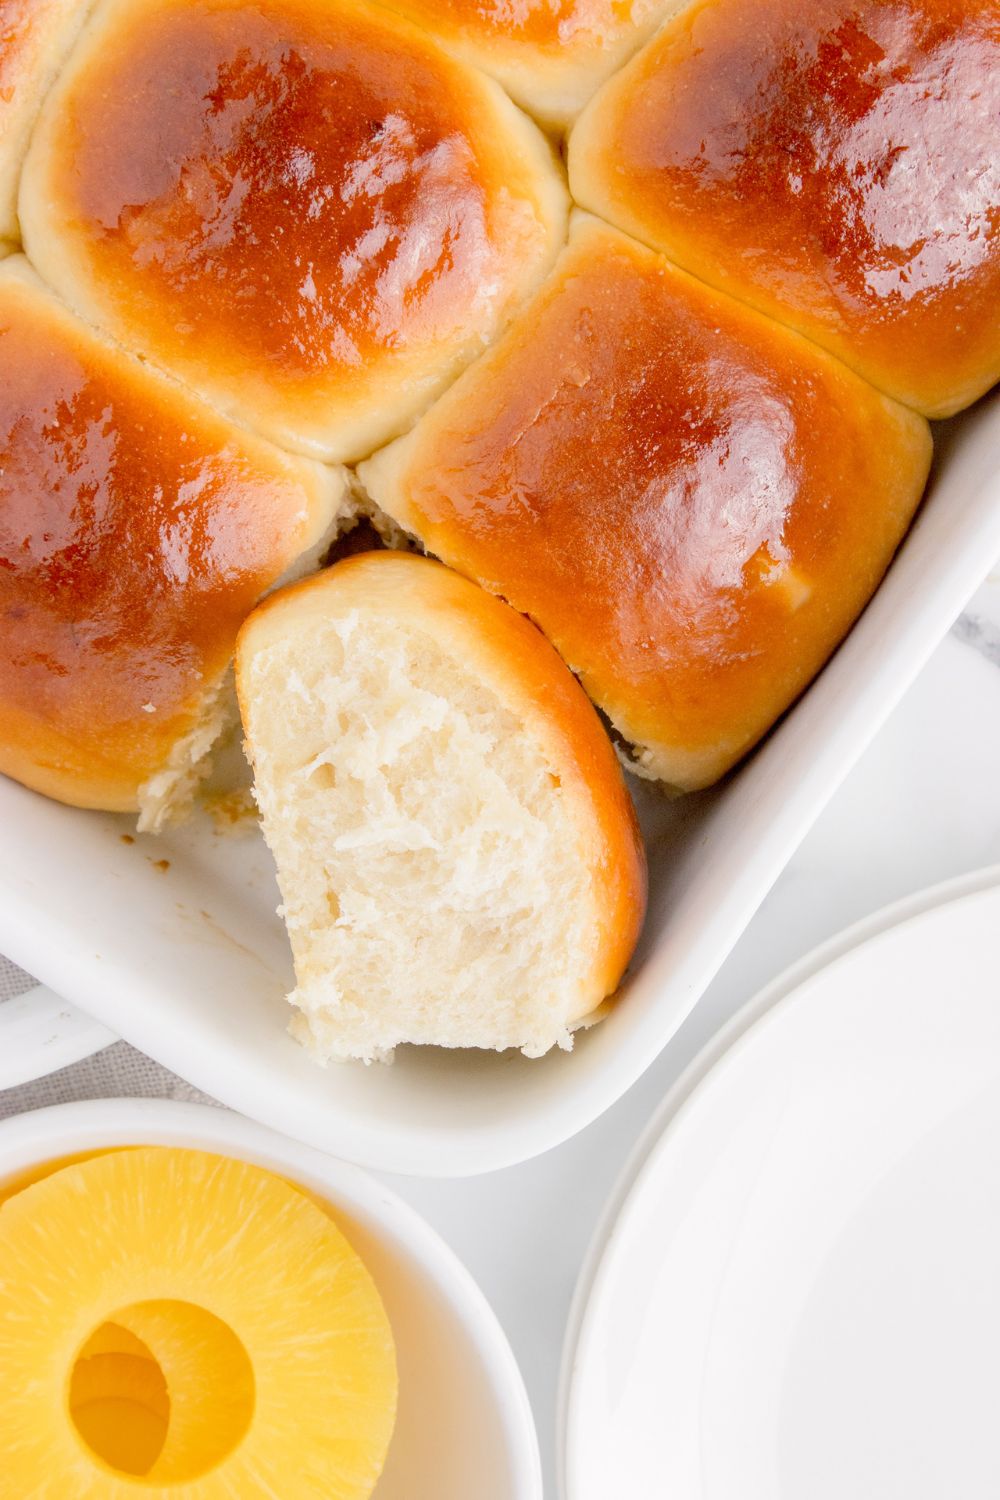
Learn how to making soft, sweet Hawaiian Dinner Rolls with pineapple, sugar, and butter. These are perfect for dinners, sliders, or sides. This is an easy homemade recipe with a pillowy texture! They’re Soft, Sweet, and Irresistible! If you’ve ever had a warm, fluffy Hawaiian dinner roll, you know exactly why they’re such a crowd-pleaser. These little golden bites of heaven are soft, sweet, and just the right balance of rich flavor. Whether served at a family dinner, holiday meal, or special occasion, Hawaiian dinner rolls are always a hit. But what makes them so irresistible? Let’s dive into why these rolls are a must-have at your next meal!
This Hawaiian dinner roll recipe combines flour, pineapple, sugar, and yeast to form a soft dough. After rising, the dough is shaped, baked, and brushed with butter for sweet, pillowy rolls. Perfect for any meal!
These rolls are great for making and freezing to pair with your dinners, serving up during a holiday feast, or just snacking on. Bread lovers will devour these, bite by bite.
Versatility for Every Occasion
While Hawaiian dinner rolls are great on their own, they are also incredibly versatile. These rolls are a fantastic side dish to serve alongside grilled meats, barbecued chicken, salads, or even a hearty pot roast. They’re often served at holiday gatherings, particularly at Thanksgiving or Christmas, because they pair perfectly with everything from roasted meats to mashed potatoes and gravy.
You can even use them to make small sandwiches or sliders, especially when paired with ham and cheese for a quick and delicious snack. The sweetness of the rolls complements the savory fillings, creating a balance that everyone loves.
Do you love bread like most of us?
Here are a few of our favorite bread recipes to try out and devour those carbs.
What Makes Hawaiian Dinner Rolls So Special?
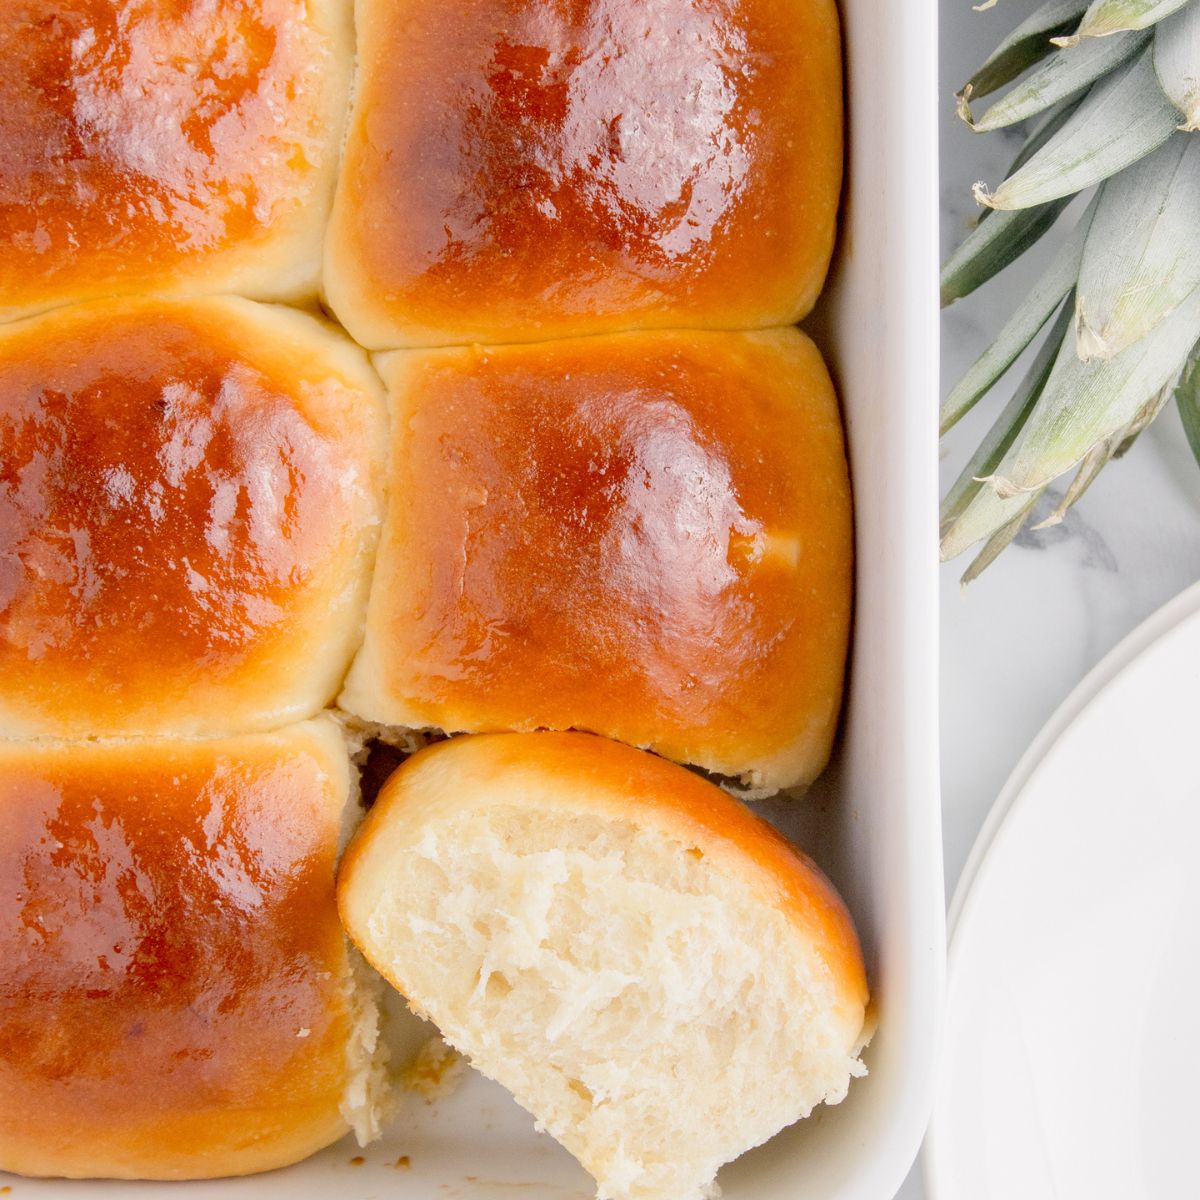
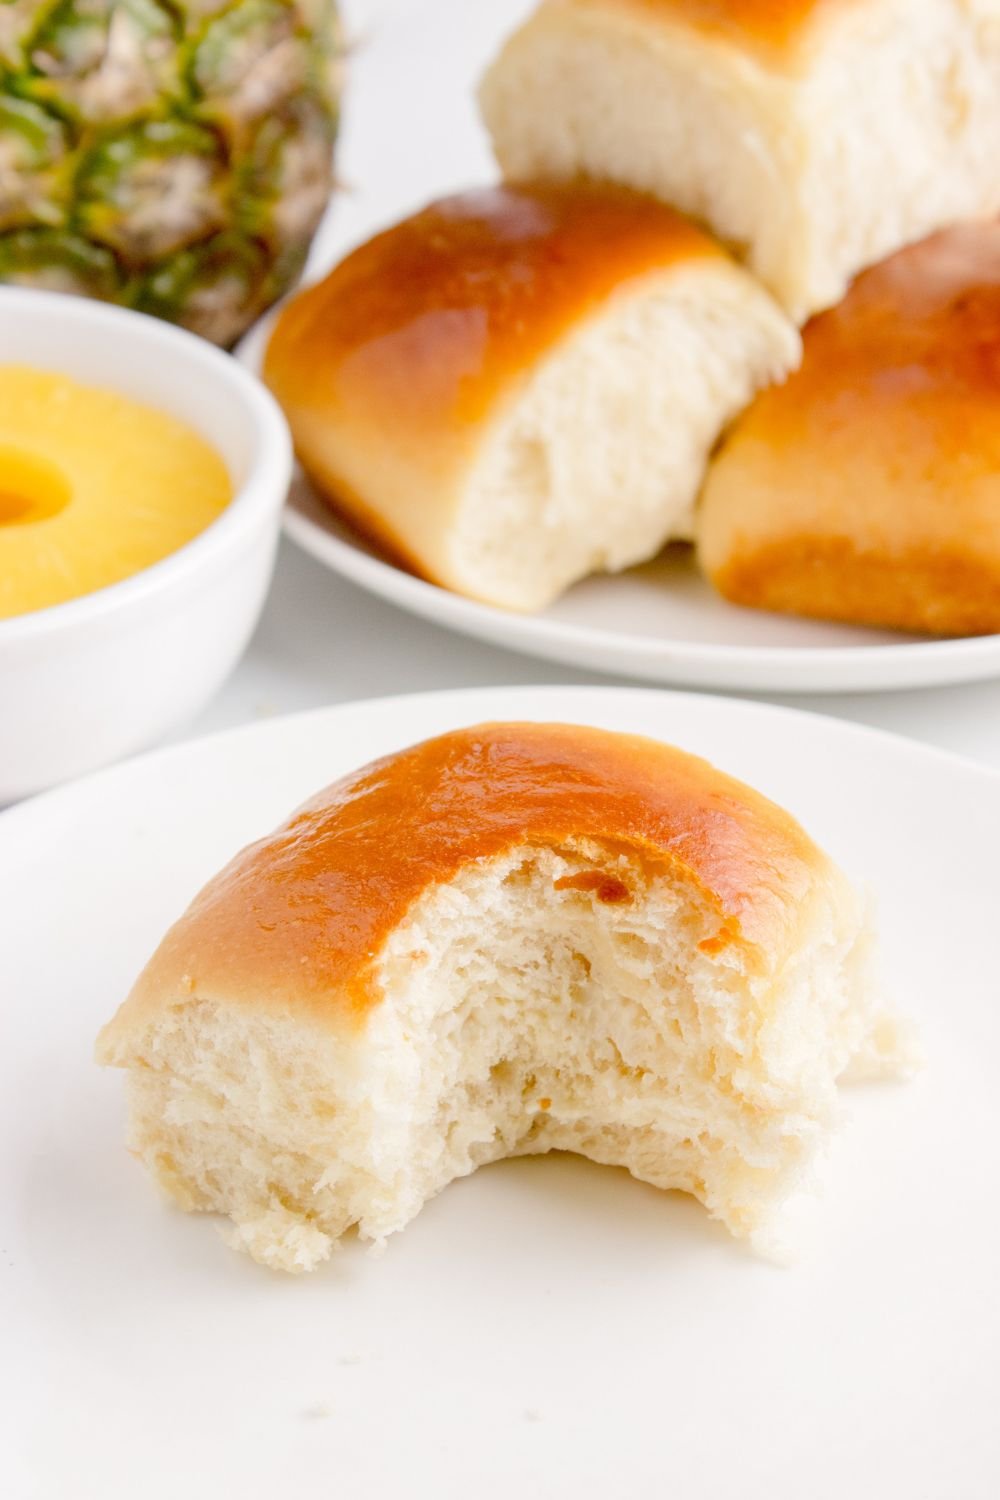
Hawaiian dinner rolls are famous for their sweetness and tender texture. The unique flavor comes from the addition of pineapple juice or honey, which gives them that subtle sweetness without being overpowering. This sweetness is what sets them apart from other bread rolls and makes them the perfect complement to savory dishes. The addition of butter also helps make them incredibly soft, almost melt-in-your-mouth tender.
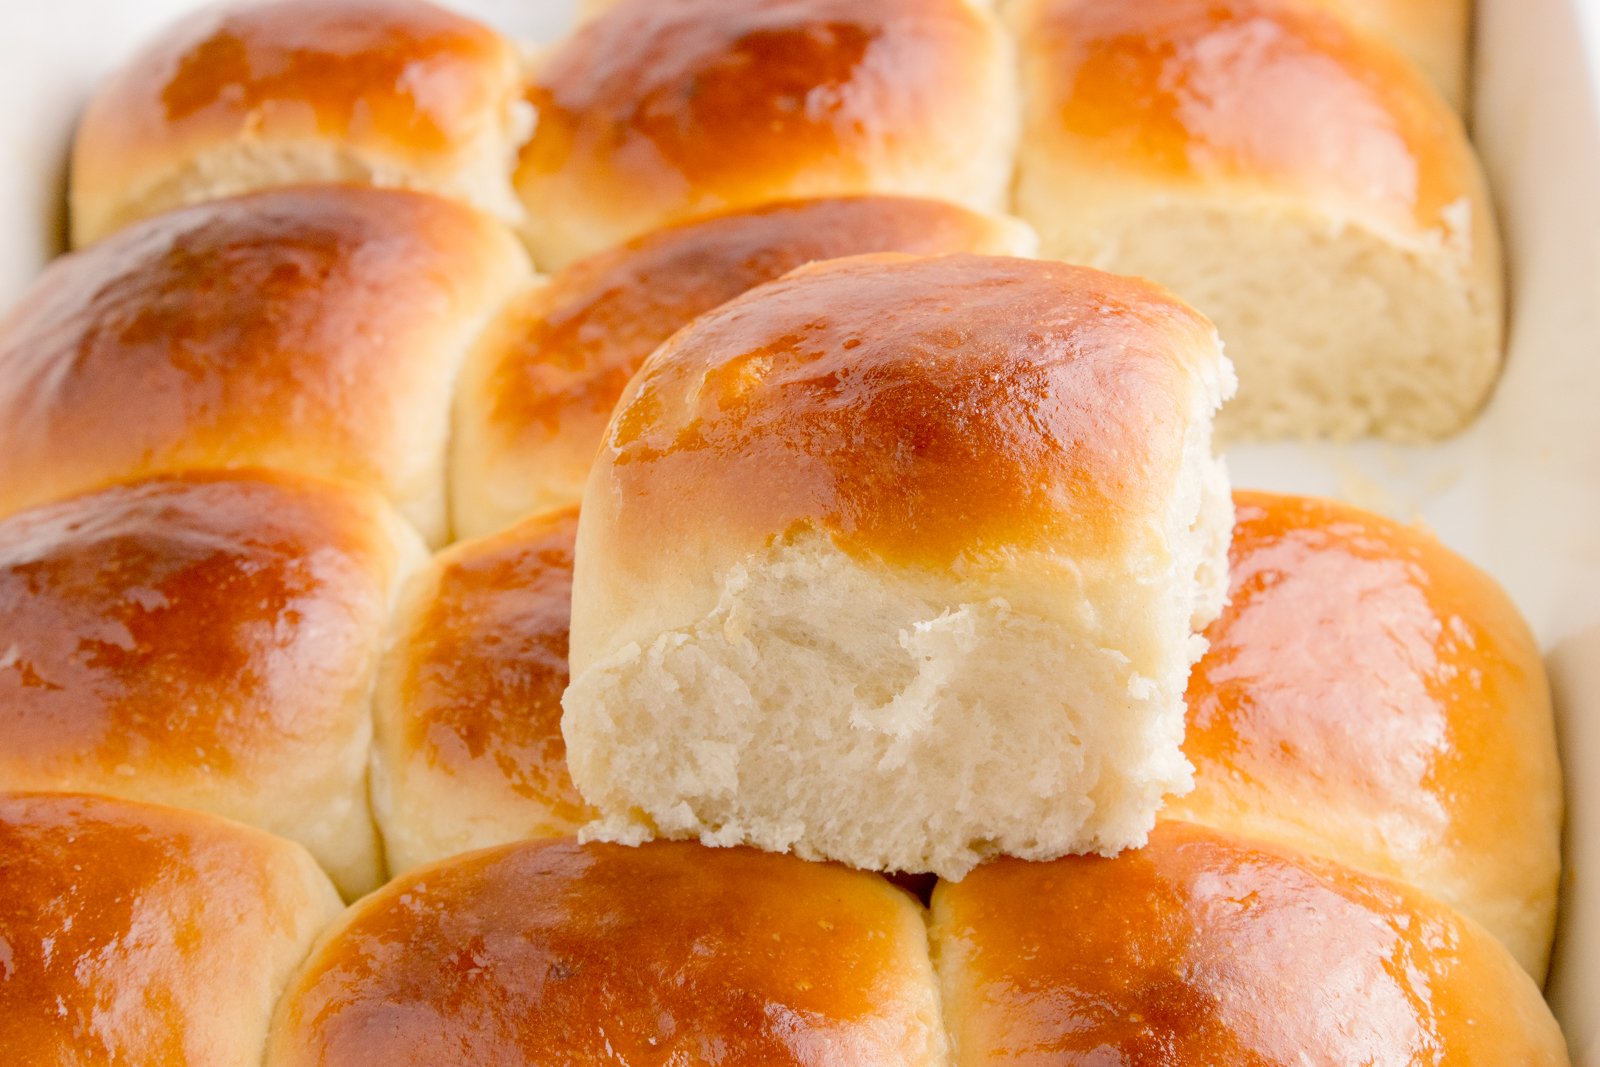
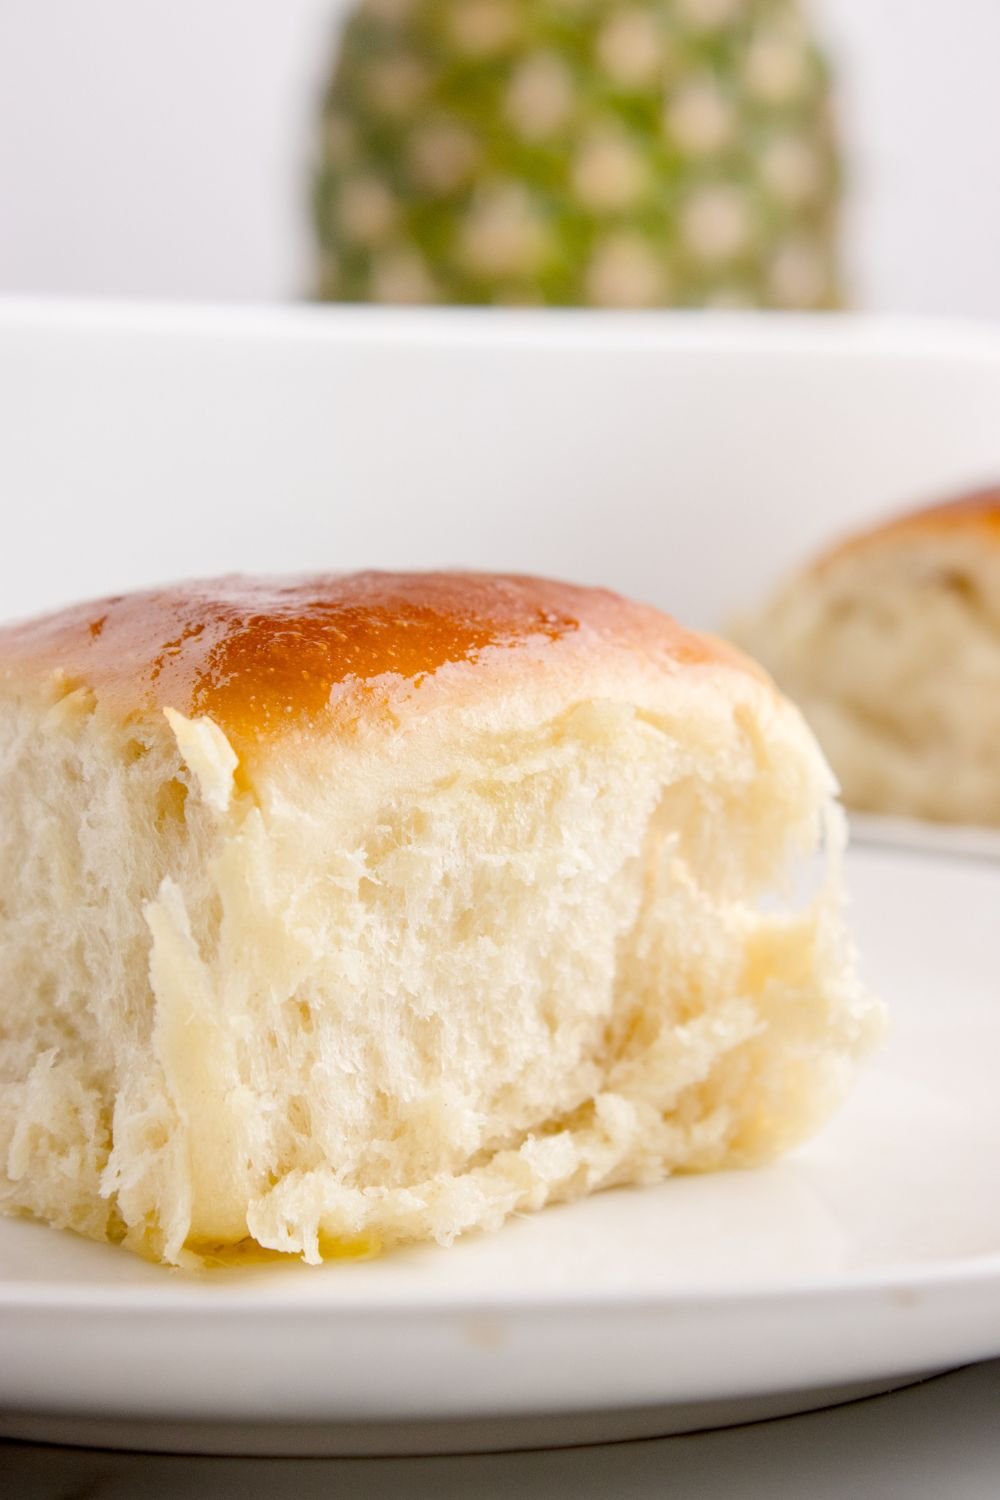
But it’s not just about the flavor. These rolls are known for their fluffiness. The dough is rich and soft, and when baked, it rises beautifully, creating the perfect bite-sized roll that is both delicate and satisfying. And when they’re served warm, straight out of the oven, they just seem to disappear off the table.
Reasons We Love These Hawaiian Rolls
- Made from scratch: If you like homemade recipes, this one is made from scratch. It uses basic ingredients and offers the perfect dinner roll.
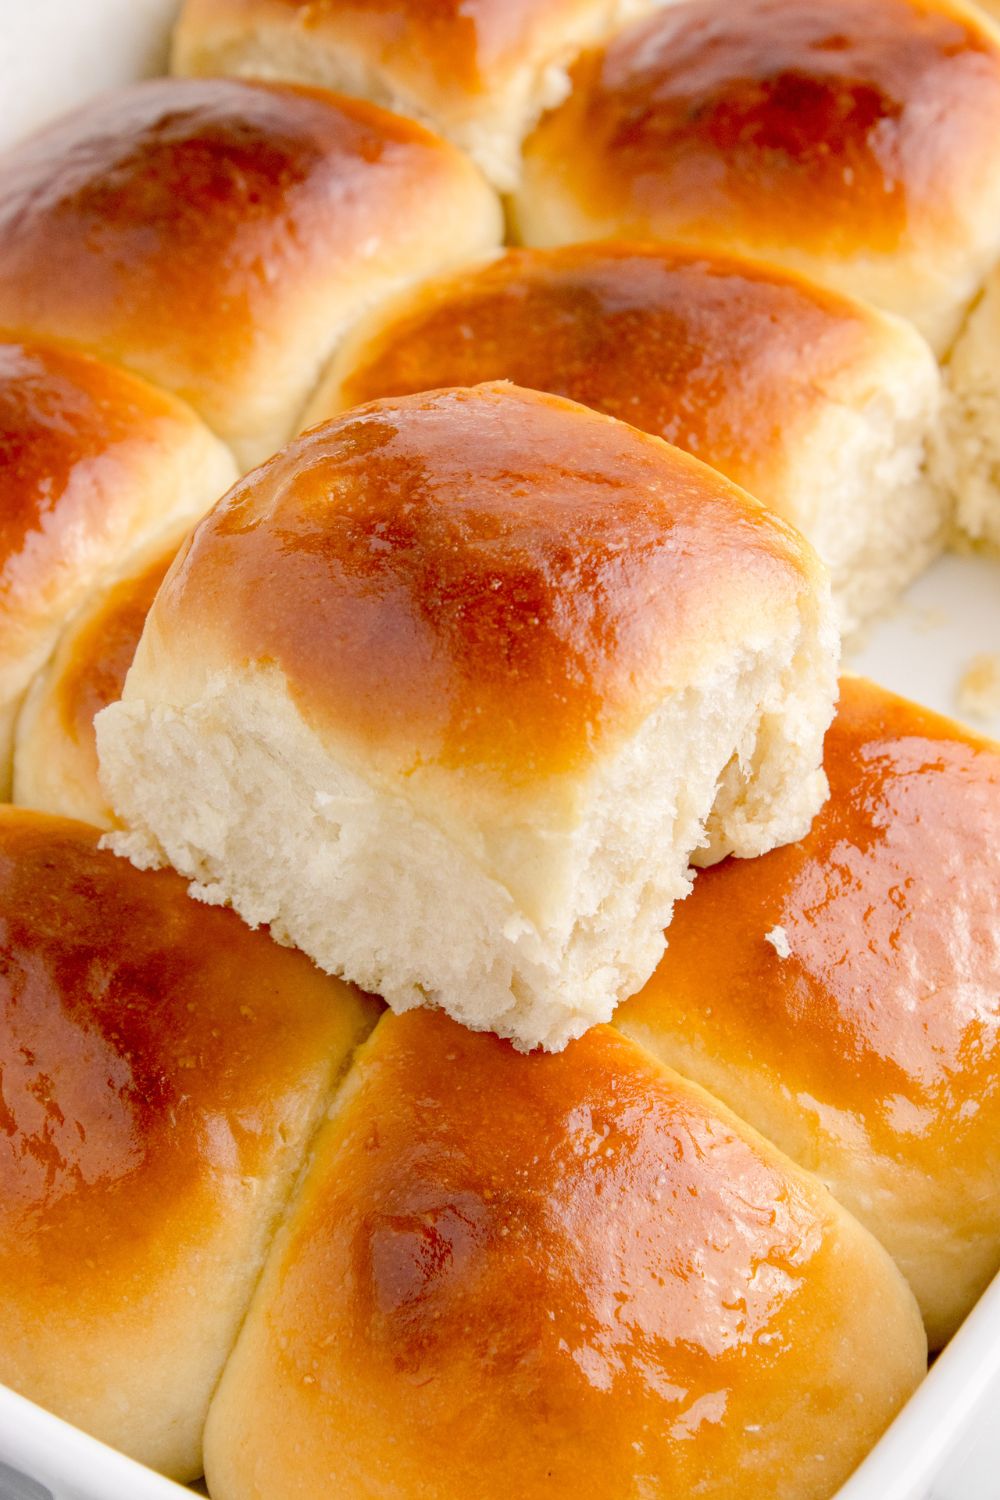
- Sweet Roll: You get that classic sweet roll that is fluffy, light, and perfect to serve up as a side at a holiday event or dinner party.
- Make-Ahead Friendly: You can make these a day before you want to eat them or make and freeze them until you are ready to heat and serve.
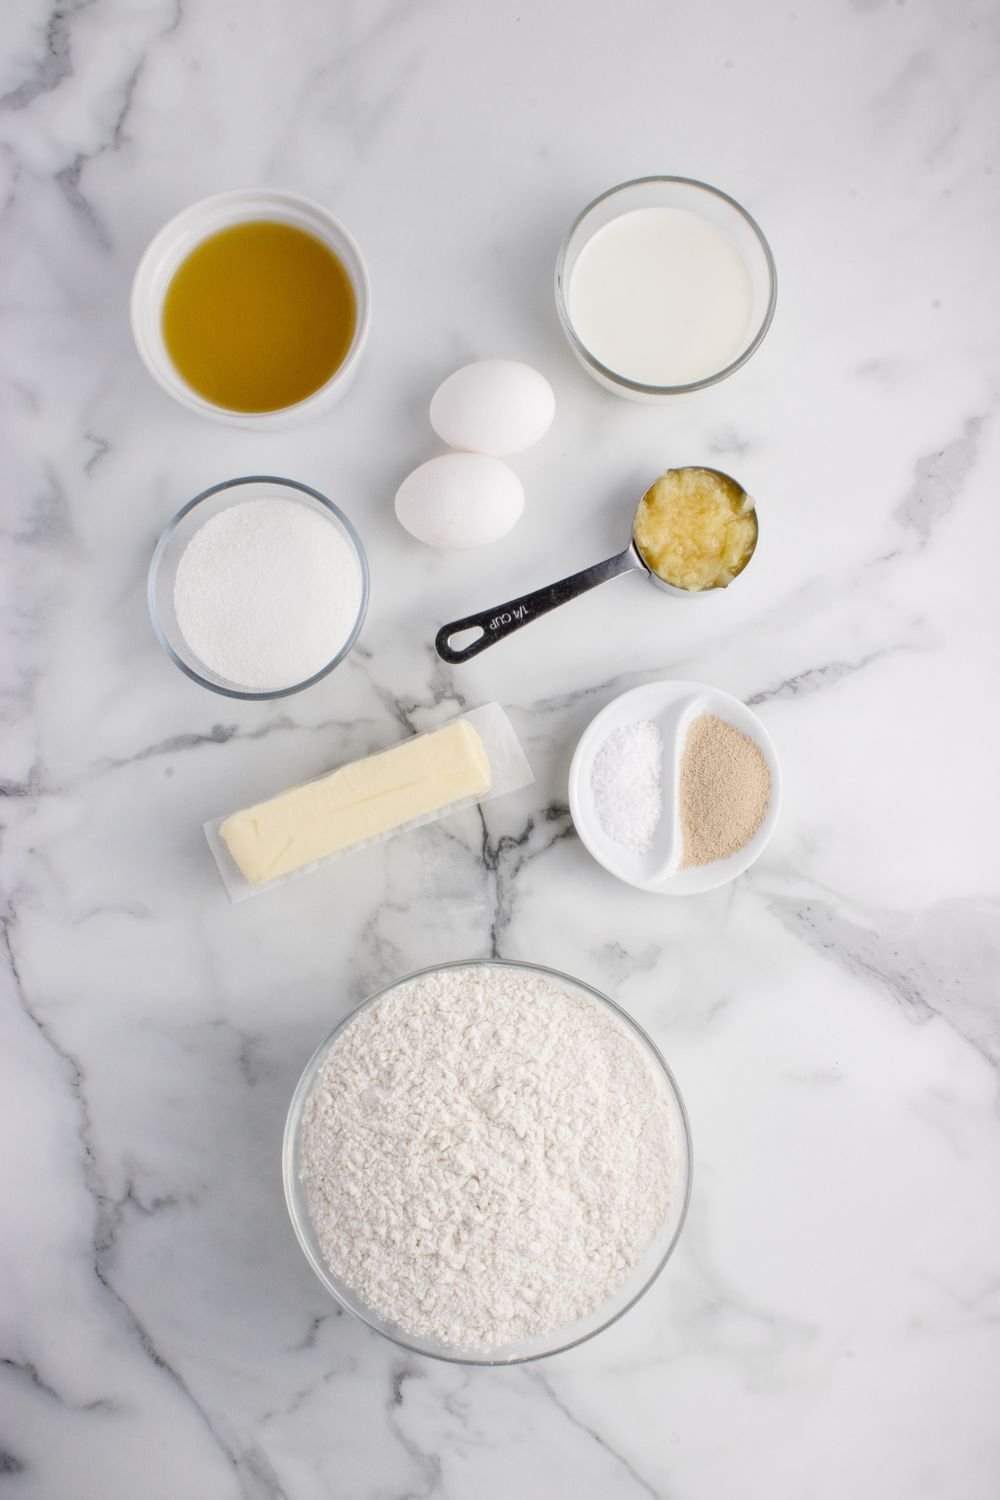
RECIPE INGREDIENTS
All-Purpose Flour: Provides structure and tenderness. For a chewier texture, substitute all-purpose flour with bread flour or a mix of wheat flour.
Salt: Enhances the flavor and balances the sweetness of the rolls.
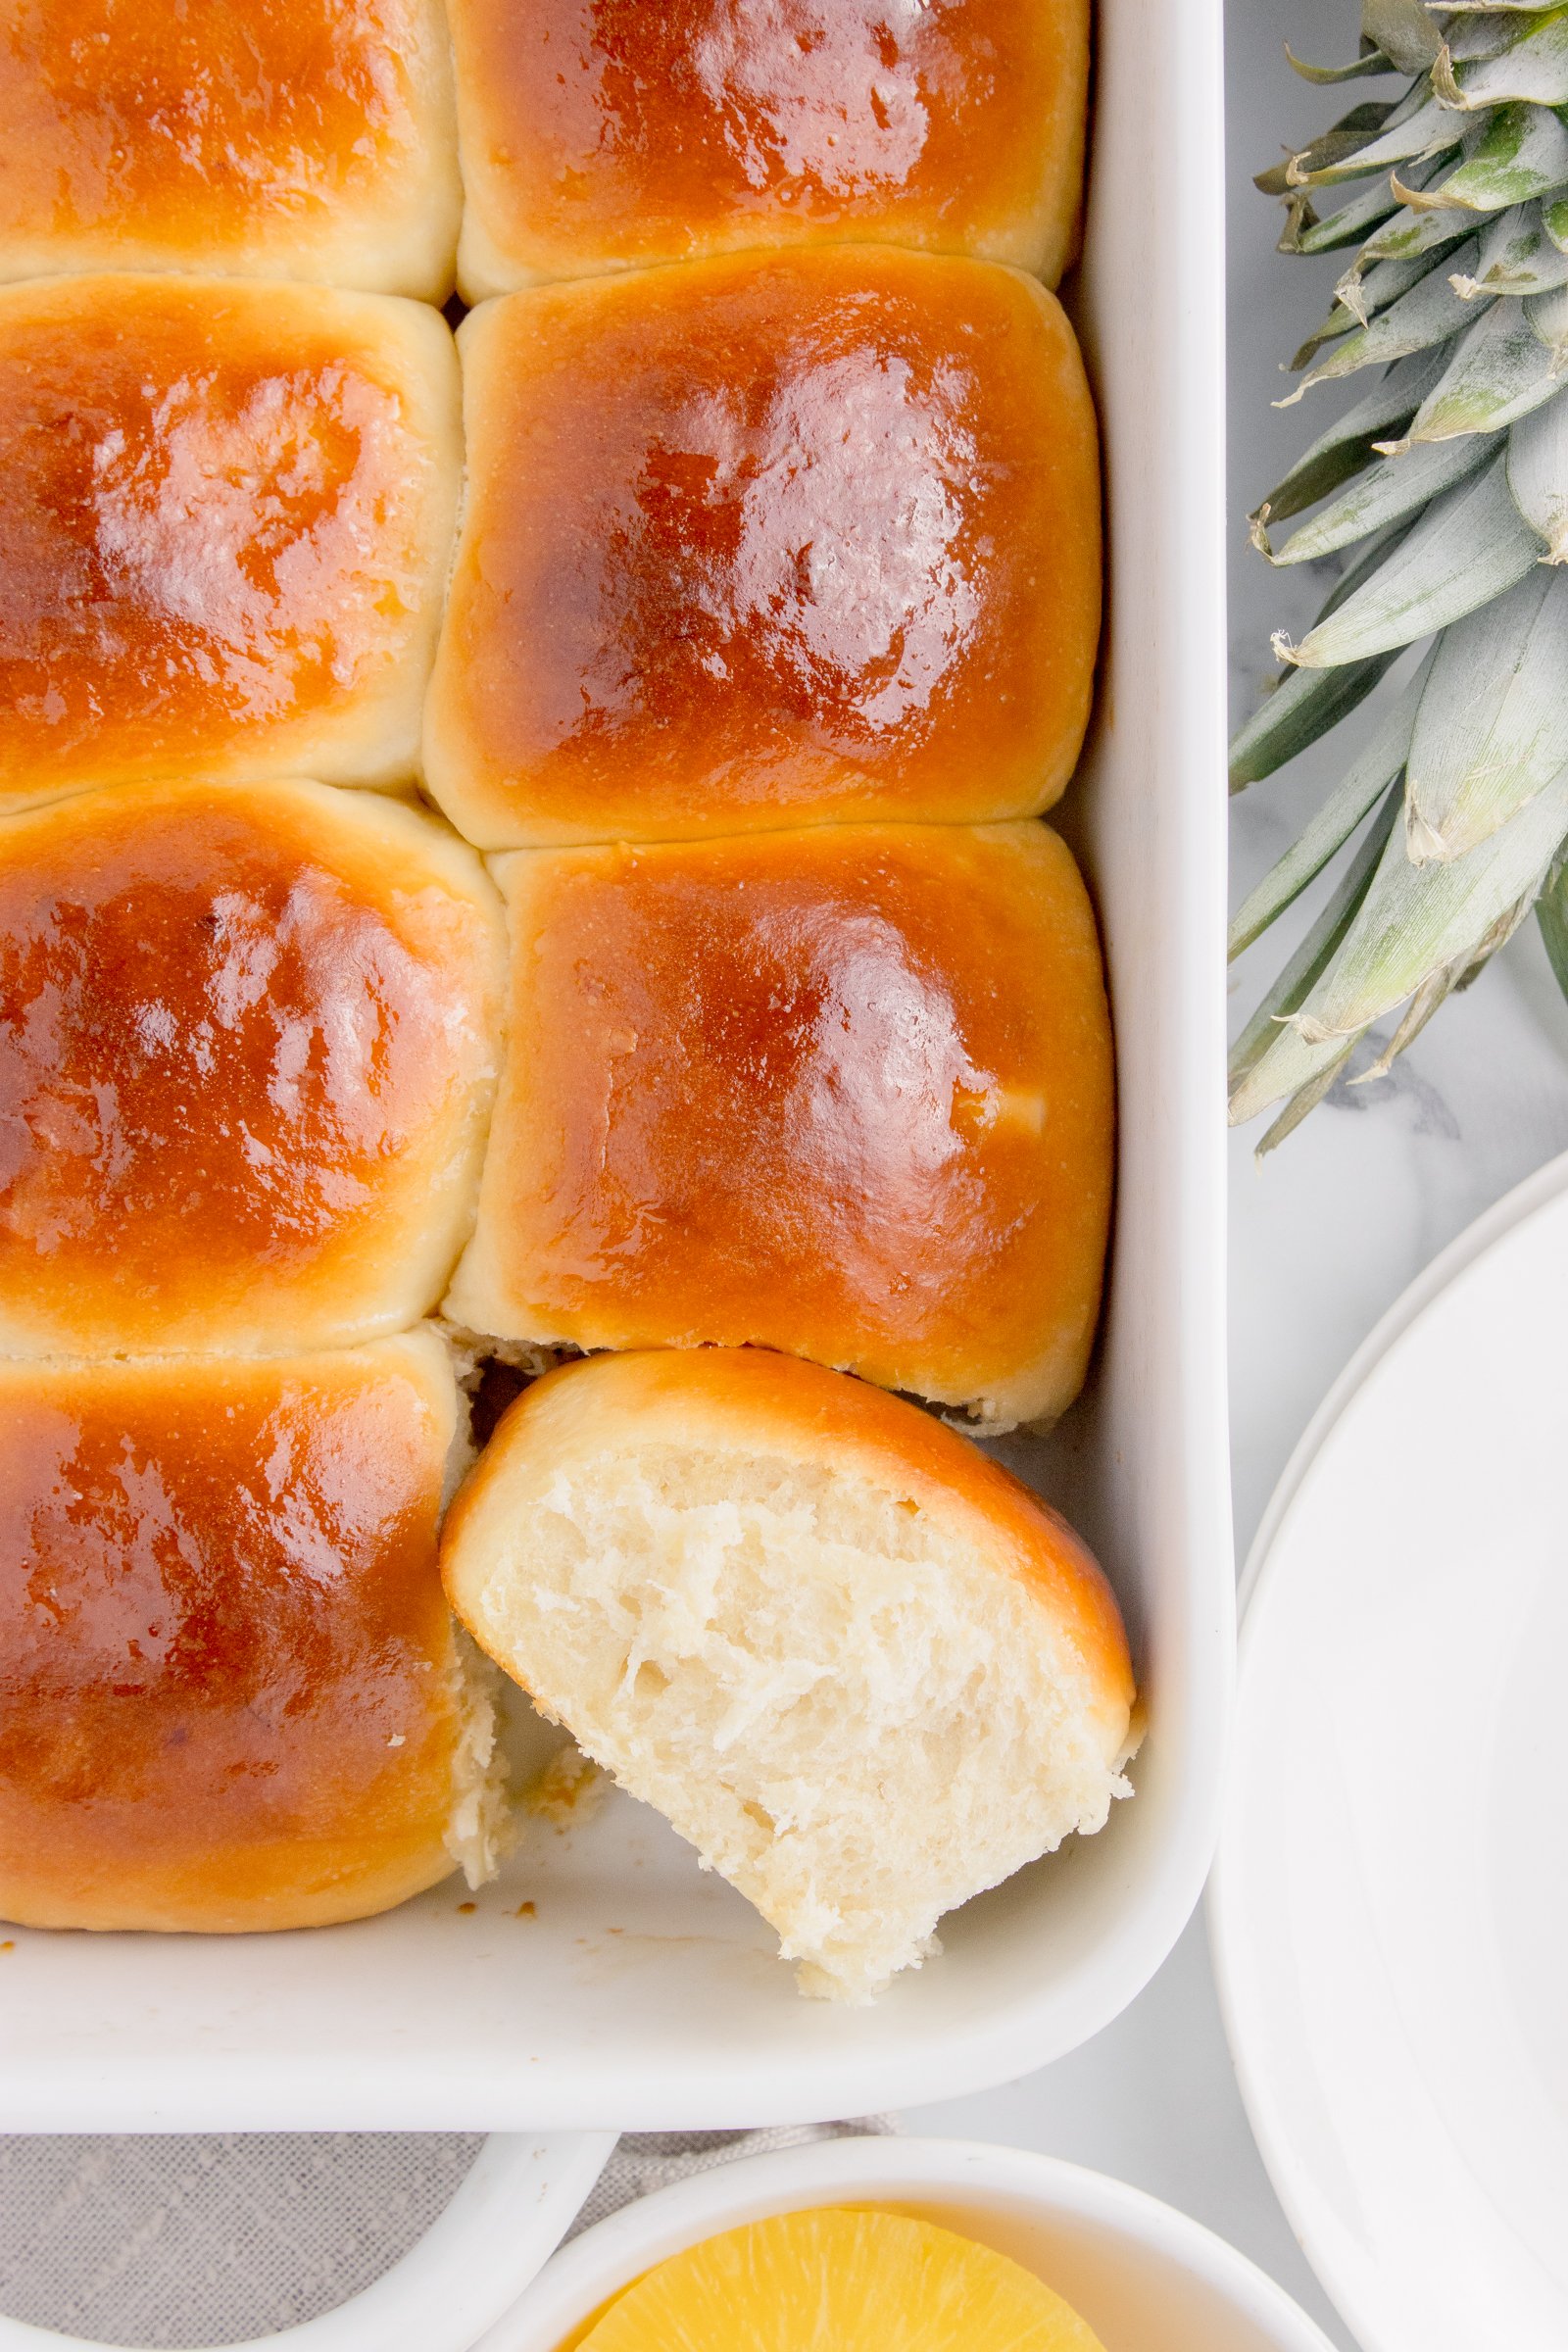
Crushed Pineapple is the secret ingredient that adds natural sweetness and a subtle tropical flavor. For a smoother texture, I recommend blending it into a puree.
Eggs: Add richness and help bind the dough.
Sugar adds sweetness to the rolls. You can also use honey or maple syrup instead.
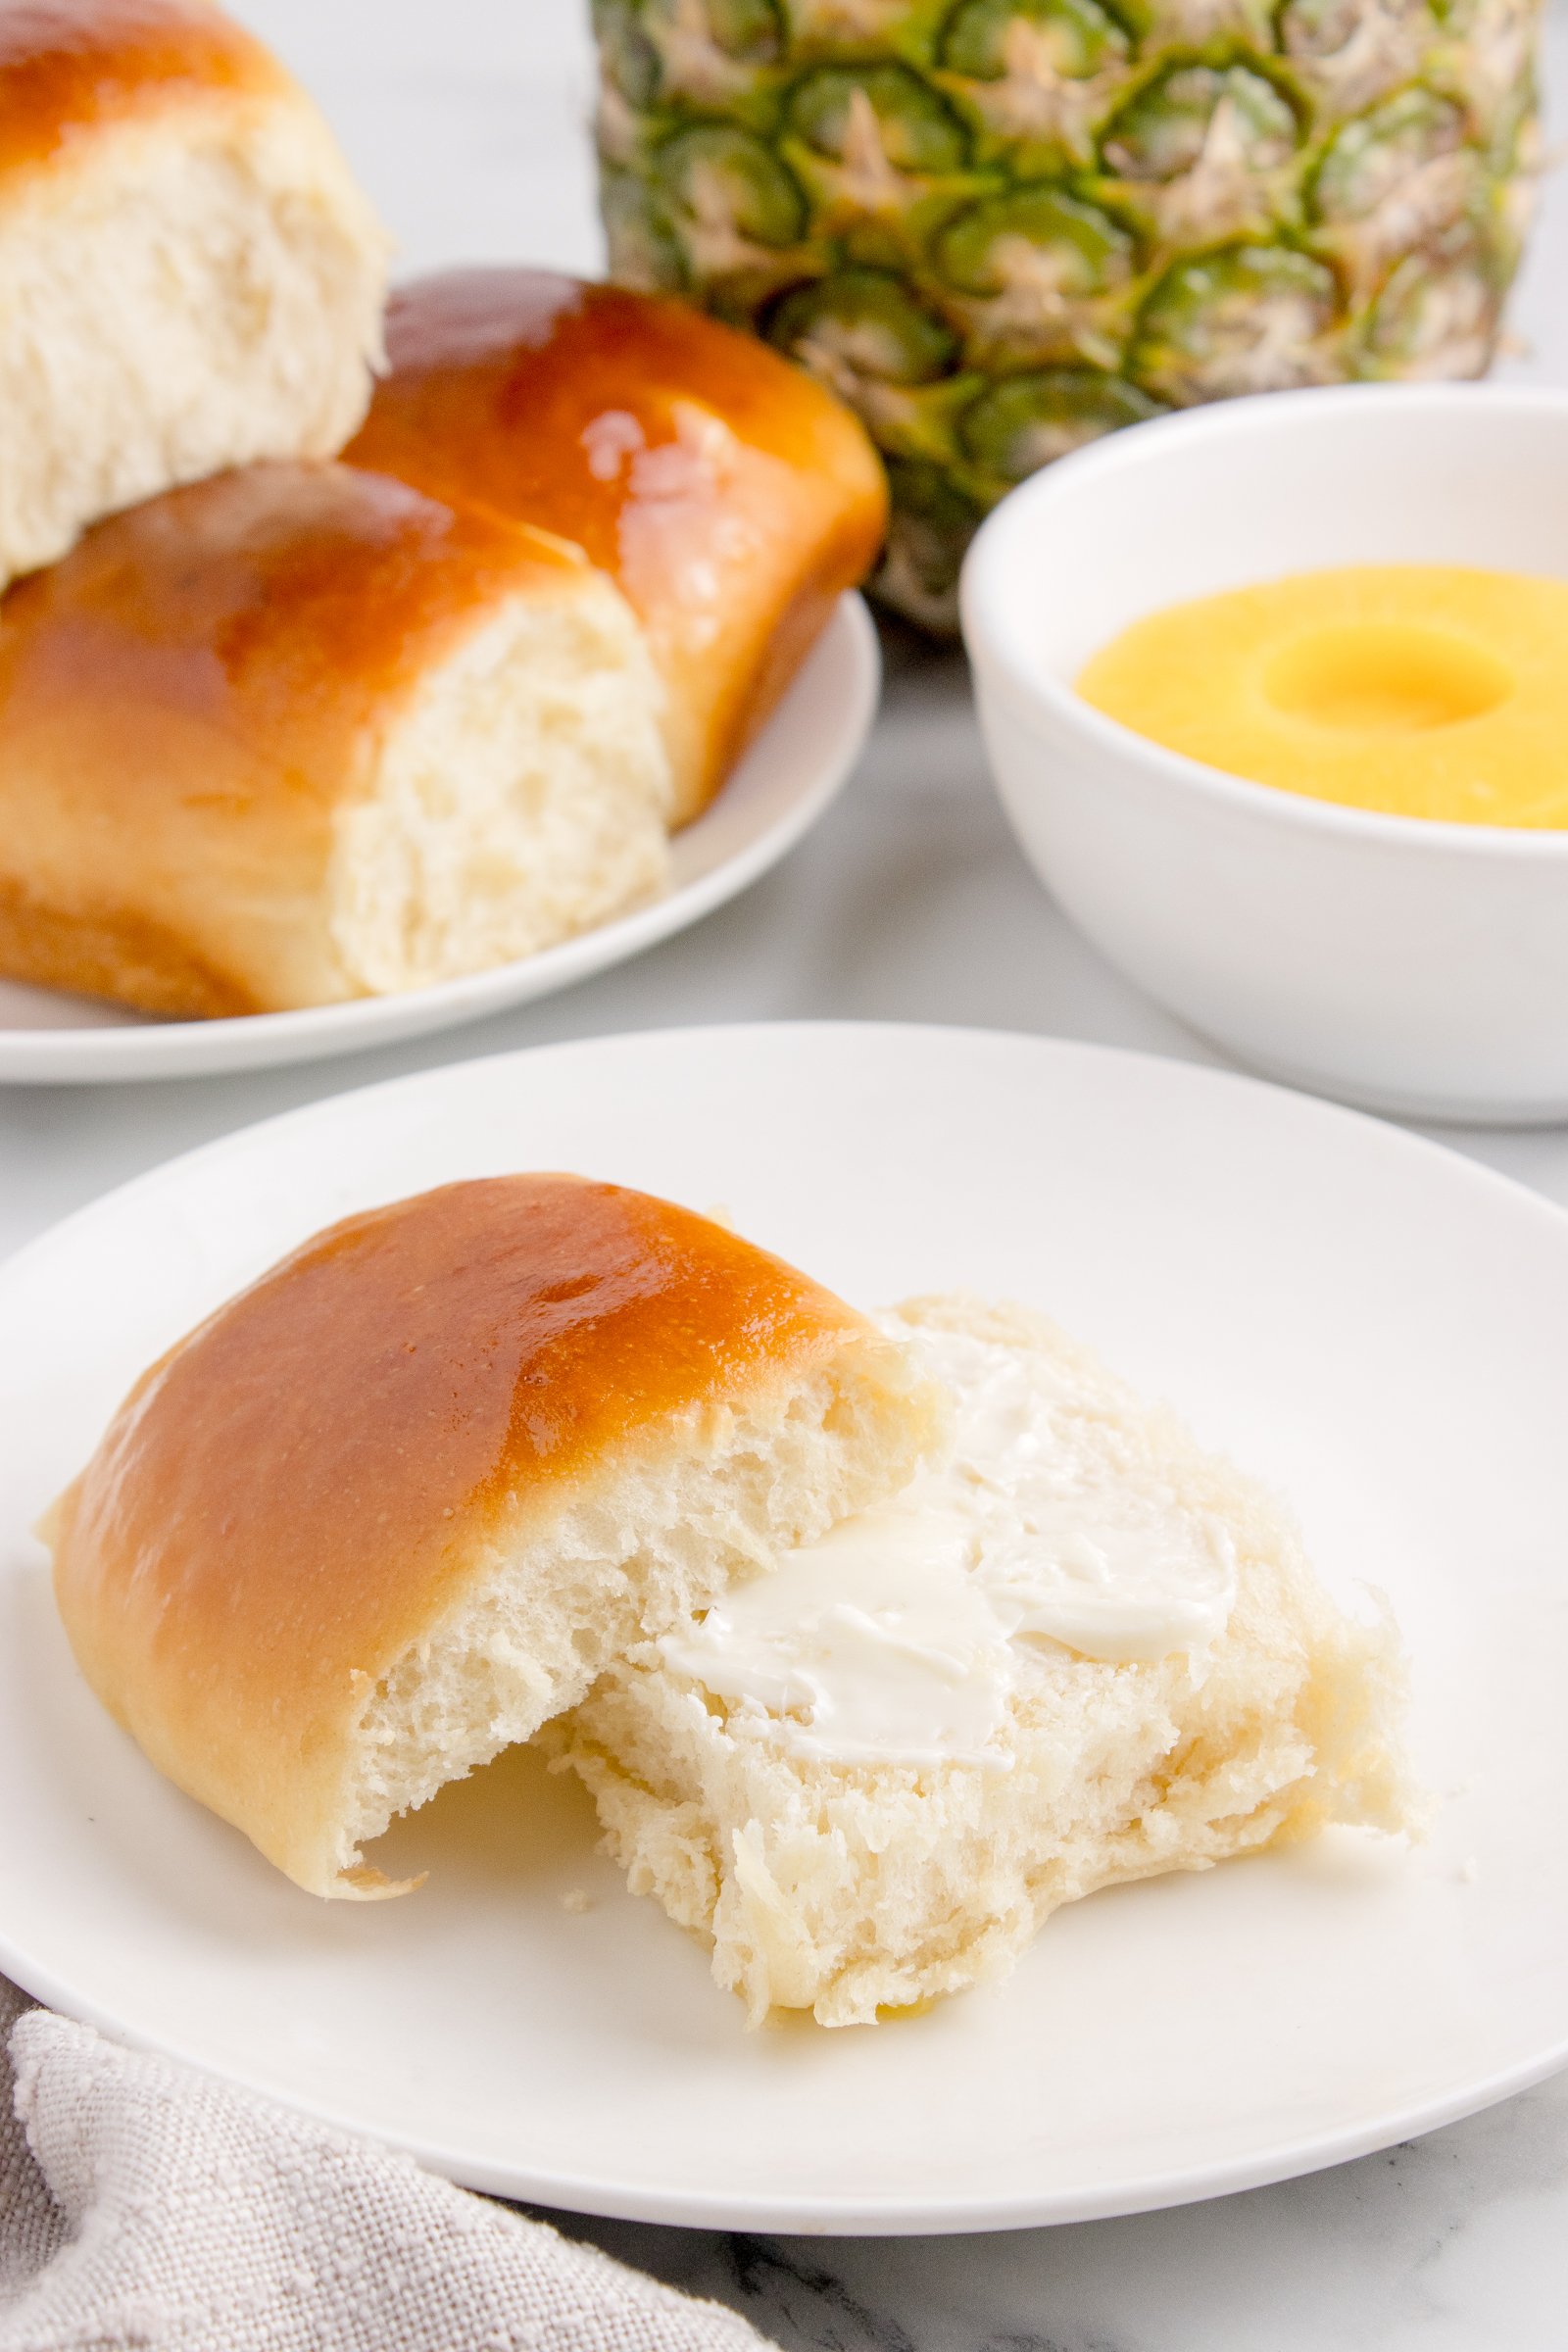
Unsalted Butter: This creates a more decadent, more tender crumb. For a dairy-free option, use olive oil or plant-based butter.
Pineapple Juice: It adds a hint of pineapple flavor to the homemade Hawaiian rolls.
Active Dry Yeast: Helps the dough rise and creates a light, airy texture. Instant yeast can also be used for quicker results.
Whole Milk: Warmed milk adds moisture and softness to the dough. Heavy cream can be used for an even richer texture.

RECIPE TIPS
Use room temperature ingredients for even mixing and better dough consistency.
Add the liquid gradually to avoid a sticky dough.
Check the expiration date on your yeast to ensure it’s active and fresh.
Divide the dough into equal pieces using a kitchen scale for uniform rolls.
Freeze unbaked rolls for up to 1 month and bake them straight from the freezer for fresh rolls anytime.
STORAGE & REHEATING
Refrigeration: Store your fully baked rolls in an airtight container for up to 3 days.
Freezing: You can freeze unbaked or fully baked rolls for up to 1 month. For unbaked rolls, let them thaw and rise before baking. For baked rolls, reheat them directly from frozen.
Reheating: To reheat, wrap the rolls in aluminum foil and warm them in a 350°F (175°C) oven for 5–10 minutes. Alternatively, you could microwave them for 15–20 seconds, which may slightly affect their texture.

ADDITIONS
- Add minced garlic or a sprinkle of garlic powder for savory garlic bread rolls.
- Top the rolls with a glaze made from powdered sugar and pineapple juice for a sweeter finish.
The Secret Behind the Softness
So, what’s the secret behind that incredible softness? It all comes down to the ingredients and the way they’re combined. The dough contains a mix of milk, butter, and egg yolks, which contribute to the soft, rich texture. The sweeteners, like honey or pineapple juice, not only add flavor but also help the rolls stay moist and tender after baking. The slow rise and gentle baking process help develop the texture, so when you take that first bite, it’s like a cloud of deliciousness.

YOUR QUESTIONS ANSWERED
Do I need to bloom the active dry yeast?
No, blooming isn’t necessary, but you can by mixing yeast with your warm pineapple juice and a pinch of sugar, waiting 5-10 minutes until frothy, then using it.
How do I know when the rolls are fully baked?
The rolls should be golden brown on top, and the internal temperature should reach 190–200°F.
Can I use canned pineapple instead of fresh?
Yes, you can. It is what I used for this recipe. If you do, ensure it’s well-drained to avoid excess moisture in the dough.
Why are my rolls dense?
This could be due to over-kneading, too much flour, or expired yeast. Use fresh ingredients for this recipe to ensure you get the proper texture.
Perfect for Any Skill Level
One of the best things about Hawaiian dinner rolls is that they’re easy enough for beginner bakers but also impressive enough to serve at a special gathering. Whether you’re a seasoned pro or a first-timer in the kitchen, these rolls are surprisingly simple to make. The process is fairly straightforward – mix, rise, shape, and bake. And even if you’re not quite perfect on your first try, the end result is still going to be deliciously soft and sweet.
The Aroma of Freshly Baked Rolls
There’s nothing quite like the smell of freshly baked bread wafting through the house. And with Hawaiian dinner rolls, the aroma is just as comforting as the taste. The subtle sweetness, combined with the buttery, soft dough, creates a fragrance that will have everyone gathering around the kitchen in anticipation.

Can I make these rolls in a bread machine?
Certainly! Use the dough setting and follow your machine’s instructions. You will make the dough, and then shape, and bake in the oven as you would in the recipe.
Can I use this recipe to make Hawaiian bread loaves?
Yes, shape the dough into a loaf and then bake it in a greased pan at 350°F (175°C) for 30–35 minutes. You just want to make sure the bread is fully baked through.

Whether you’re hosting a family dinner, holiday feast, or just want to enjoy something special with your loved ones, Hawaiian dinner rolls are always a great choice. Their sweet, soft texture and versatility make them the perfect addition to any meal. And once you try them fresh out of the oven, you’ll understand why these little rolls have earned a permanent spot on dinner tables everywhere.
So go ahead, bake a batch (or two!) of these delicious rolls and watch them disappear in no time. I promise they’ll be the star of the show!
Craving More

Homemade Hawaiian Dinner Rolls
Ingredients
- 4 cups all-purpose flour
- 1 teaspoon salt
- ¼ cup crushed pineapple well-drained
- 2 eggs at room temperature
- ½ cup sugar
- ½ cup unsalted butter softened
- ½ cup pineapple juice warmed to 100–110°F
- 1 packet 2 ¼ teaspoons active dry yeast or instant yeast ()
- ½ cup whole milk warmed to 100–110°F
- 2 tablespoons melted butter for brushing before and after baking and greasing the baking dish
Instructions
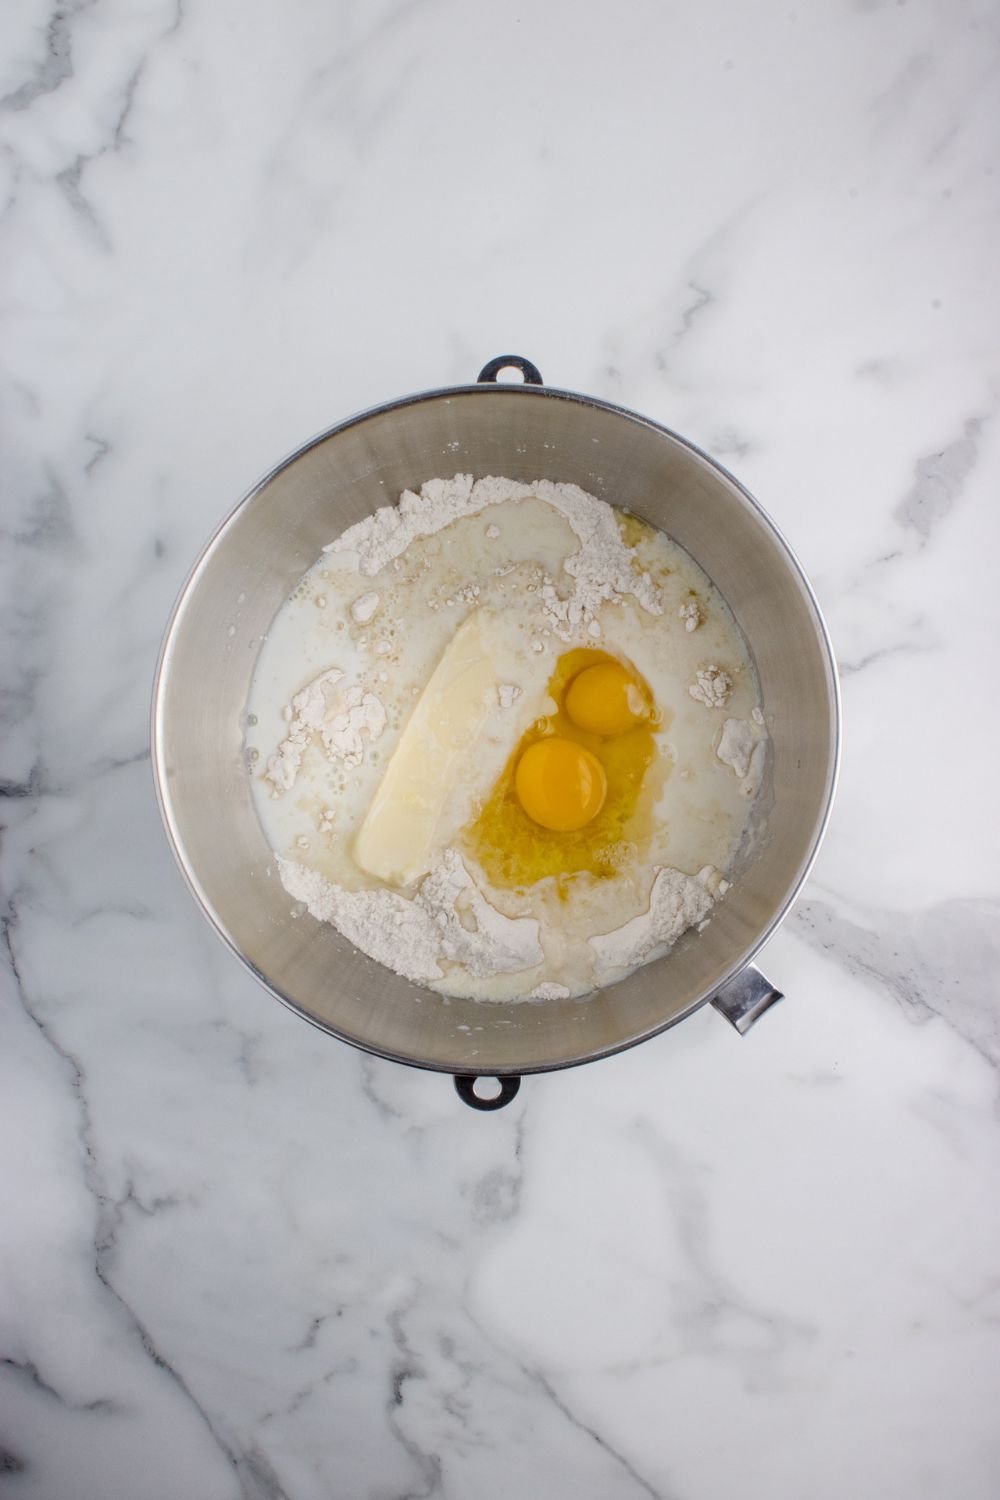
- In a large bowl or stand mixer bowl, combine the flour, salt, crushed pineapple, eggs, sugar, softened butter, pineapple juice, yeast, and warm milk. Mix the wet ingredients with the dry ingredients until they are all fully combined and a soft, sticky dough forms. If it is too sticky, add flour a tablespoon at a time to achieve the right consistency.
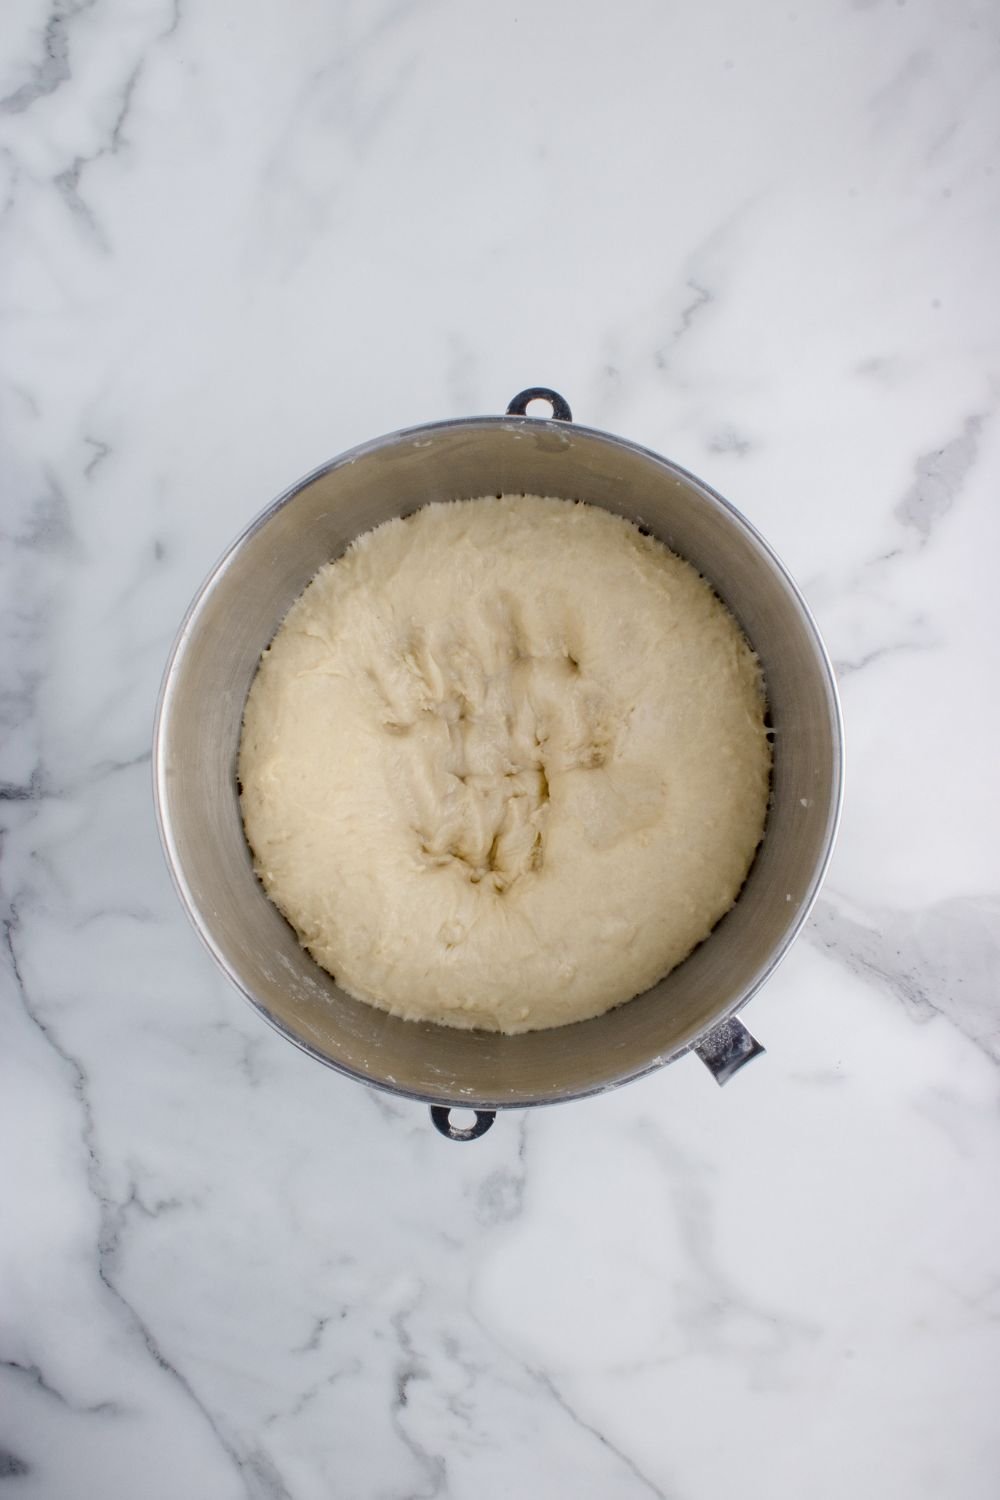
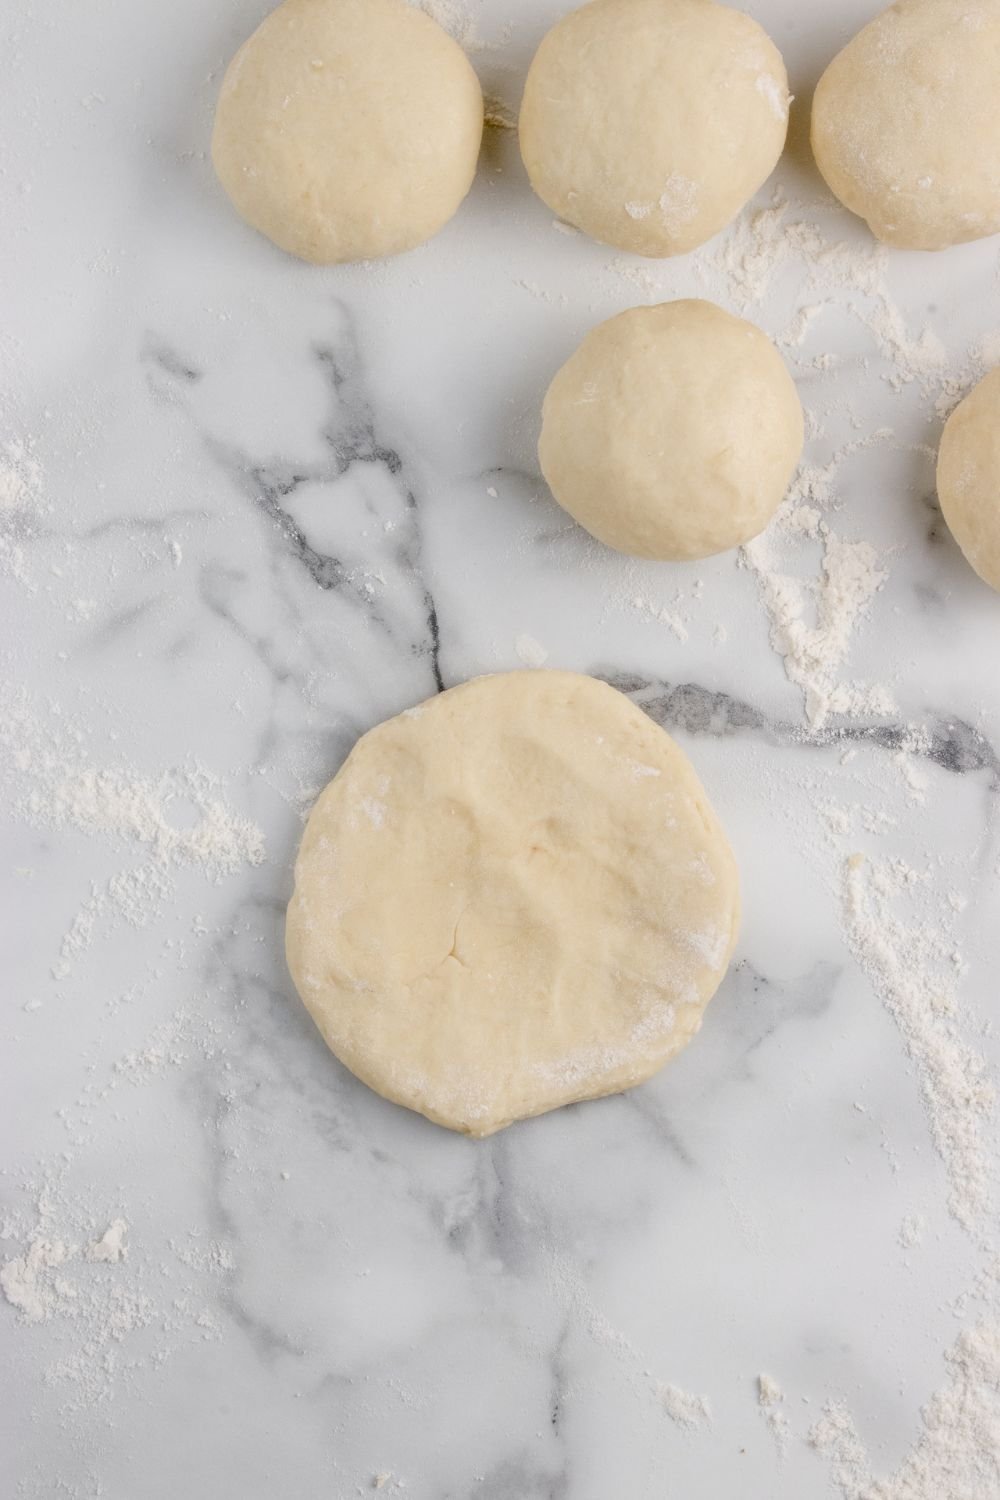
- Knead the dough for 8–10 minutes by hand or 5–7 minutes using a stand mixer with a dough hook or paddle attachment on low speed until it becomes smooth. Next, shape your dough into a smooth ball.
- Cover the bowl with plastic wrap or a kitchen towel, and let it rise in a warm place for 1½ to 2 hours, or until it doubles in size.
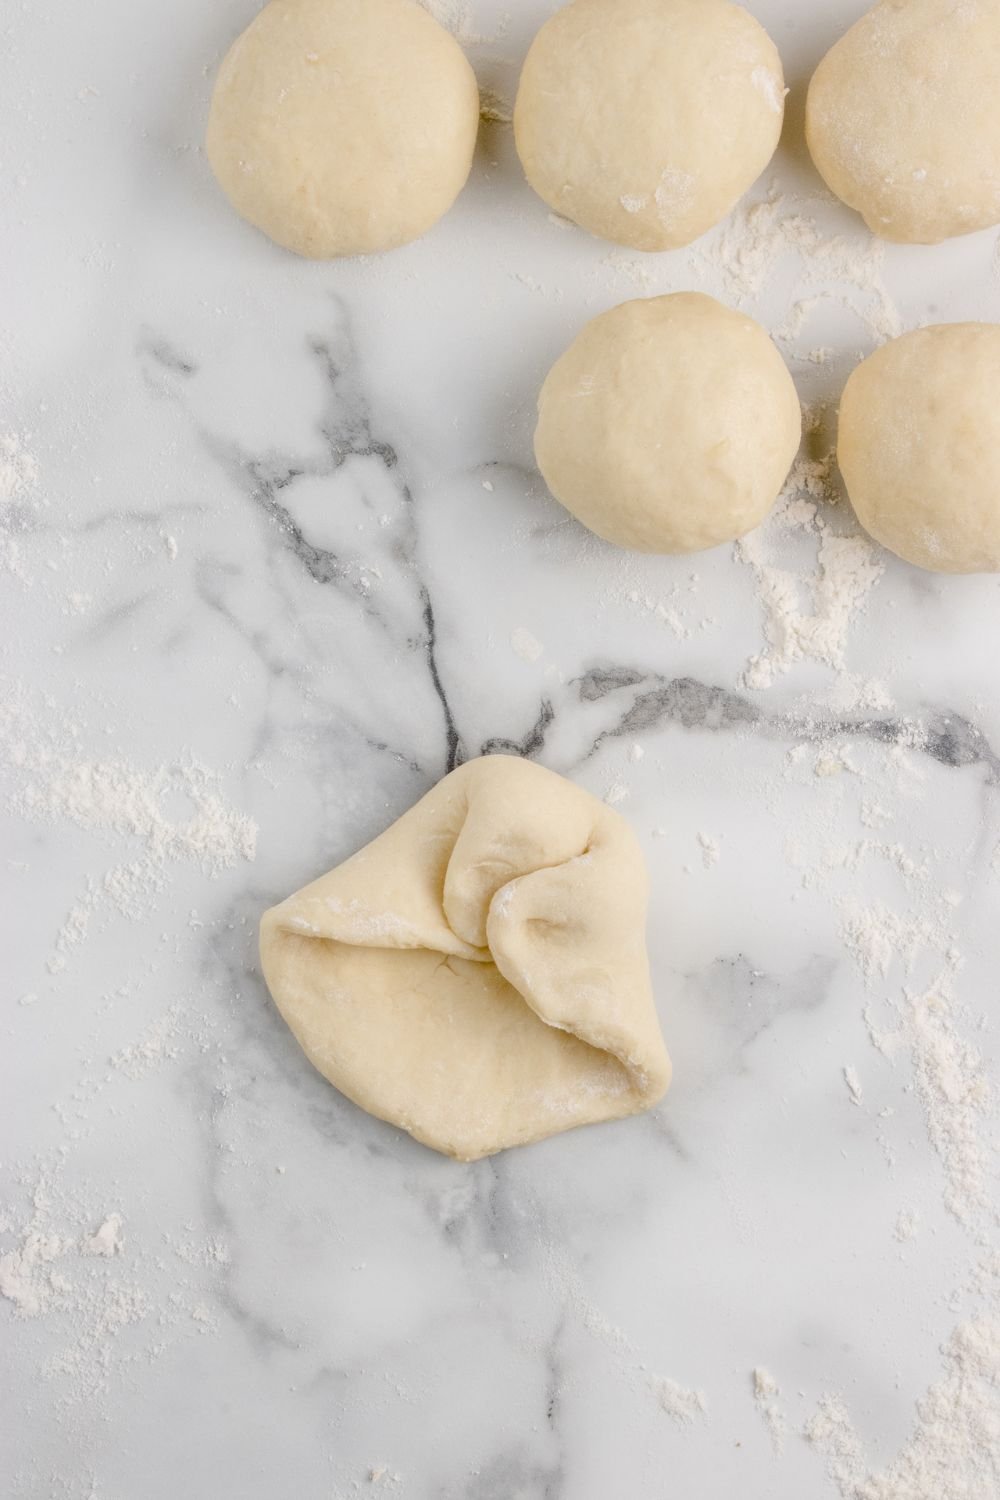
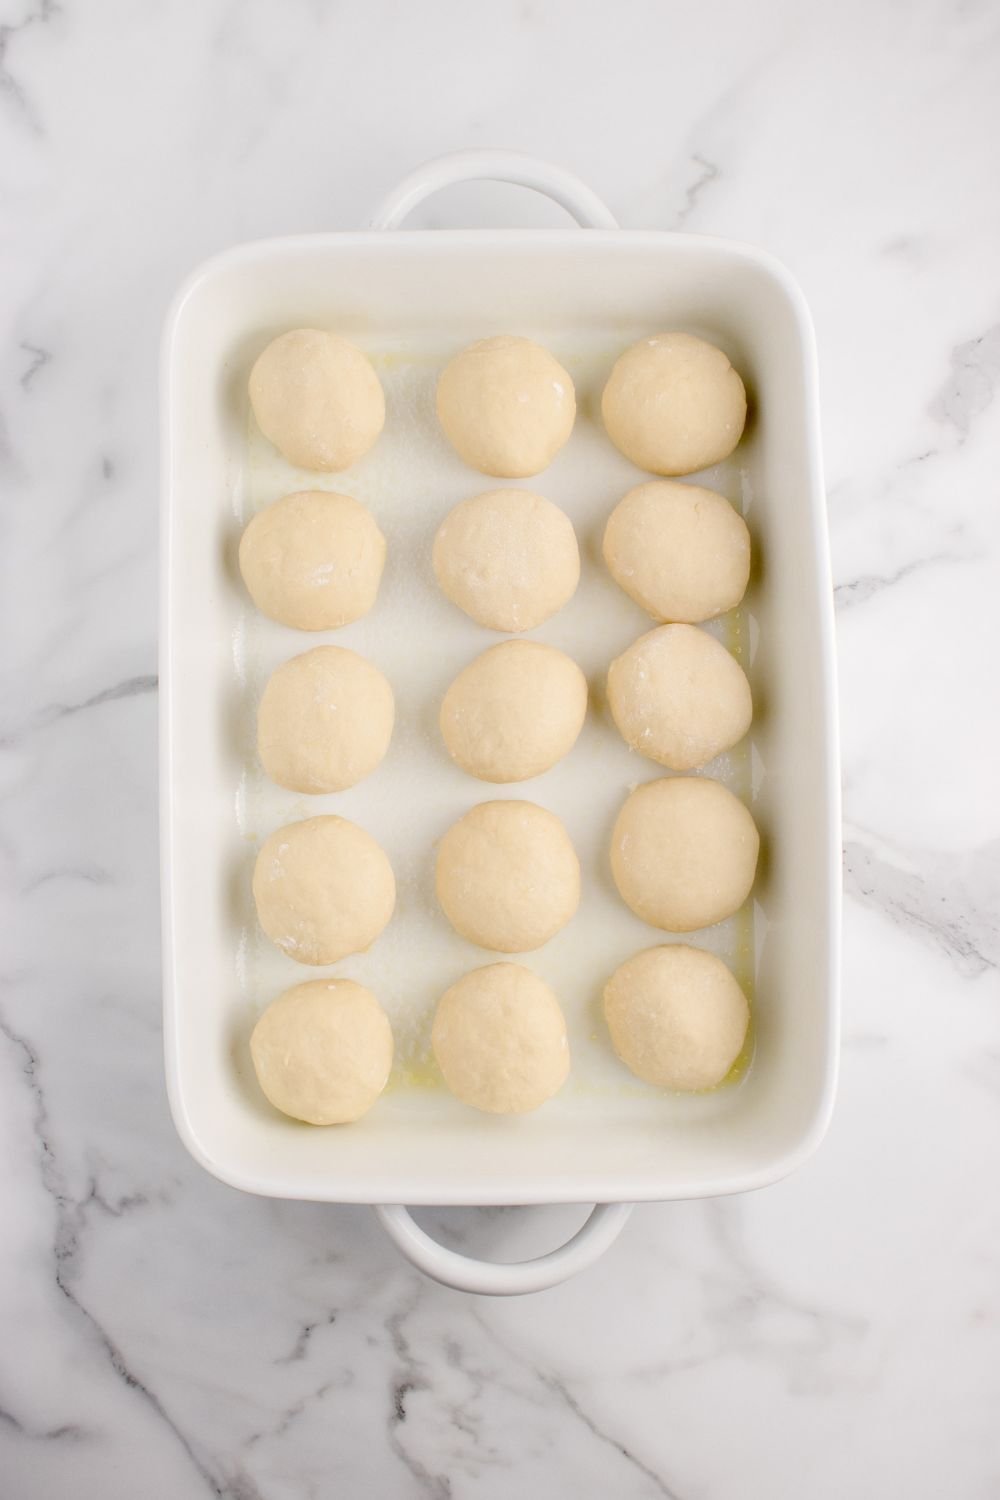
- Transfer the dough to a lightly floured surface and divide it into 15 equal pieces. Shape each piece into a ball and place them close together in a greased 9×13-inch baking dish (so they touch slightly when baked). Brush the tops of the unbaked rolls with 1 tablespoon of melted butter or an egg wash for a golden finish.
- Cover the shaped rolls with a damp towel and let them rise again for 45 minutes to 1 hour, or until they become puffy.
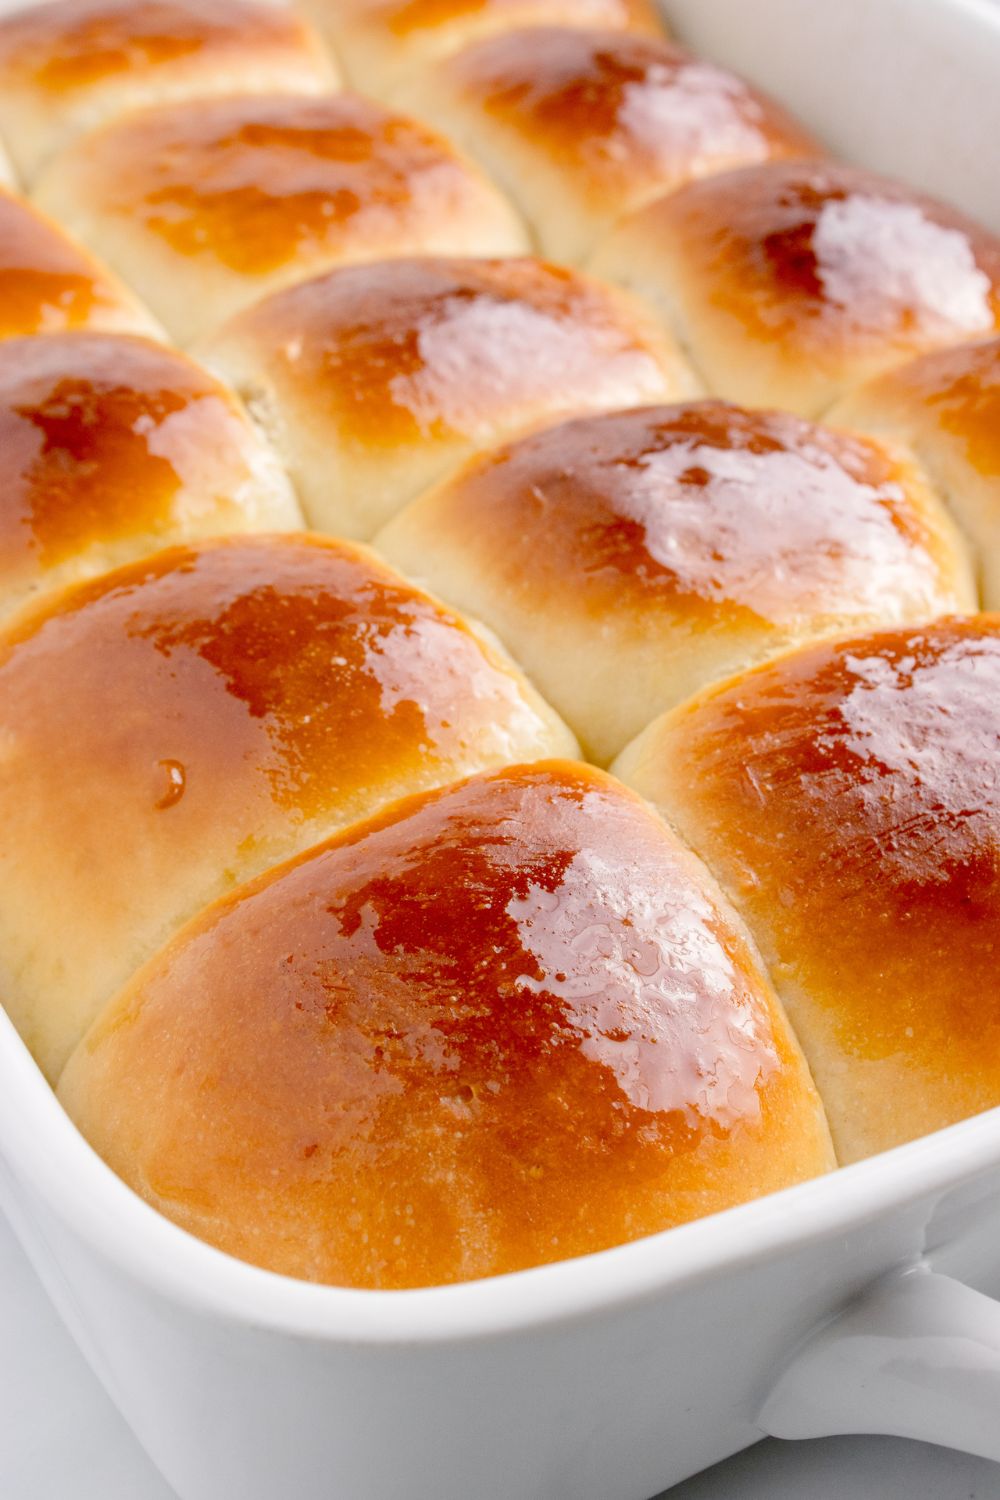
- Preheat the oven to 375°F (190°C) and bake the rolls for 20–25 minutes, or until they turn golden brown on top and the internal temperature reaches 190–200°F.
- Remove the fully baked rolls from the oven and immediately brush the tops with the remaining 1 tablespoon of melted butter. Let them cool slightly before serving.
Did you make this recipe?
Make sure to follow on Pinterest for more recipes!

Leave A Reply!