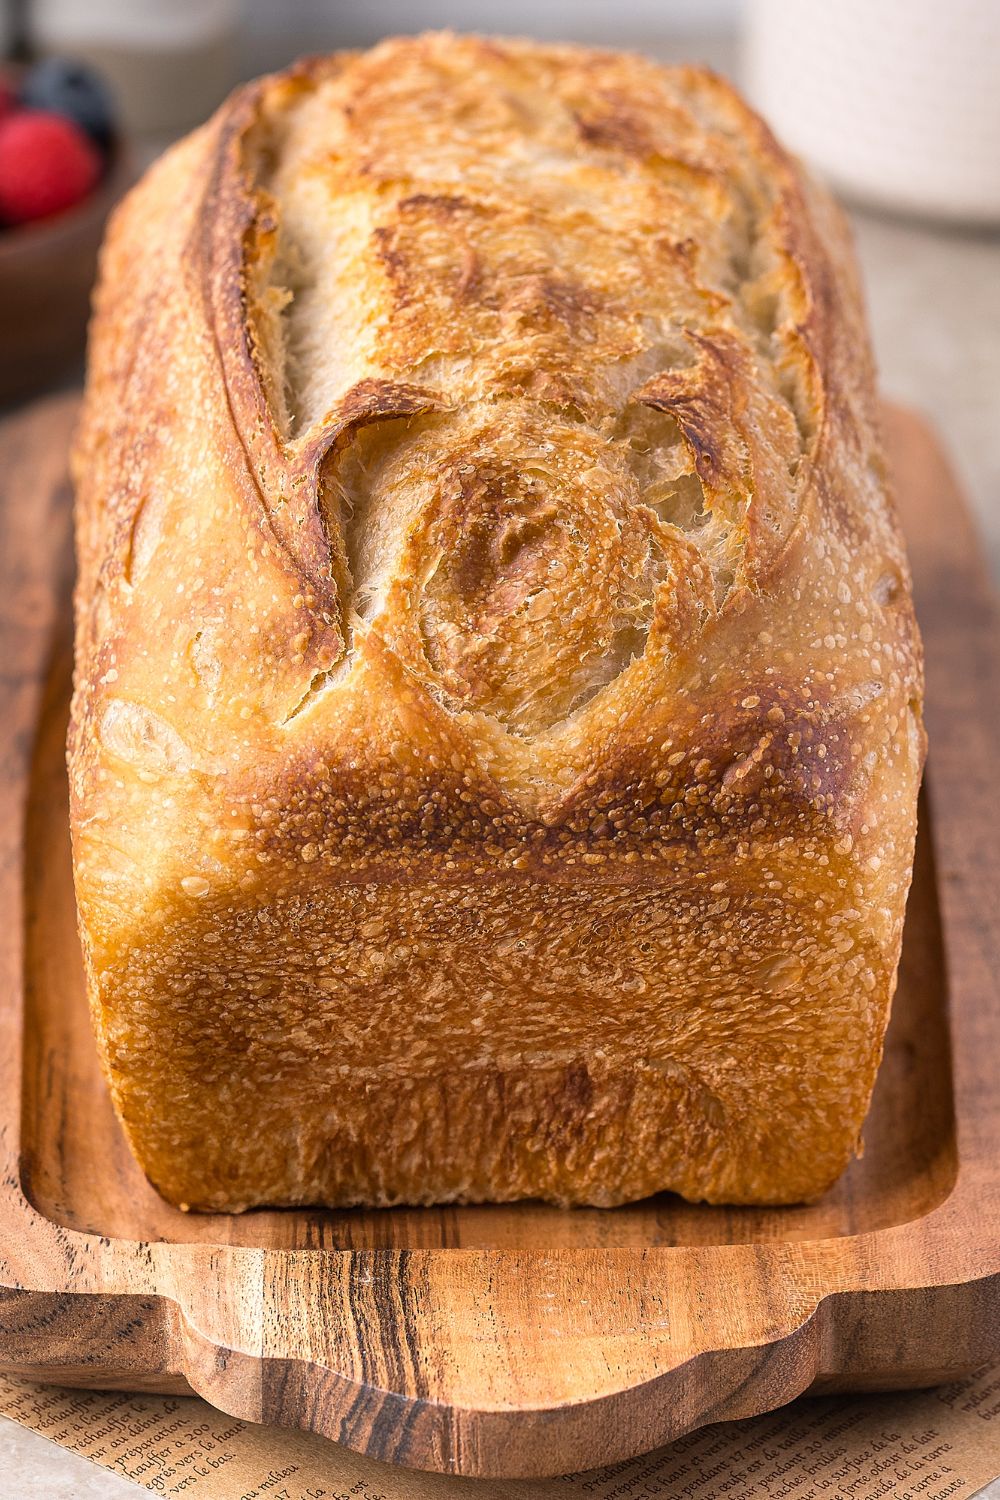
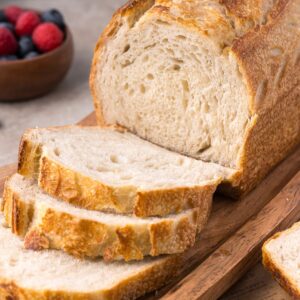
Today I am bringing you my recipe for Homemade Sourdough Bread! There’s just something magical about pulling a golden, crusty loaf of sourdough bread out of the oven. That crackling crust. That tender, chewy inside. That smell. If you’re anything like me, you’ll find yourself hovering near the oven door with your kids asking, “Is it done yet?” on repeat.

This recipe is the one I come back to time and time again—it’s incredibly beginner-friendly, flexible, and just as good toasted with butter as it is used for grilled cheese or rustic sandwiches. My husband likes it with a bowl of soup, my daughter likes hers slathered in peanut butter, and my 1-year-old son Cameron? He mostly just likes to tear chunks off and gum them happily while making a mess. That’s real life right there. If you’ve ever been intimidated by sourdough, this is the loaf that’ll change that for you.
What Is Homemade Sourdough Bread?
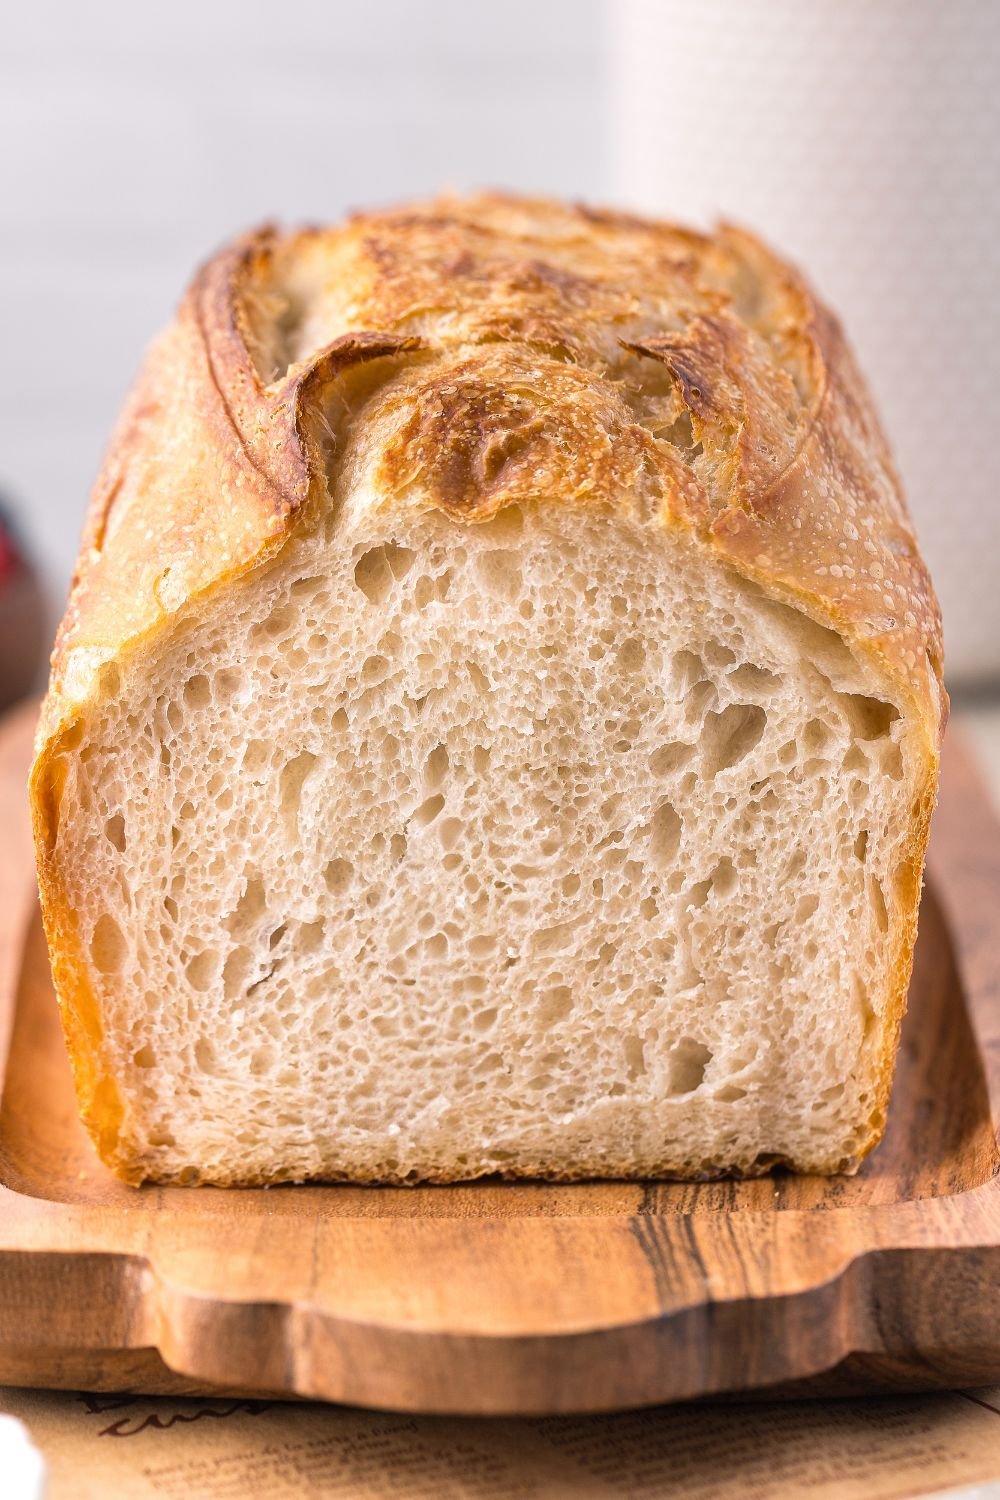
Sourdough bread is a naturally leavened bread made using a fermented starter instead of commercial yeast. That means no yeast packets—just flour, water, and time. The result? A crusty, tangy, chewy loaf with big air bubbles, a deep flavor, and an artisanal look that feels so satisfying to make at home.
This version uses a simple blend of bread flour, water, salt, honey, and a touch of oil, along with a bubbly, active sourdough starter. It’s approachable enough for beginners but bakes up like something from your favorite bakery.
Understanding Sourdough Starter Strength
If your sourdough bread didn’t rise much or the crumb turned out dense, the first thing to check is your starter strength.
A healthy, active sourdough starter should:
- Double in size within 4–6 hours of feeding
- Be bubbly and airy on top
- Have a slightly sweet, tangy smell (not sour or vinegary)
- Pass the “float test” – a small spoonful should float in water
If your starter isn’t quite there yet, don’t worry! Feed it consistently at the same time every day with equal weights of flour and water. Discard half before each feeding to keep the balance right. Within a few days, it’ll wake up and be strong enough to leaven your loaf beautifully.
Bonus Tip: I like to mark my starter jar with a rubber band after feeding so I can easily see when it’s doubled!

When to Serve This Bread
Homemade sourdough fits just about every occasion:
- Weekend baking projects
- Family dinner sides
- Weekday sandwiches
- Breakfast toast (hello, avocado + egg!)
- Bread baskets for holidays or potlucks
- Gift loaves for friends and neighbors
I always love baking a fresh loaf when we have family visiting—there’s something special about slicing into a warm loaf and passing it around the table.
Why You’ll Love This Recipe
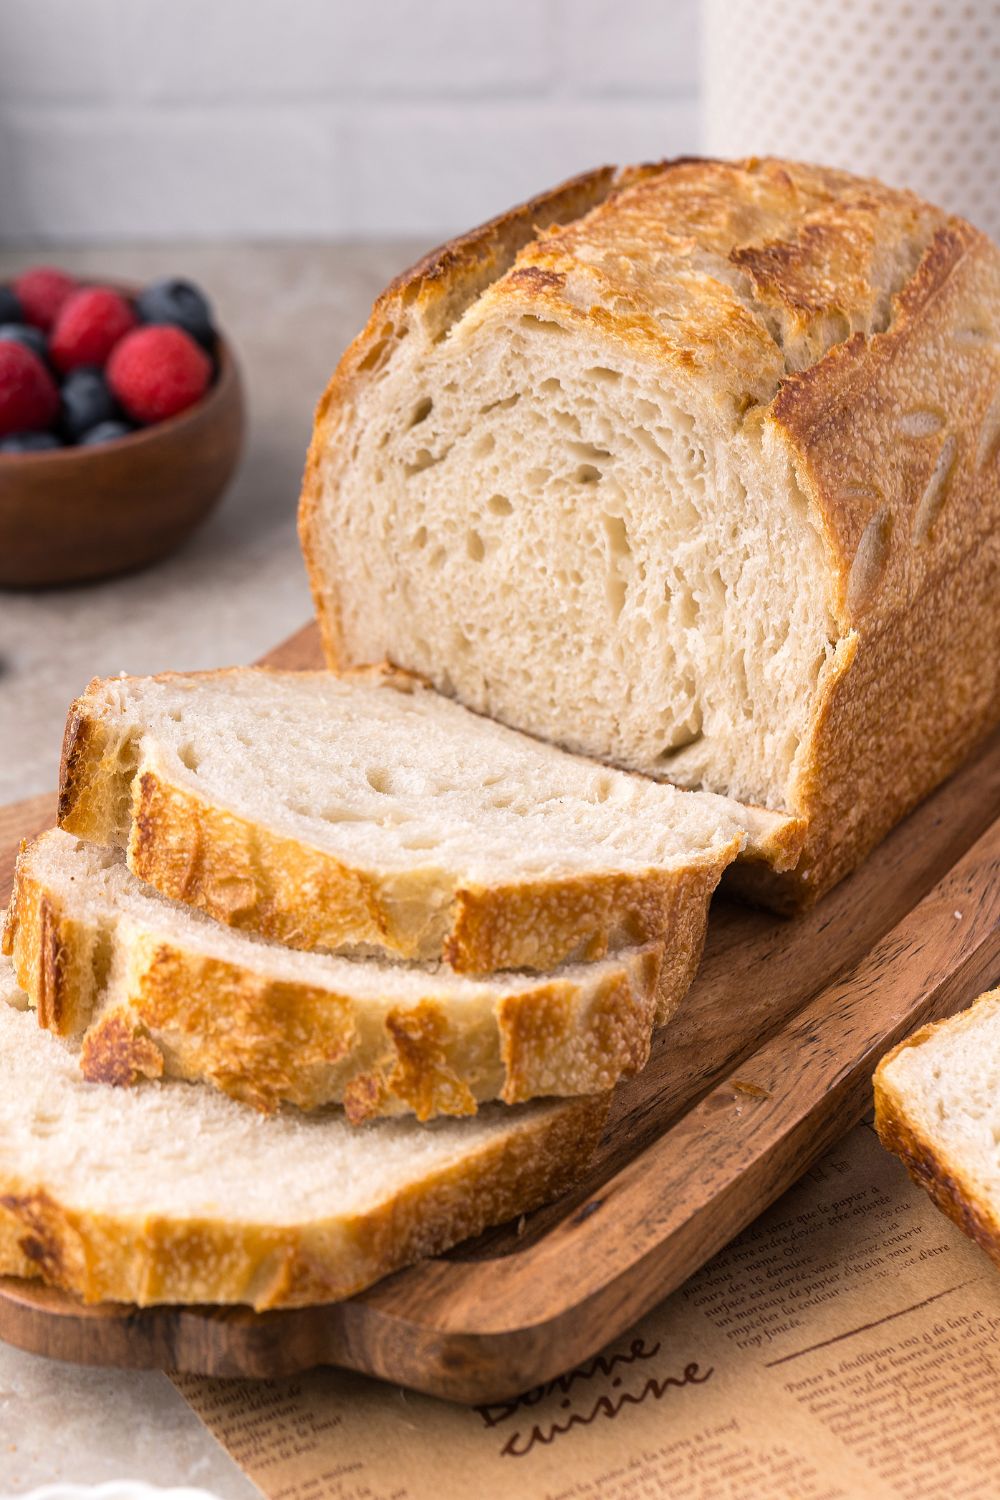
- Crusty outside, soft and chewy inside
- Perfect for beginners – no fancy tools required
- Customizable—make it crusty or soft
- Simple ingredients you already have
- Flexible timing – refrigerate if needed
- Looks impressive but is secretly low-stress
And trust me, once you make it once, you’ll want to make it again and again. There’s just nothing like homemade sourdough.
Ingredient Breakdown
Let’s talk about what makes this loaf shine:
- Active sourdough starter – Must be bubbly and recently fed. This is your natural yeast!
- Warm water – Around 90°F helps the starter wake up.
- Neutral oil – Adds tenderness; olive, avocado, or canola all work.
- Honey – Adds just a touch of sweetness and flavor complexity.
- Fine sea salt – For flavor and dough strength.
- Bread flour – Provides the right protein content for structure and chew.

Beginner’s Timeline (Visual Guide)
| Step | Time Estimate | Notes |
|---|---|---|
| Mix & rest (autolyse) | 20 min + 30 min | Hydrates flour, starts gluten development |
| Knead & stretch/folds | 1–1.5 hrs (3 sets) | Build strength gently with wet hands |
| Bulk fermentation | 5–8 hrs | Dough should rise 60–75%, slightly domed, bubbly |
| Shape & final rise | 2–4 hrs | In banneton or loaf pan until slightly domed |
| Bake | 35–45 min | Covered first, then uncovered to brown |
| Cool | 2 hrs (minimum!) | Resist the urge to slice early—it’s worth the wait |
Tip: If life gets in the way, pop it in the fridge after bulk or shaping. It’ll be just fine (and maybe even better)!

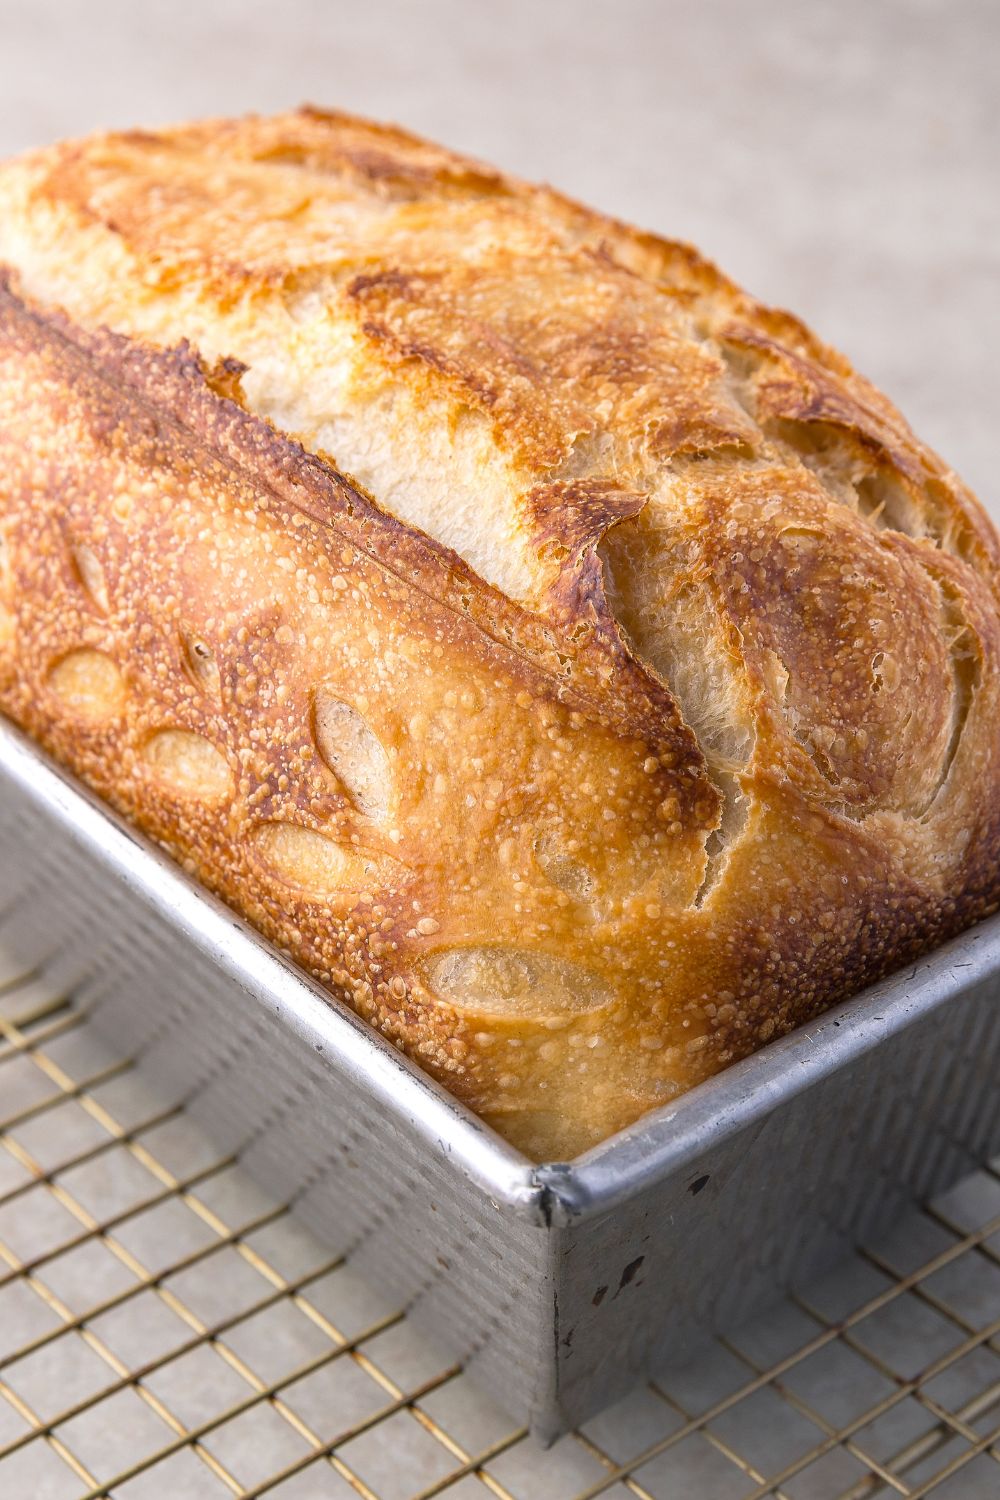
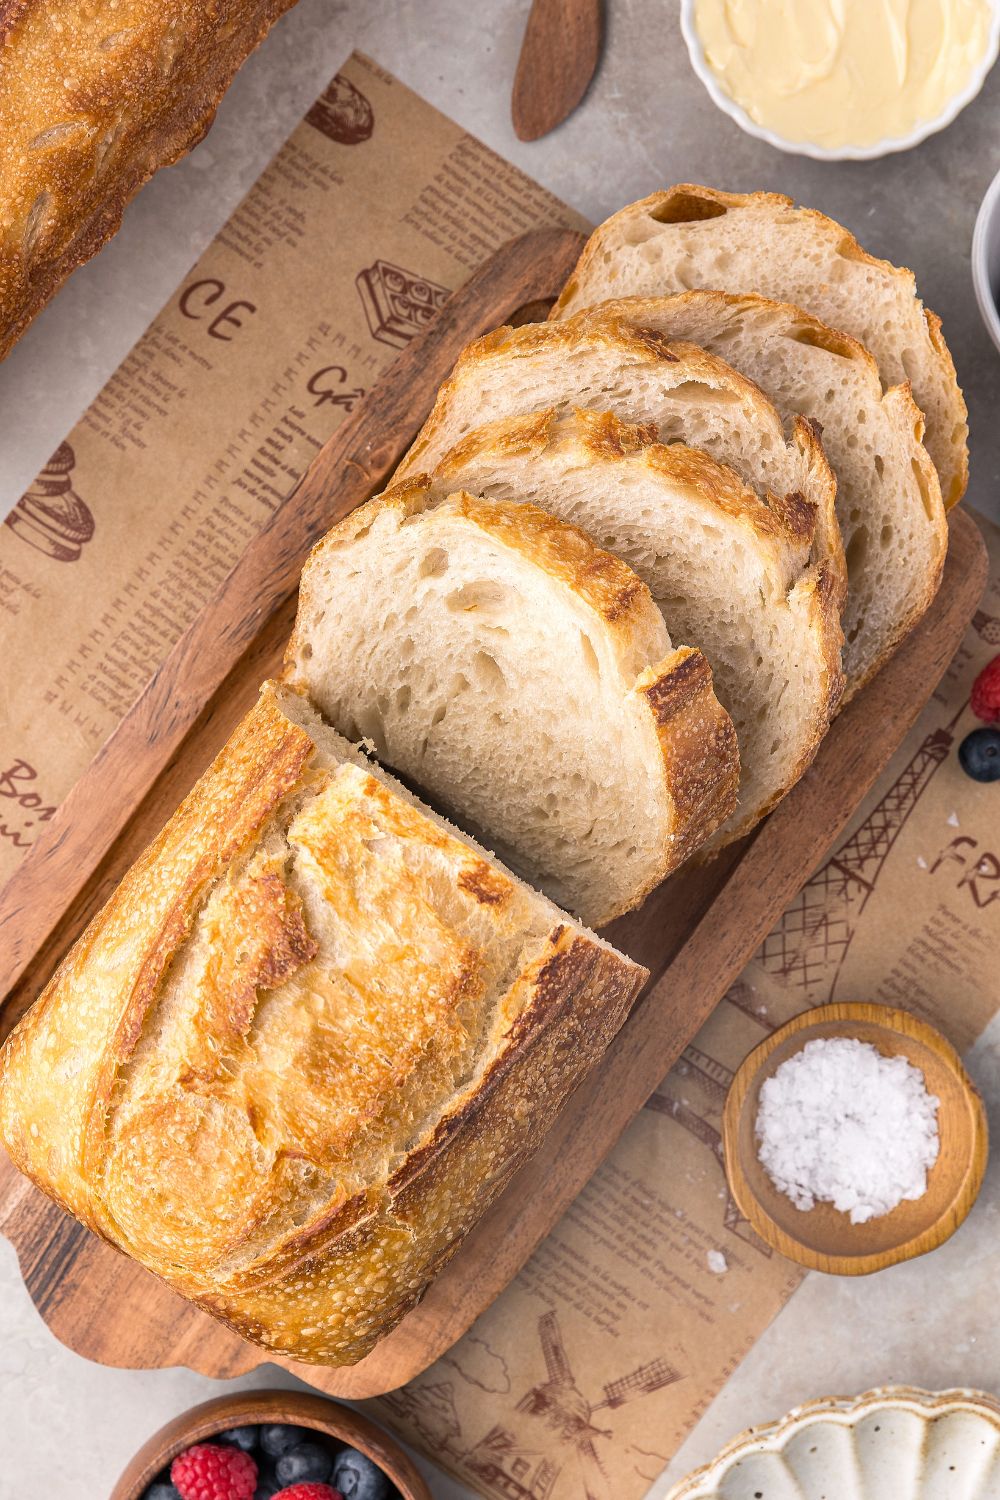
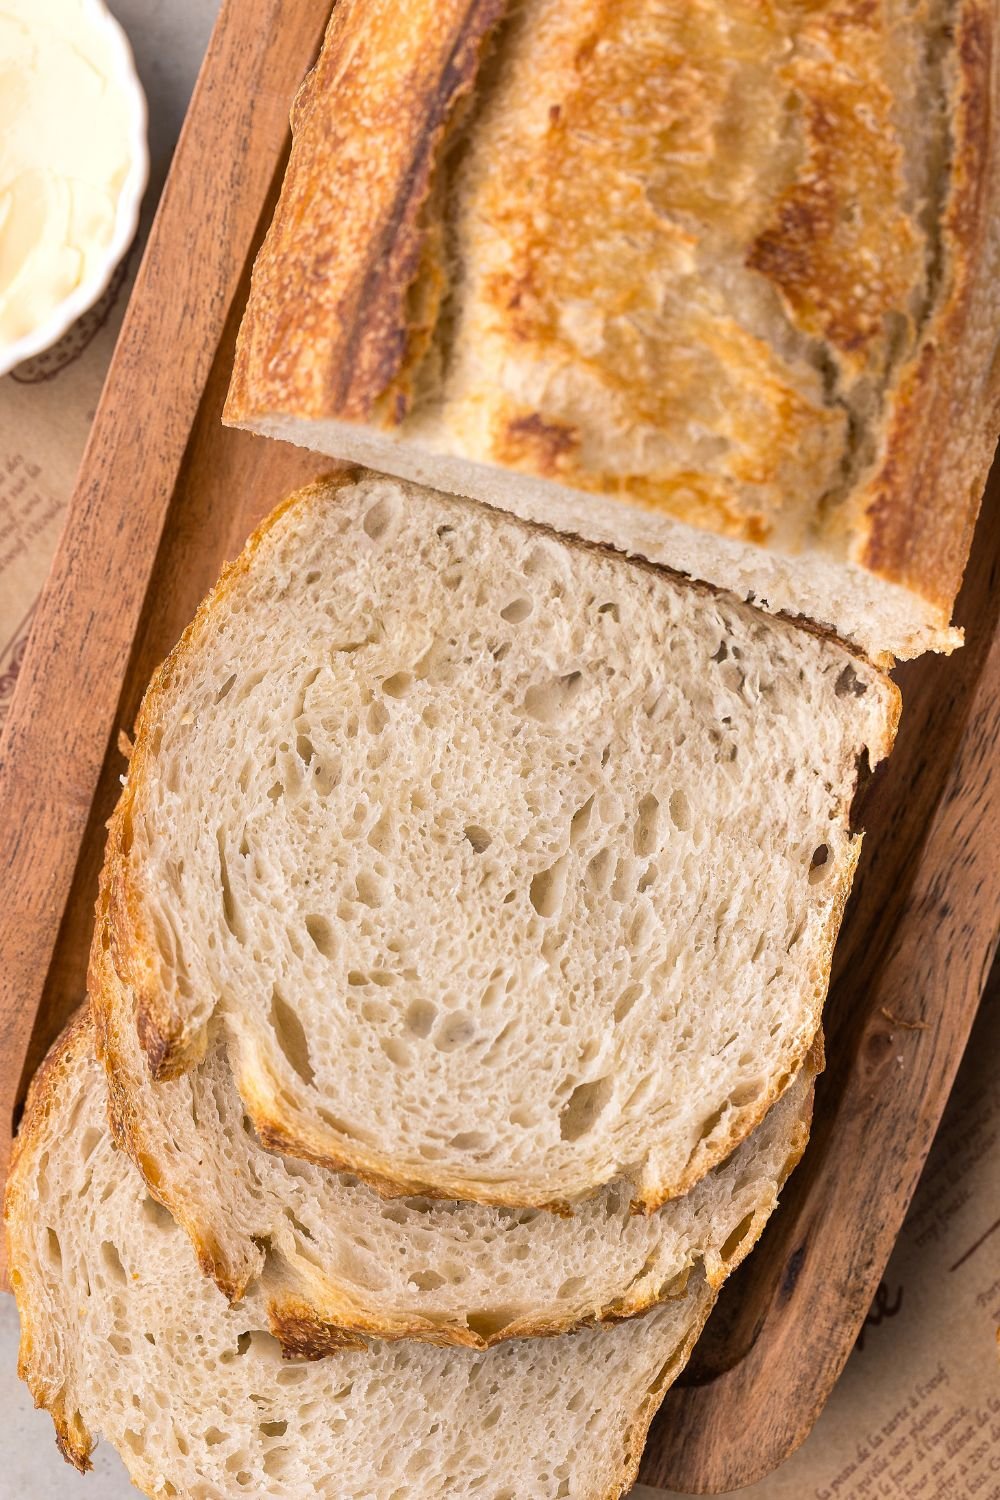
Shaping Options: Artisan Loaf or Sandwich Loaf
Artisan Round Loaf
For the classic crusty sourdough look:
- Shape into a round boule
- Place seam-side up in a floured proofing basket or bowl
- Bake in a Dutch oven or with steam for best crust
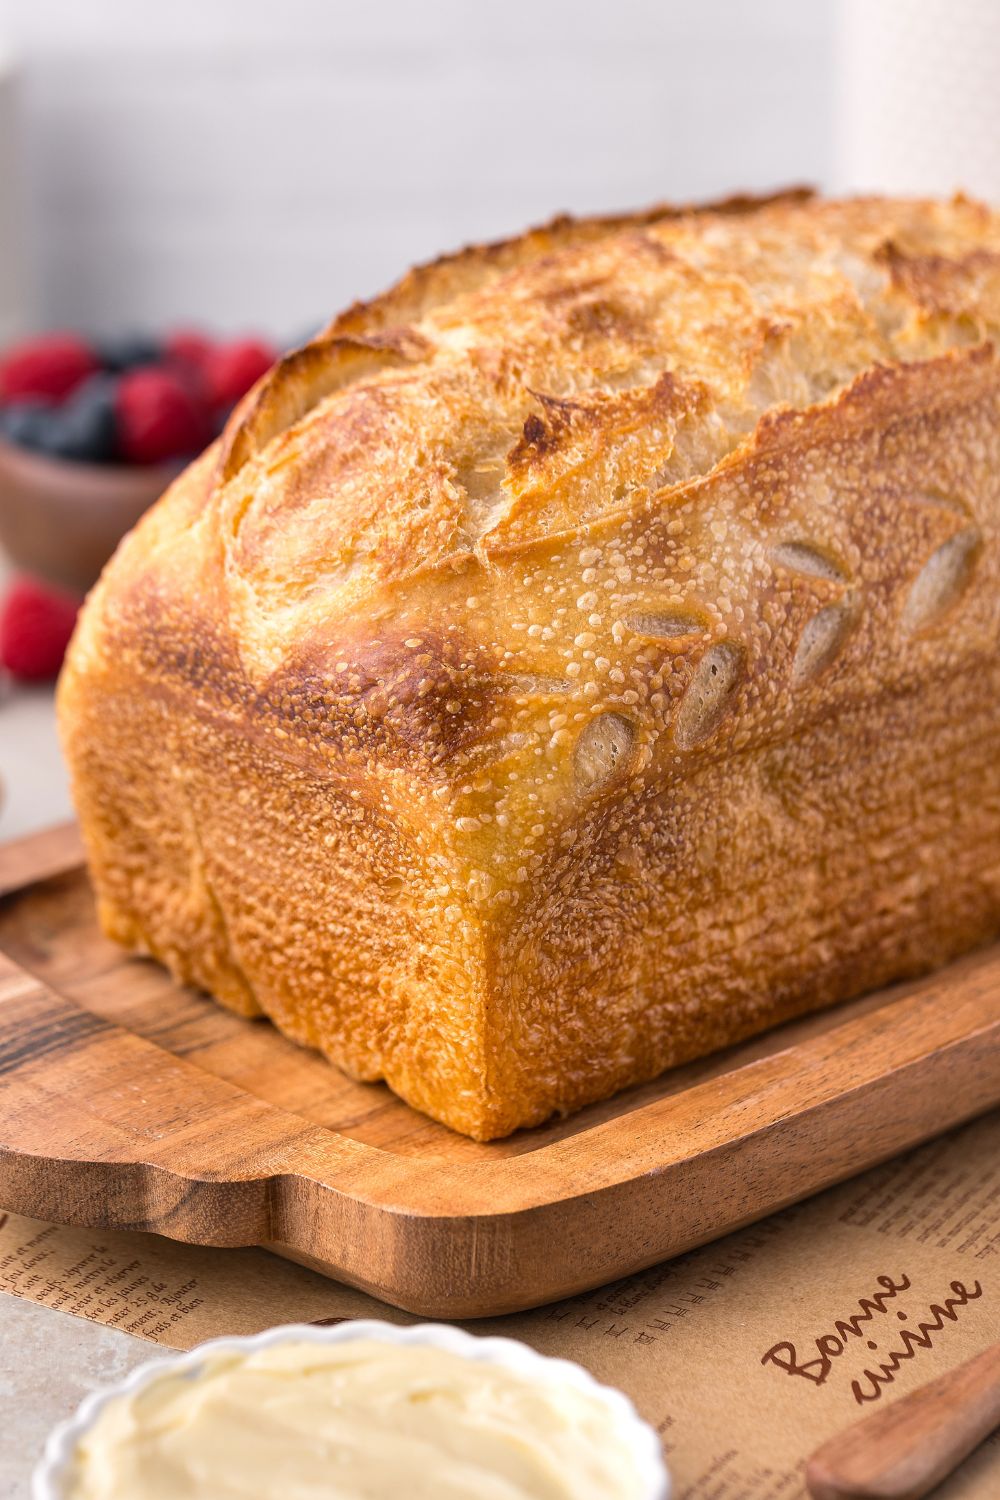
Sandwich Loaf Variation
If you’re looking for a softer, everyday-style bread—perfect for toast and sandwiches—use this variation:
- After bulk fermentation, shape the dough into a log and place it into a greased 9×5 loaf pan.
- Cover and let rise until domed ½ to 1 inch over the rim.
- Use the double-loaf-pan method: Mist the dough, then invert a second loaf pan on top to trap steam.
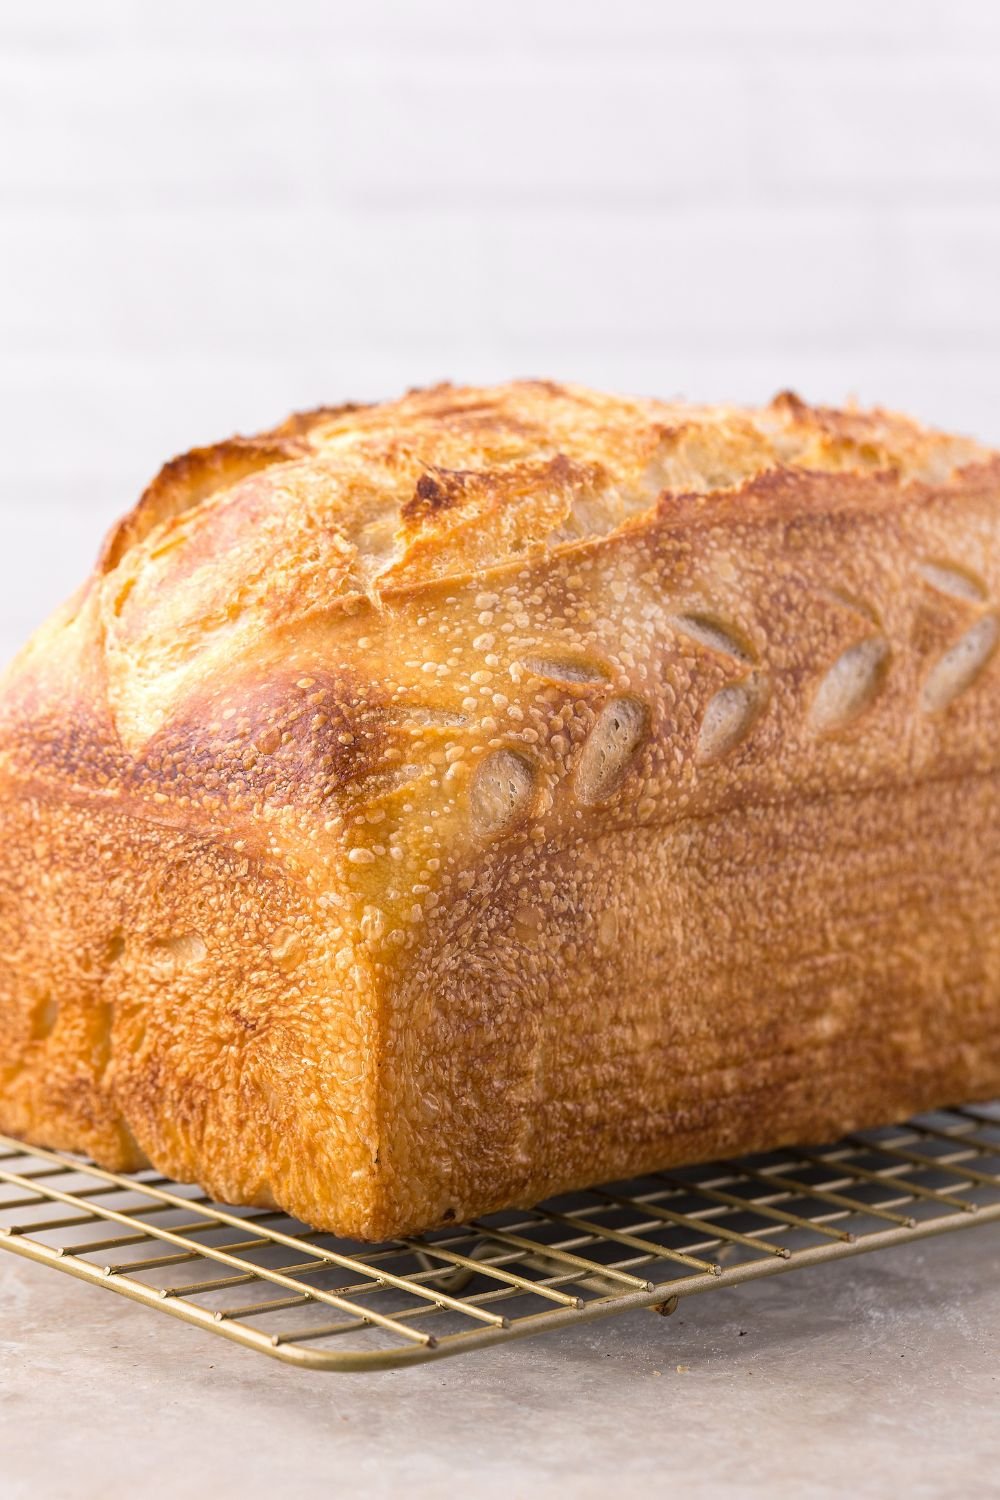
- Bake at 450°F for 25–30 minutes, then remove the top pan and lower to 425°F to finish baking another 10–15 minutes.
- You’ll get a beautiful golden crust that stays tender—no Dutch oven needed!
My husband prefers the sandwich loaf version for his work lunches, while I like to tear into the crusty boule with soup. Either way, you’re winning.

Equipment Swaps & Budget-Friendly Baking
Sourdough doesn’t have to be fancy. You can make a perfect loaf with tools you already have in your kitchen.
Here are some easy swaps:
| Tool | Budget-Friendly Alternative |
|---|---|
| Banneton | Medium mixing bowl + floured towel |
| Lame (scoring blade) | Sharp kitchen knife or razor blade |
| Dough whisk | Regular fork or wooden spoon |
| Dutch oven | Loaf pan + foil tent, or deep oven-safe pot with lid |
| Bench scraper | Spatula or even a flat butter knife |
And if you’re baking on a budget, focus on quality flour and a consistent routine. You don’t need a $300 pot or a special bread lame—just your starter, your hands, and some patience.
That said, I do love my USA pans and my Thermapen thermometer—they’re optional, but they’ve held up through years of baking.
Troubleshooting Tips
- Sticky dough? That’s totally normal—wet hands and a dough scraper help.
- Not rising? Your starter may be underactive. Feed it, wait for peak bubbles, and try again.
- Flat loaf? Could be over-proofed. Reduce the final rise next time or bake a bit earlier.
- Dense loaf? Make sure your starter is strong and give enough time for the bulk rise.
- Crust too dark? Tent with foil or bake in a lighter-colored pan. Avoid dark pans for sandwich loaves.
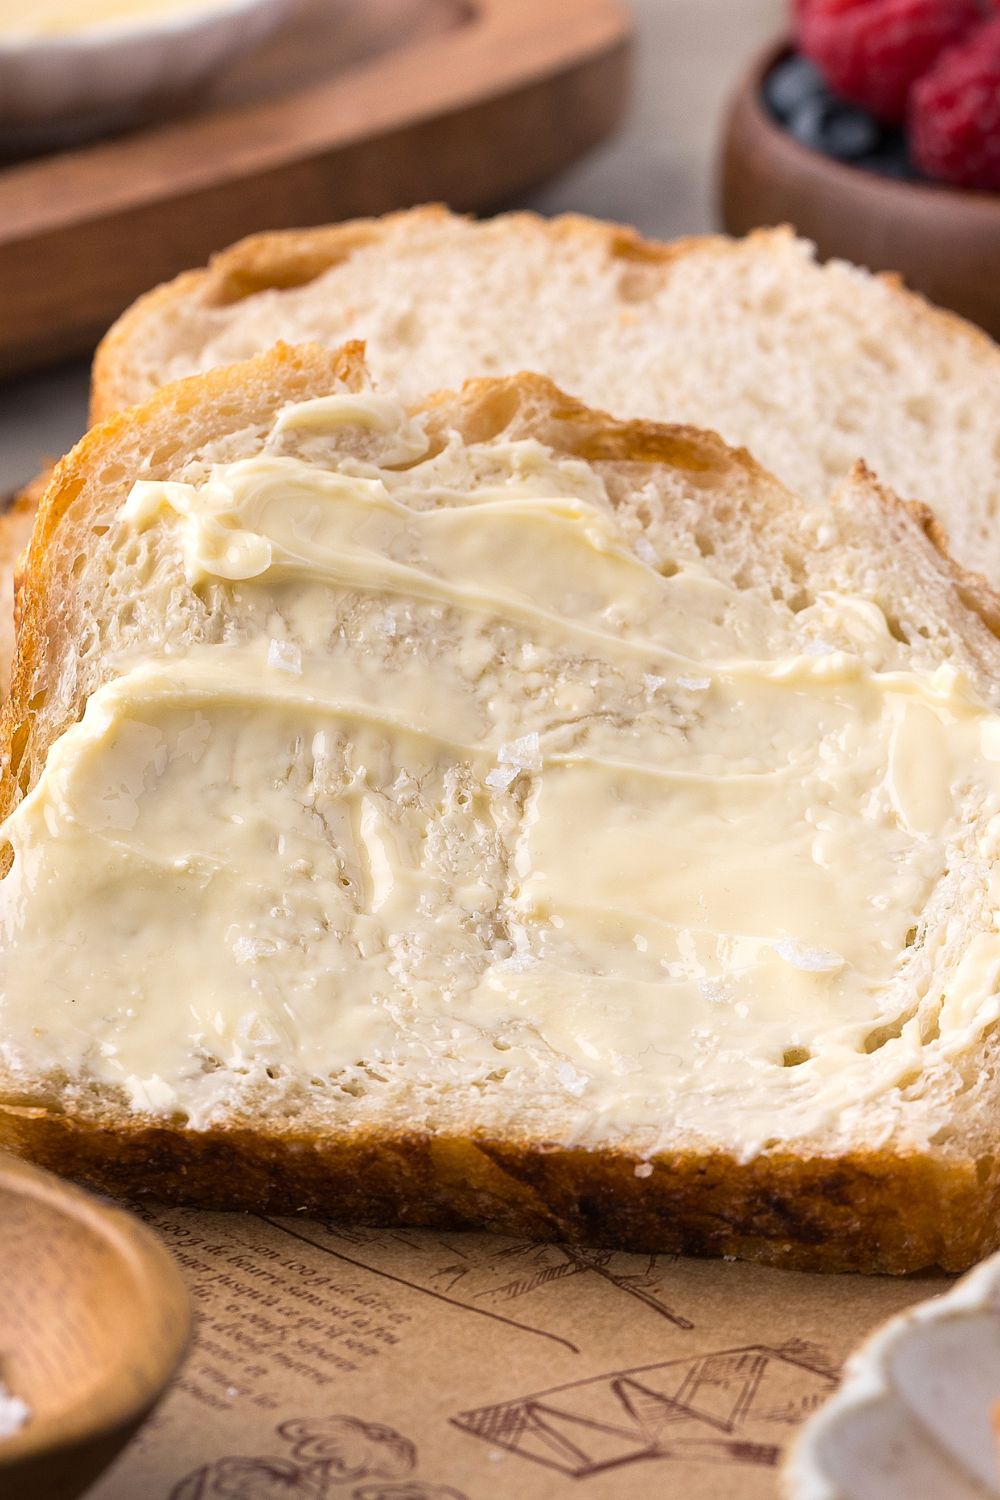
Storage & Serving Tips
To store:
- Wrap cooled bread in a tea towel or place cut-side down on a cutting board
- For longer storage, place in a zip-top bag or bread box for up to 3 days
- Freeze slices for quick toast later!
To serve:
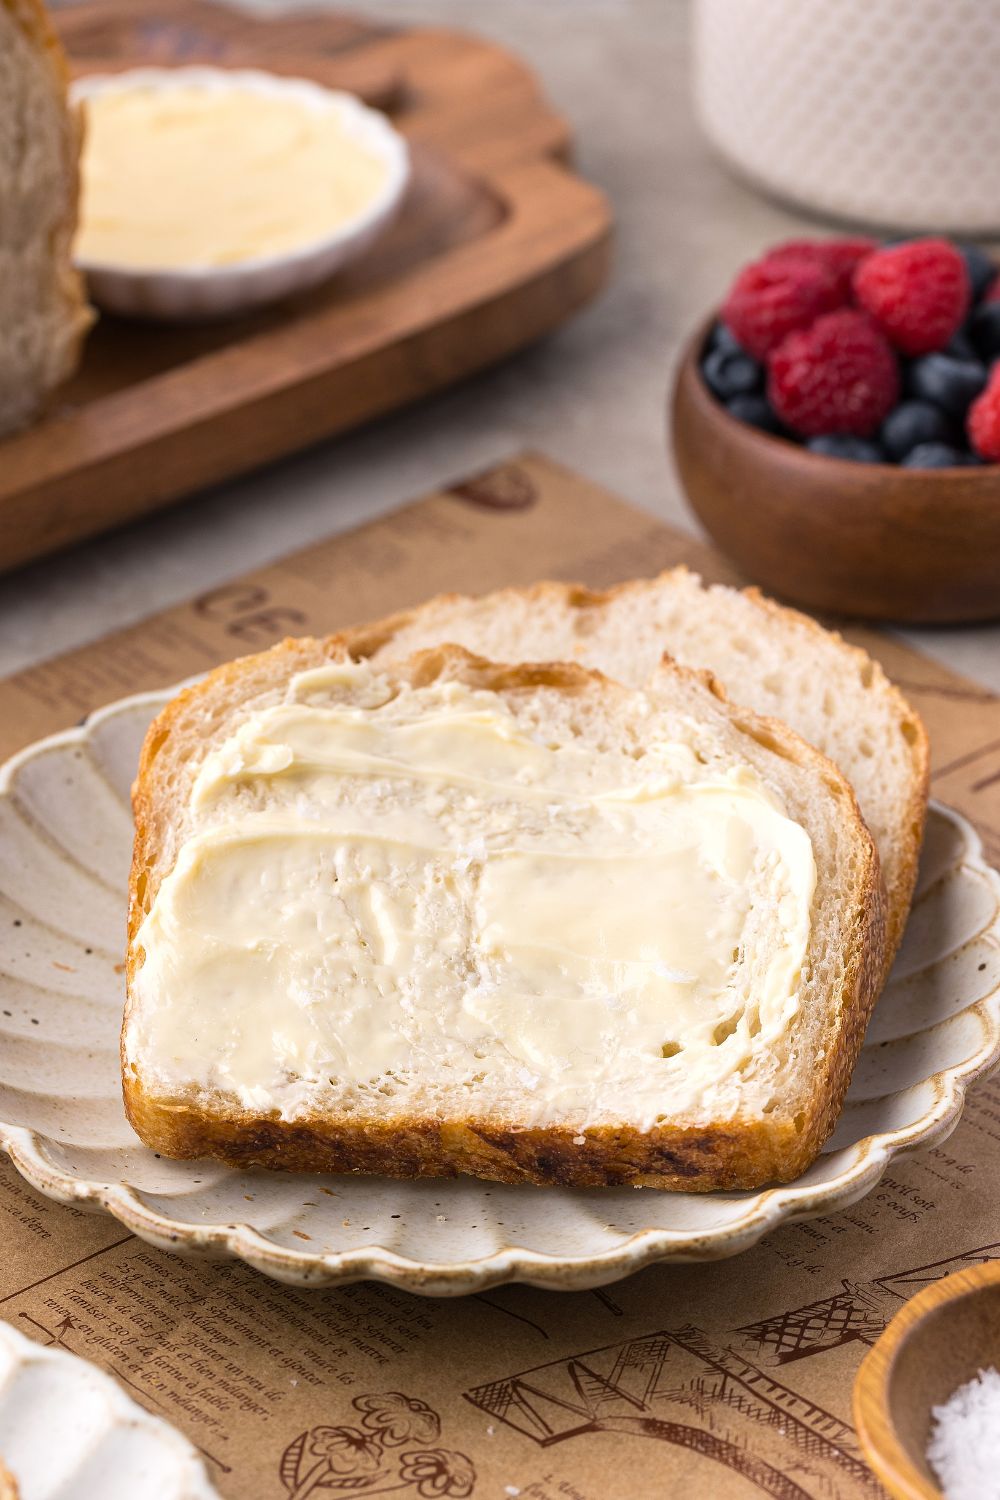
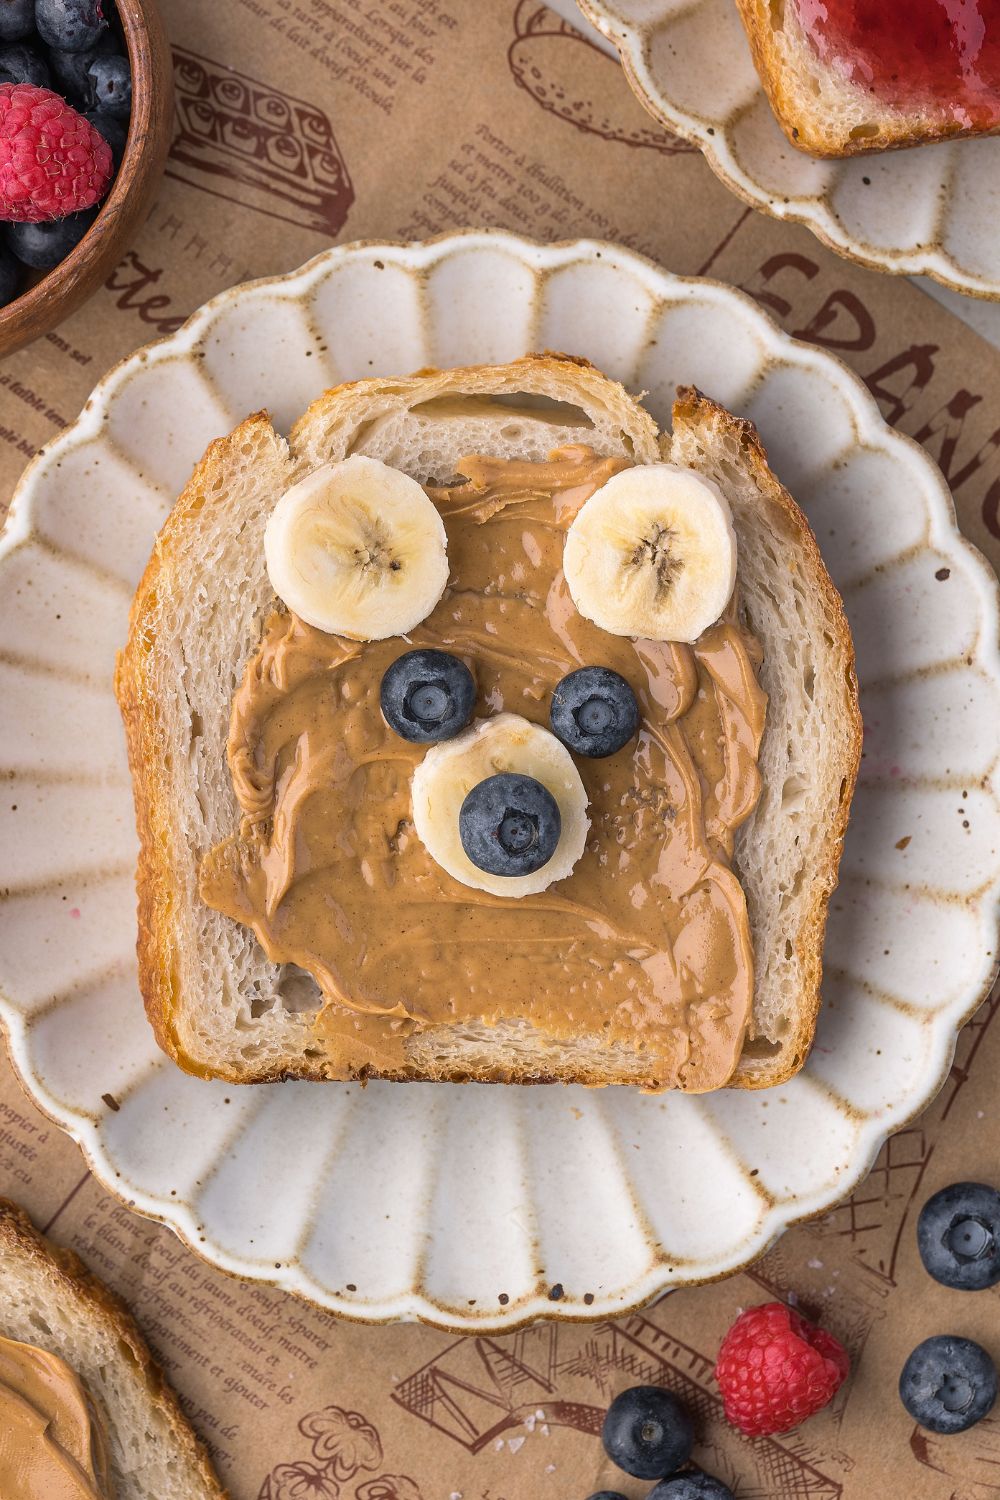
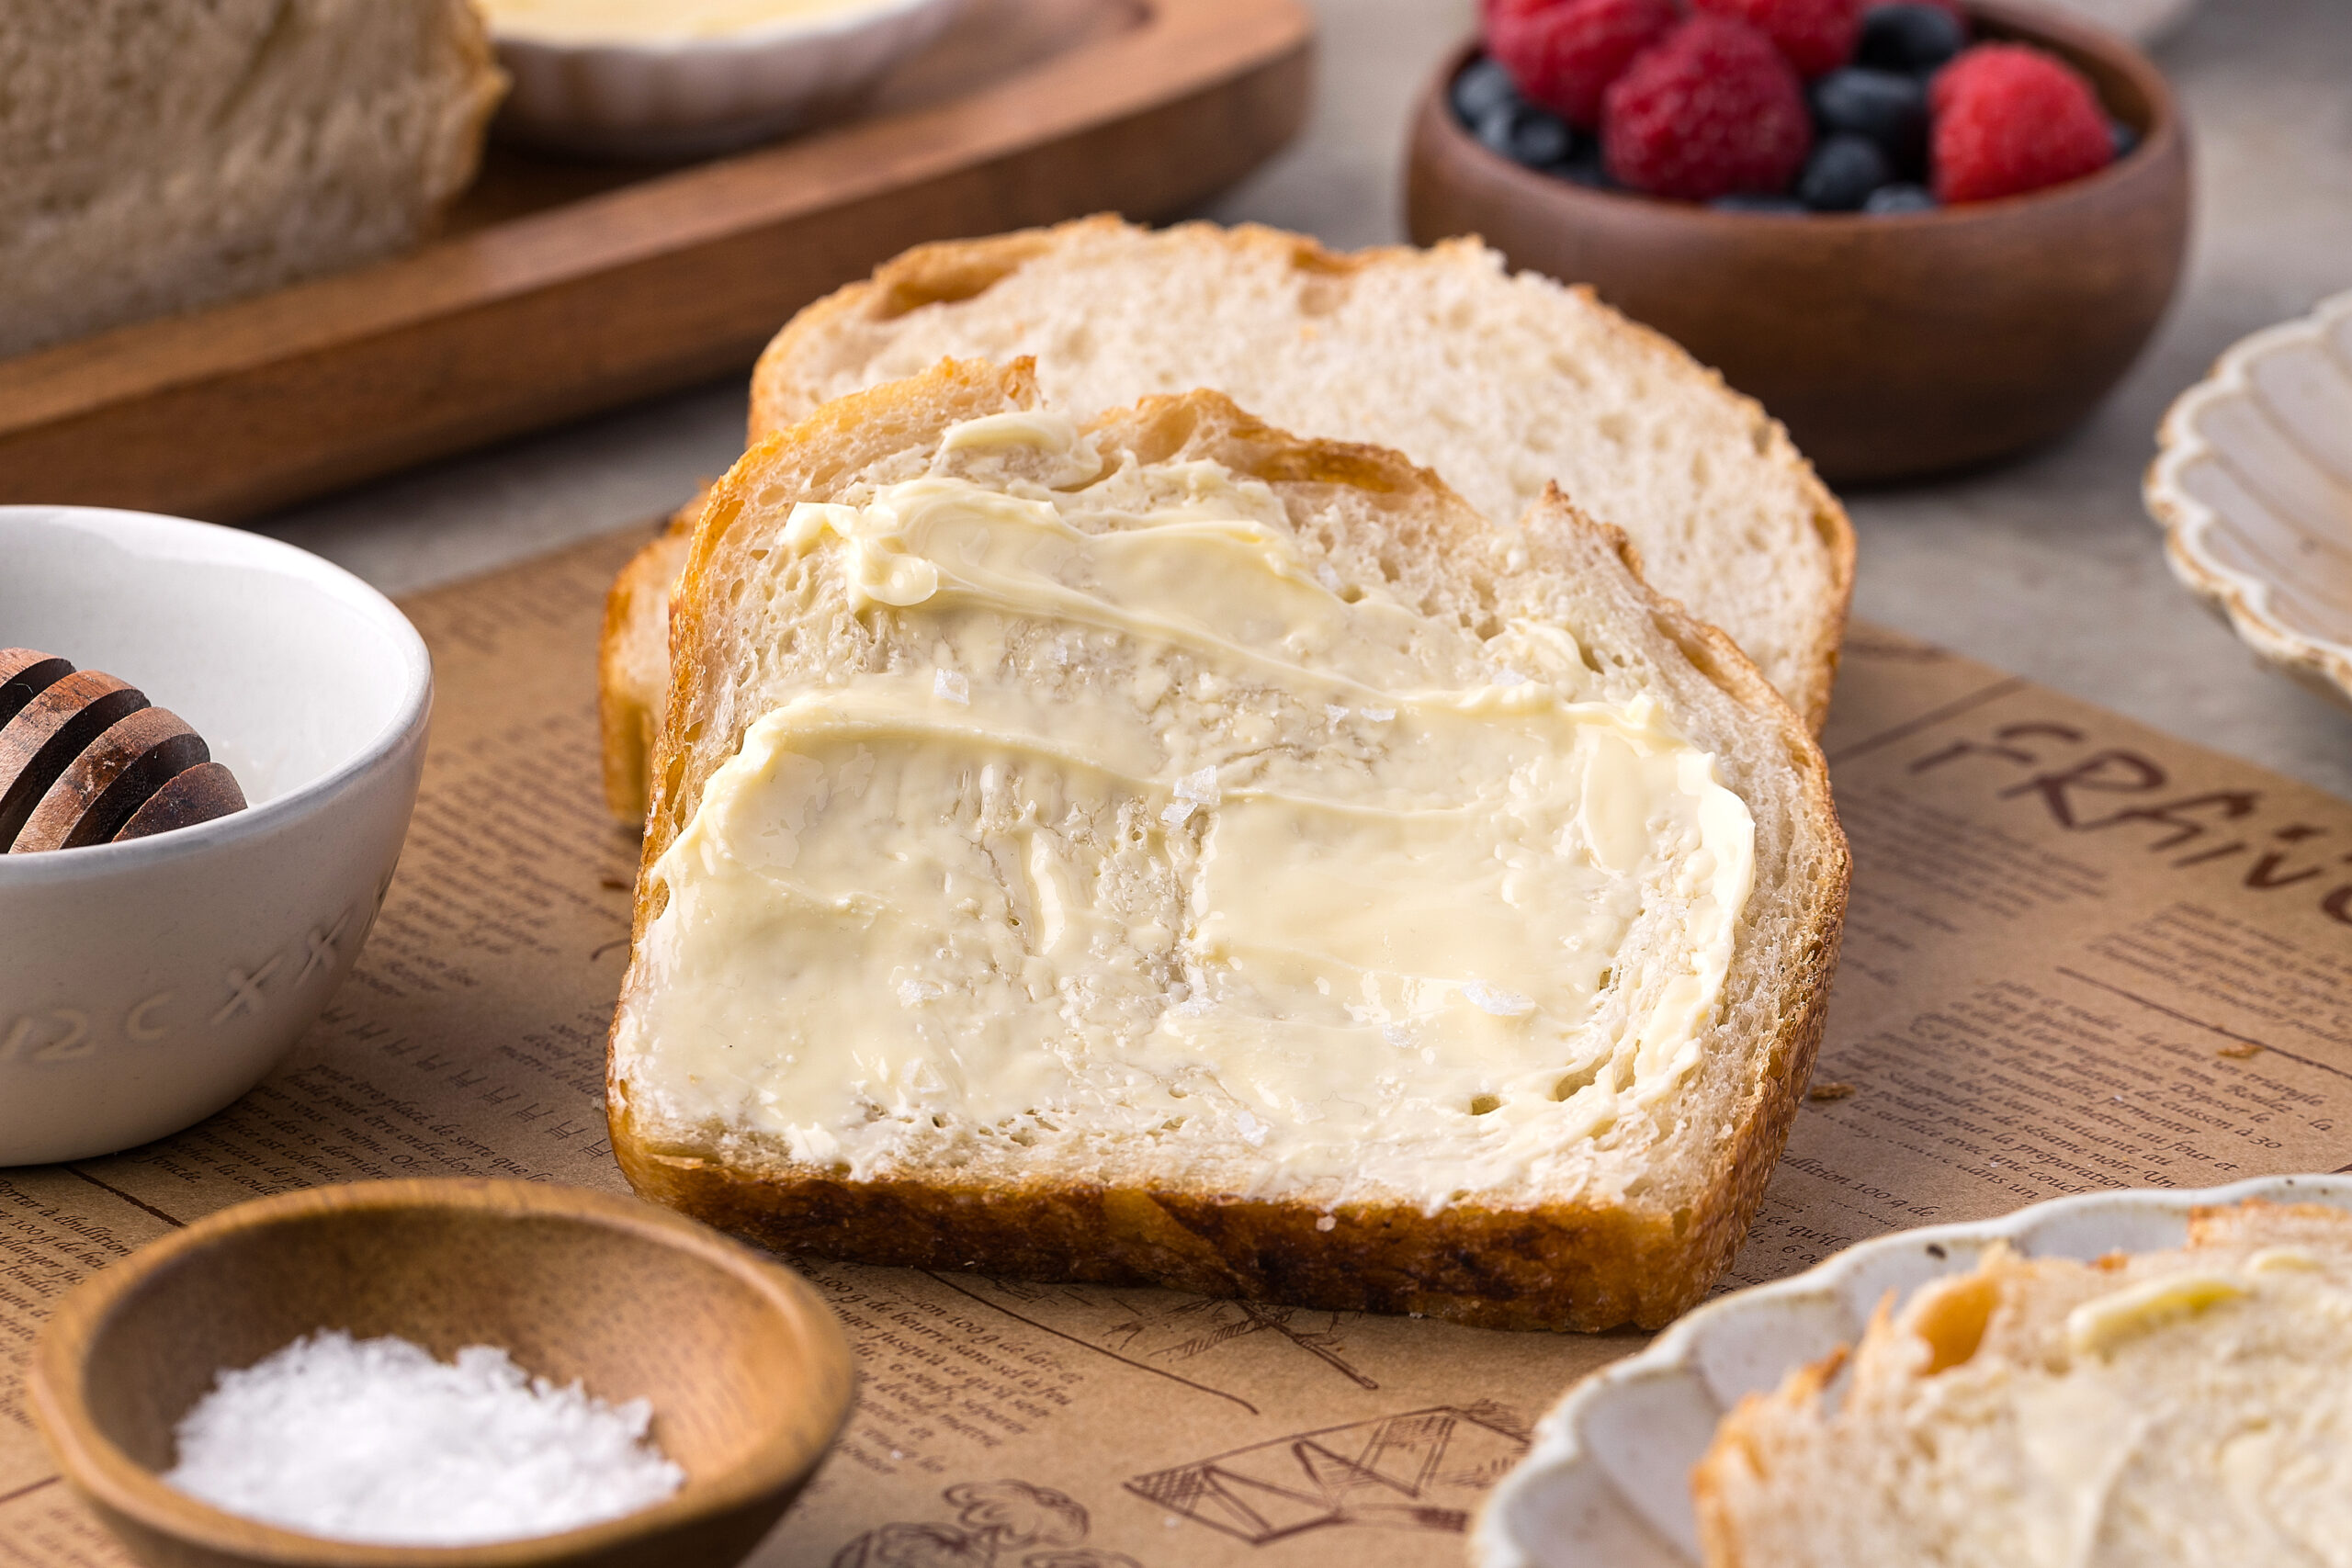
- Fresh slices with butter and flaky salt
- Toasted with jam, nut butter, or avocado
- As sandwich bread (use sandwich loaf version)
- Dip into soups or stews
- Make grilled cheese, croutons, or even sourdough French toast!
Make-Ahead & Freezing Tips
Make-ahead:
- Refrigerate after bulk fermentation or shaping (covered) for up to 48 hours.
- This can actually enhance the sourness and flavor!
Freezing:
- Let cool completely, slice, and freeze in a zip-top freezer bag
- Toast slices straight from frozen, or reheat a thawed loaf in a 325°F oven for 8–10 minutes

FAQ – Homemade Sourdough Bread
Can I make this bread without a Dutch oven?
Yes! Use a loaf pan + inverted second pan, or bake in a cast iron skillet with a foil tent. A baking steel or stone also helps.
What kind of flour works best?
Bread flour is ideal for its protein content, but you can sub up to 20% whole wheat or all-purpose flour. Just expect slightly different texture.
Can I skip the oil or honey?
Yes, though they add moisture and softness. Your loaf may be a bit chewier without them.
Why is my dough so sticky?
That’s totally normal—this is a high-hydration dough. Use wet hands and flour only when shaping. Don’t panic!
What if I don’t have a proofing basket?
Use a medium mixing bowl lined with a clean towel and dusted with flour.
How do I know when the bread is fully baked?
Tap the bottom—if it sounds hollow, it’s done. Or check with a thermometer: the internal temp should be 205–210°F.
Can I bake this into a sandwich loaf?
Yes! Use the sandwich loaf variation listed above for a softer, square loaf perfect for slicing.
Why did my bread not rise much?
It may be under-proofed, over-proofed, or your starter wasn’t active enough. Try again with a refreshed starter and watch for dough volume rather than the clock.
How do I get big bubbles inside?
Focus on gentle stretch and folds, don’t deflate the dough when shaping, and don’t overproof.
How to Gift a Loaf of Sourdough Bread for upcoming Holidays
Homemade sourdough makes the perfect gift—warm, personal, and absolutely delicious. Whether you’re thanking a neighbor, welcoming a friend to the neighborhood, or sharing something homemade around the holidays, it’s always well received.
Here’s how to package it beautifully:
Wrapping Ideas
- Wrap the fully cooled loaf in parchment or butcher paper, then tie it with twine and a sprig of rosemary for a rustic look.
- Place it in a bread bag or simple brown paper bag with a sticker or handwritten label.
- Tuck it into a basket with jam, honey, or homemade butter for a complete gift.
Add a Note
Include a little handwritten card with:
- What kind of loaf it is
- How to store it (best eaten within 3 days or freeze slices)
- Reheating tips (warm at 325°F for 8–10 minutes if frozen)
I like to write something like: “Baked with love! Best enjoyed toasted with butter or dipped in soup. Store at room temp or freeze slices for later. Enjoy!”
We’ve gifted loaves to teachers, neighbors, and even our delivery driver during the holidays—it always brings a smile.
Final Thoughts
This Homemade Sourdough Bread is a staple in our house—crusty, chewy, and satisfying with every bite. Whether I’m slicing it thick for avocado toast or packing a sandwich loaf version in my husband’s lunchbox, it always feels like a little win.
It’s the kind of recipe that becomes part of your weekly rhythm. And even though sourdough sounds fancy, this method is simple enough for real-life busy parents like me (who are usually answering kid questions while folding dough!).
Make it once, and I promise you’ll come back to it again and again.
Craving More Carb-Loaded Recipes
Homemade Sourdough Bread
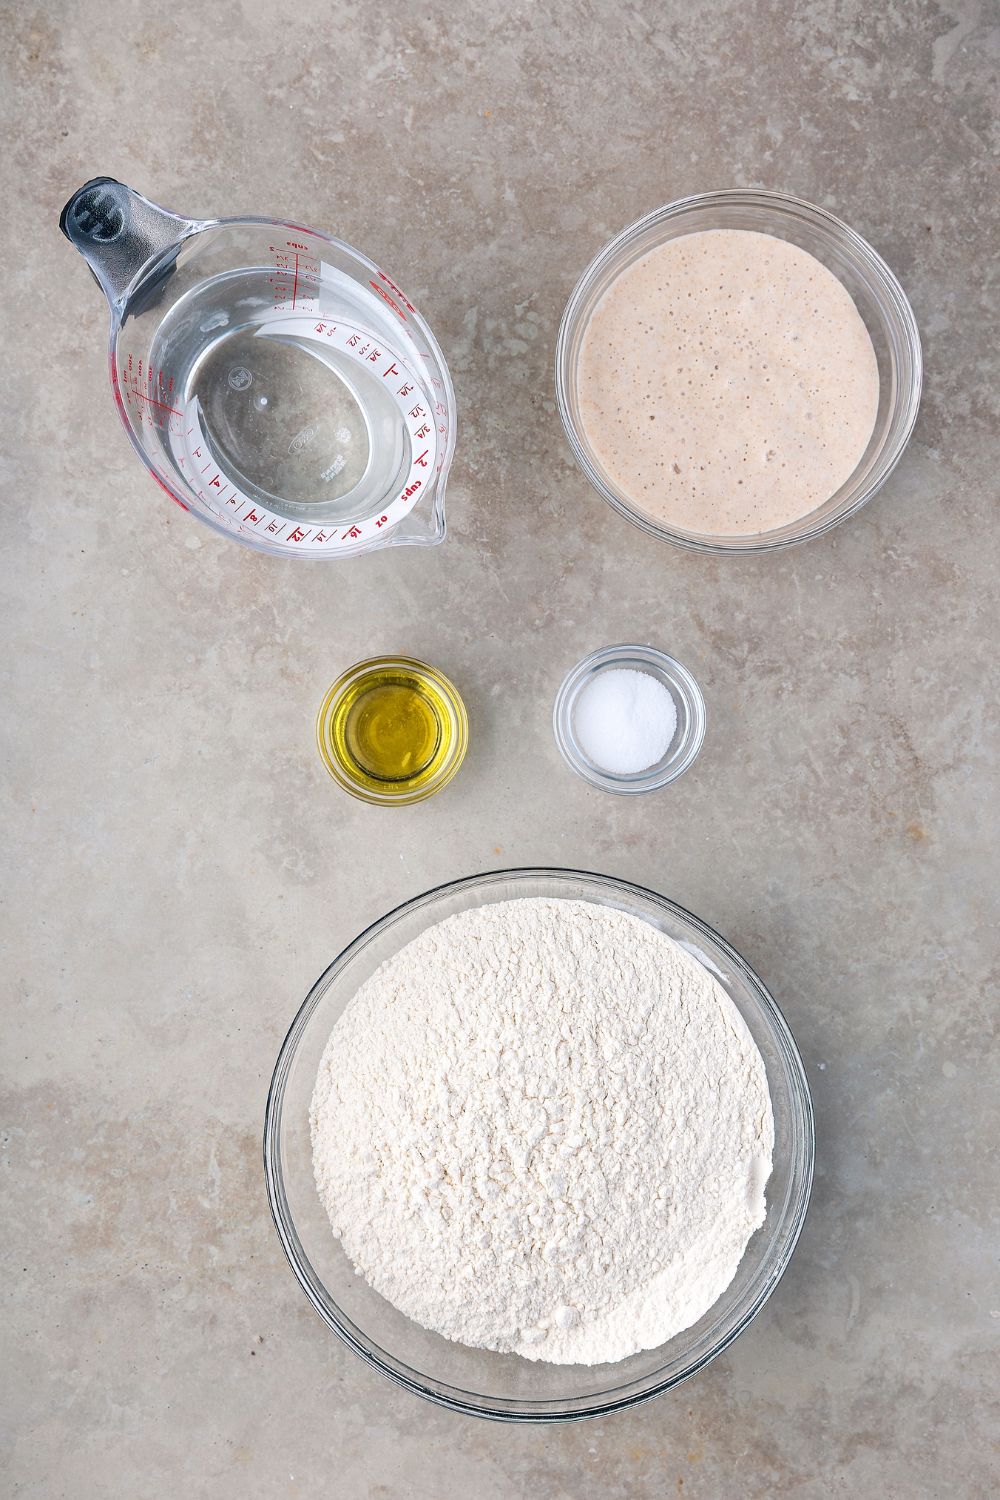
Ingredients
- 125 g active sourdough starter fed and bubbly
- 325 g warm filtered water around 90°F
- 20 g neutral oil avocado, olive, or canola oil
- 12 g honey
- 12 g fine sea salt
- 500 g bread flour
Instructions
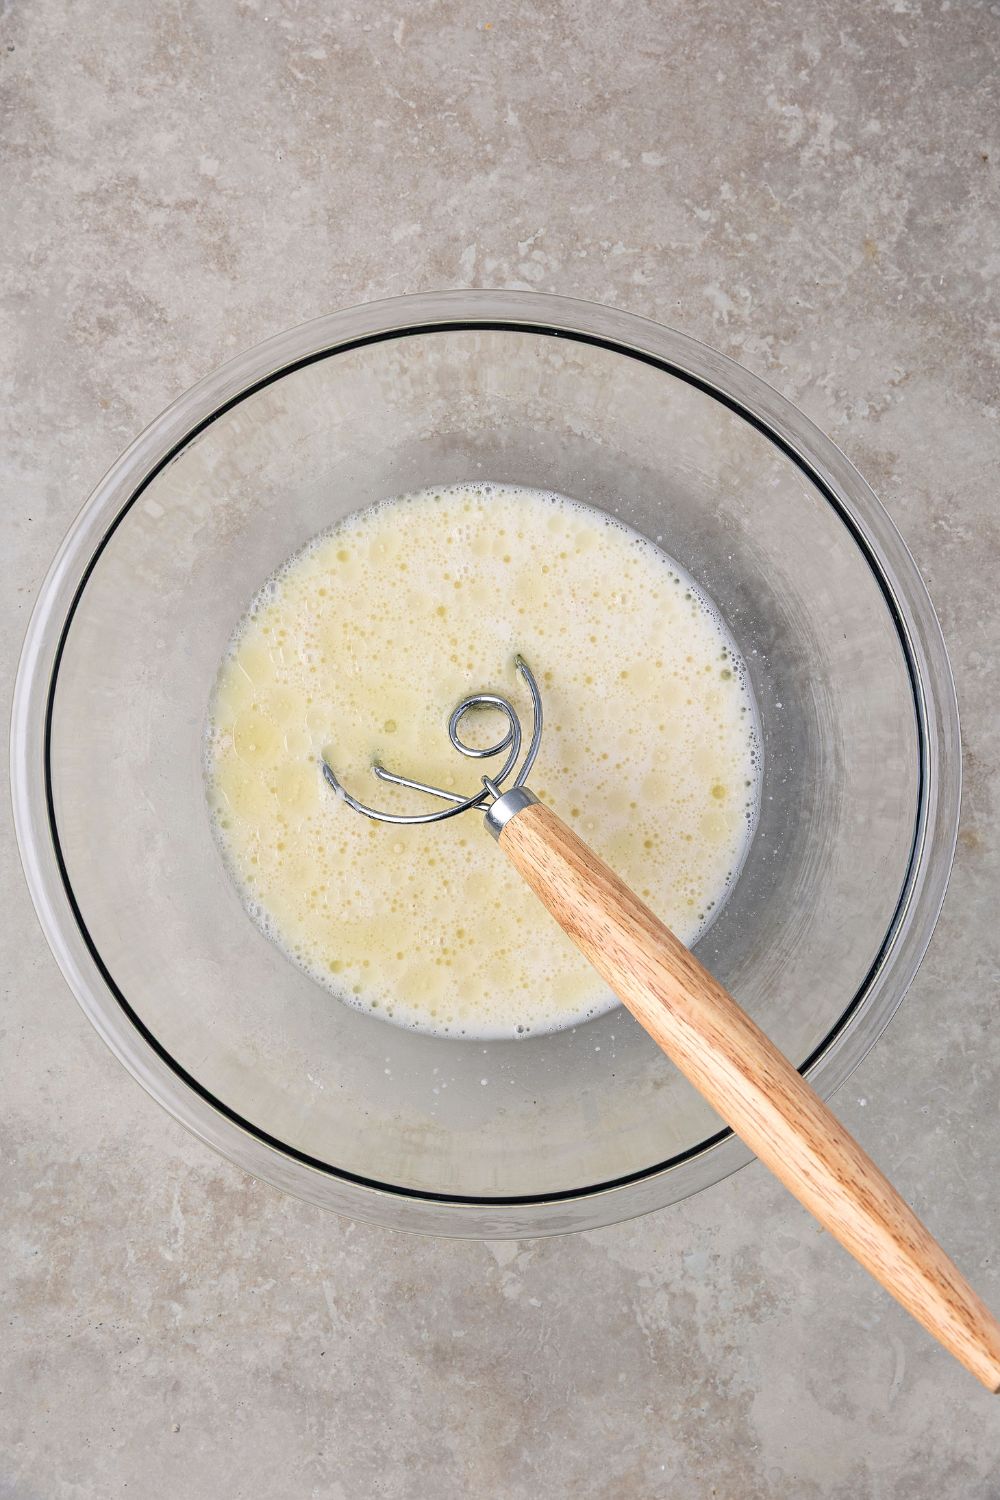
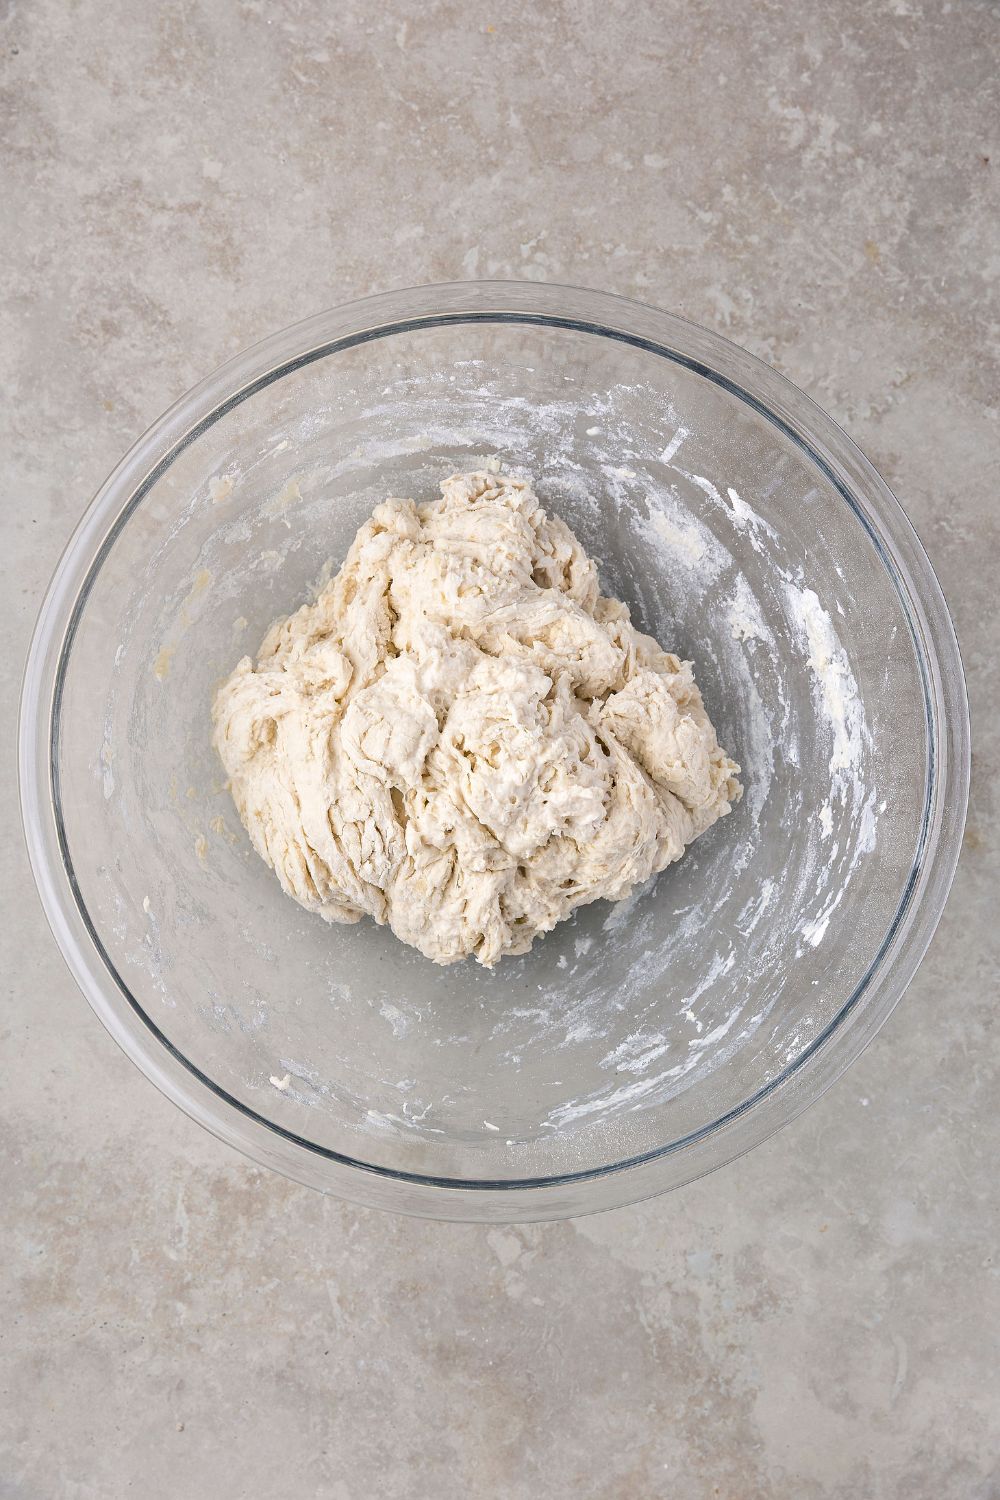
- In a large bowl, combine the starter, warm water, oil, honey, and salt. Stir well to dissolve everything. Add the bread flour and mix until no dry bits remain. The dough will look shaggy and sticky.
- Cover and let rest for 30 minutes to hydrate the flour and start gluten development.
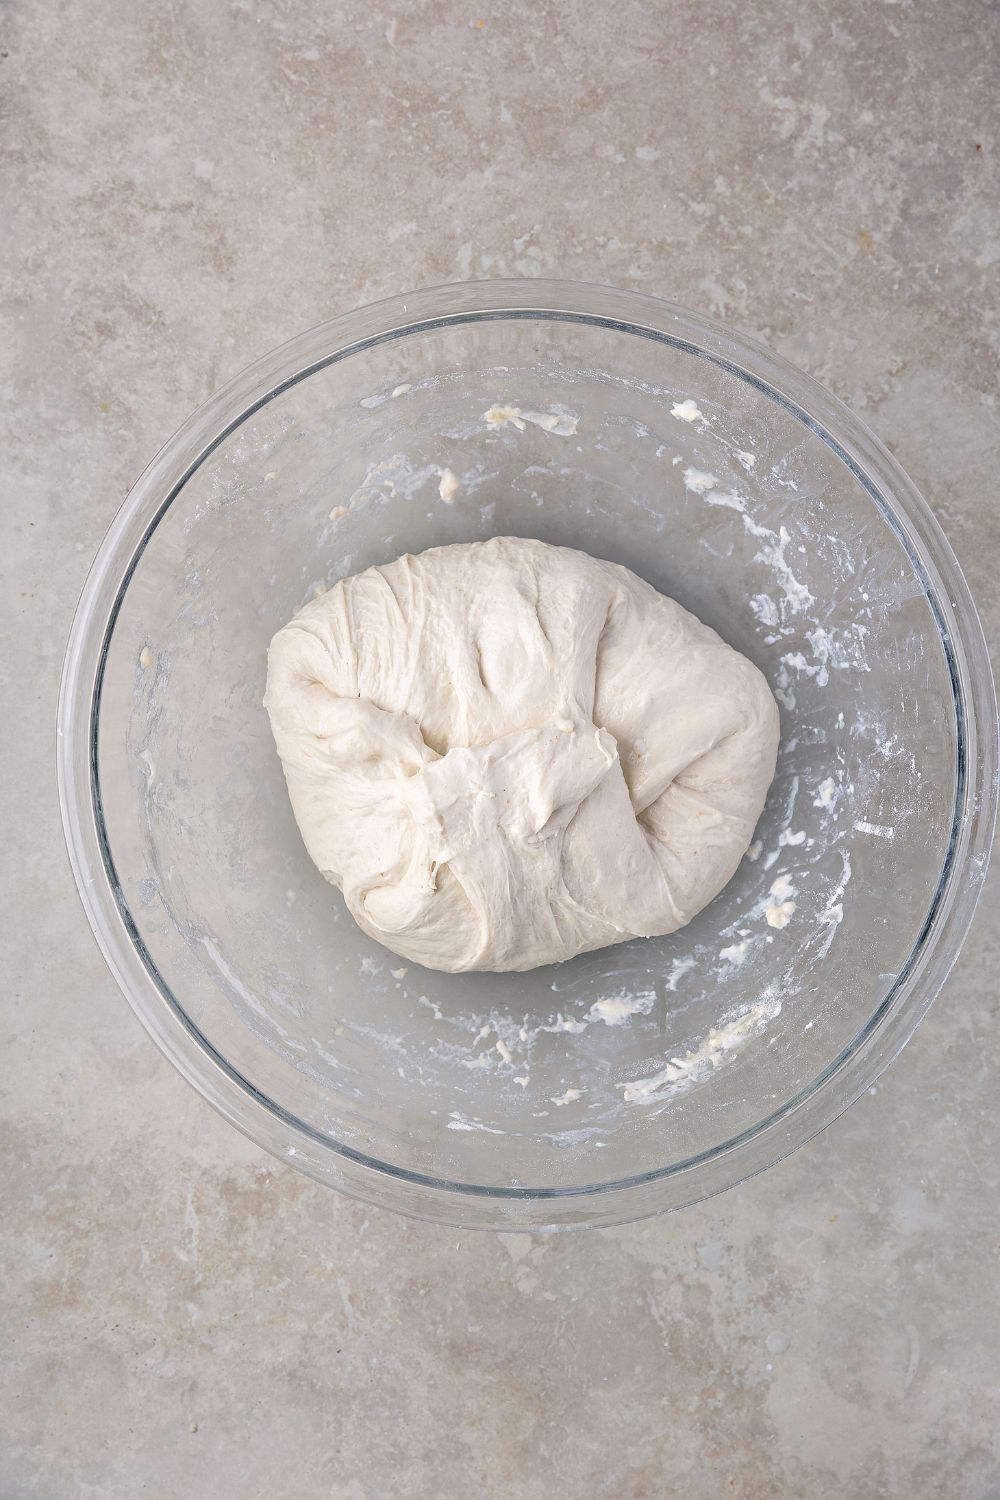
- Wet your hands and knead the dough in the bowl for 3 to 4 minutes using a push-pull motion. Wet your hands as needed to keep the dough from sticking.
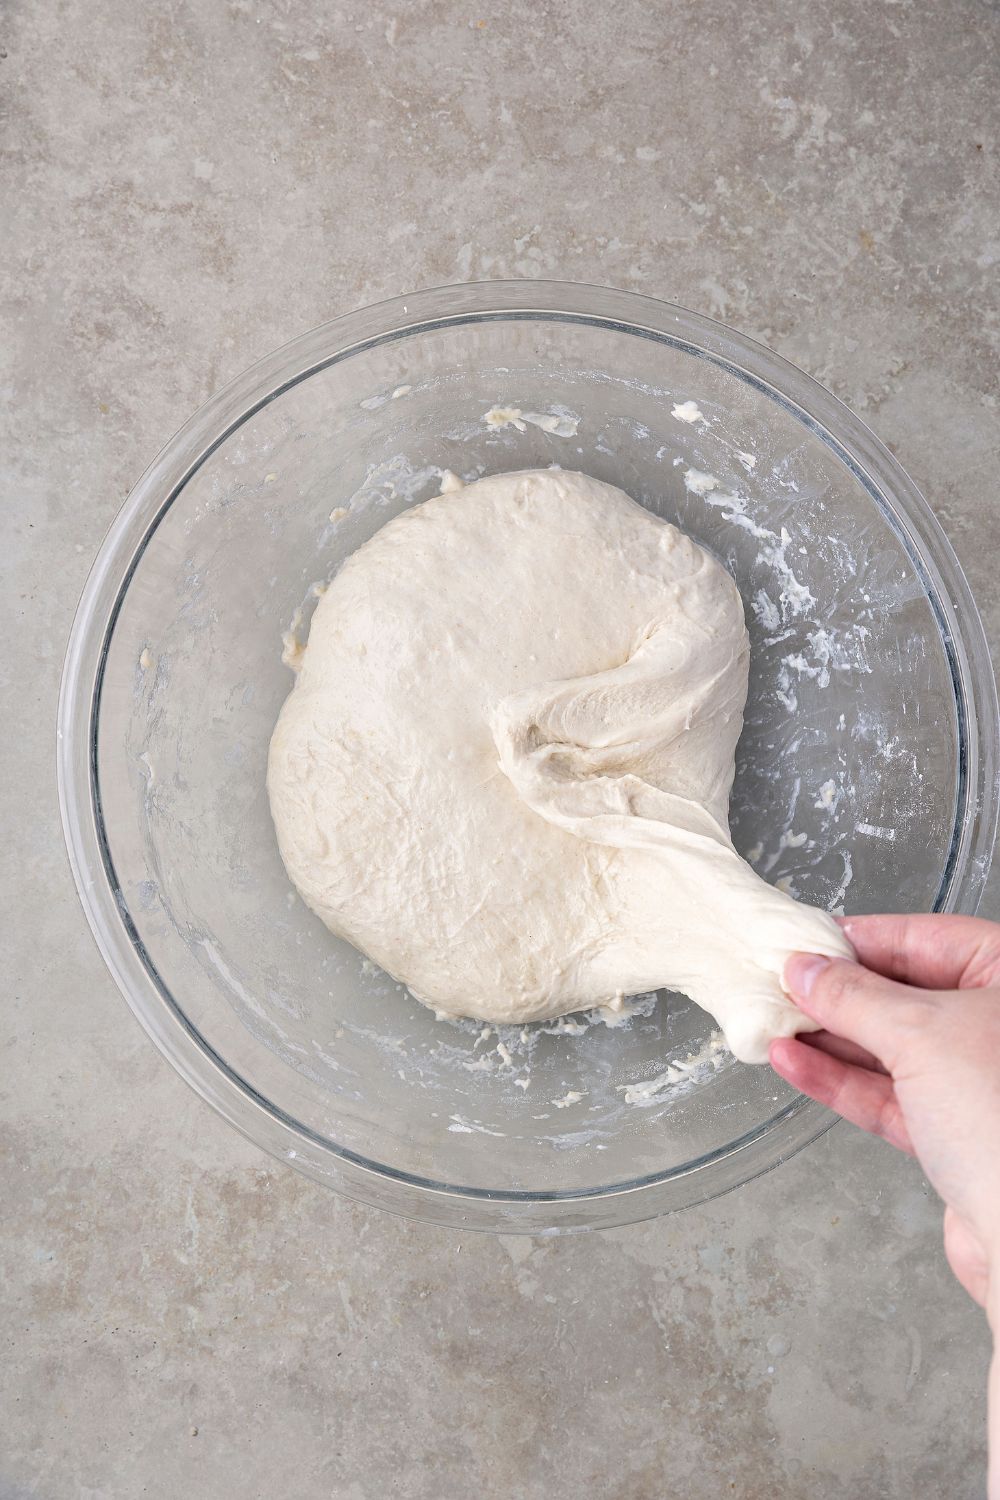
- Cover and rest for 30 minutes. Do your first set of stretch and folds: with wet hands, gently lift one side of the dough, stretch it up, and fold it over. Rotate the bowl and repeat on all sides. Do 4 to 8 stretches per round, depending on how the dough feels. Repeat this for a total of 3 sets, 30 minutes apart.
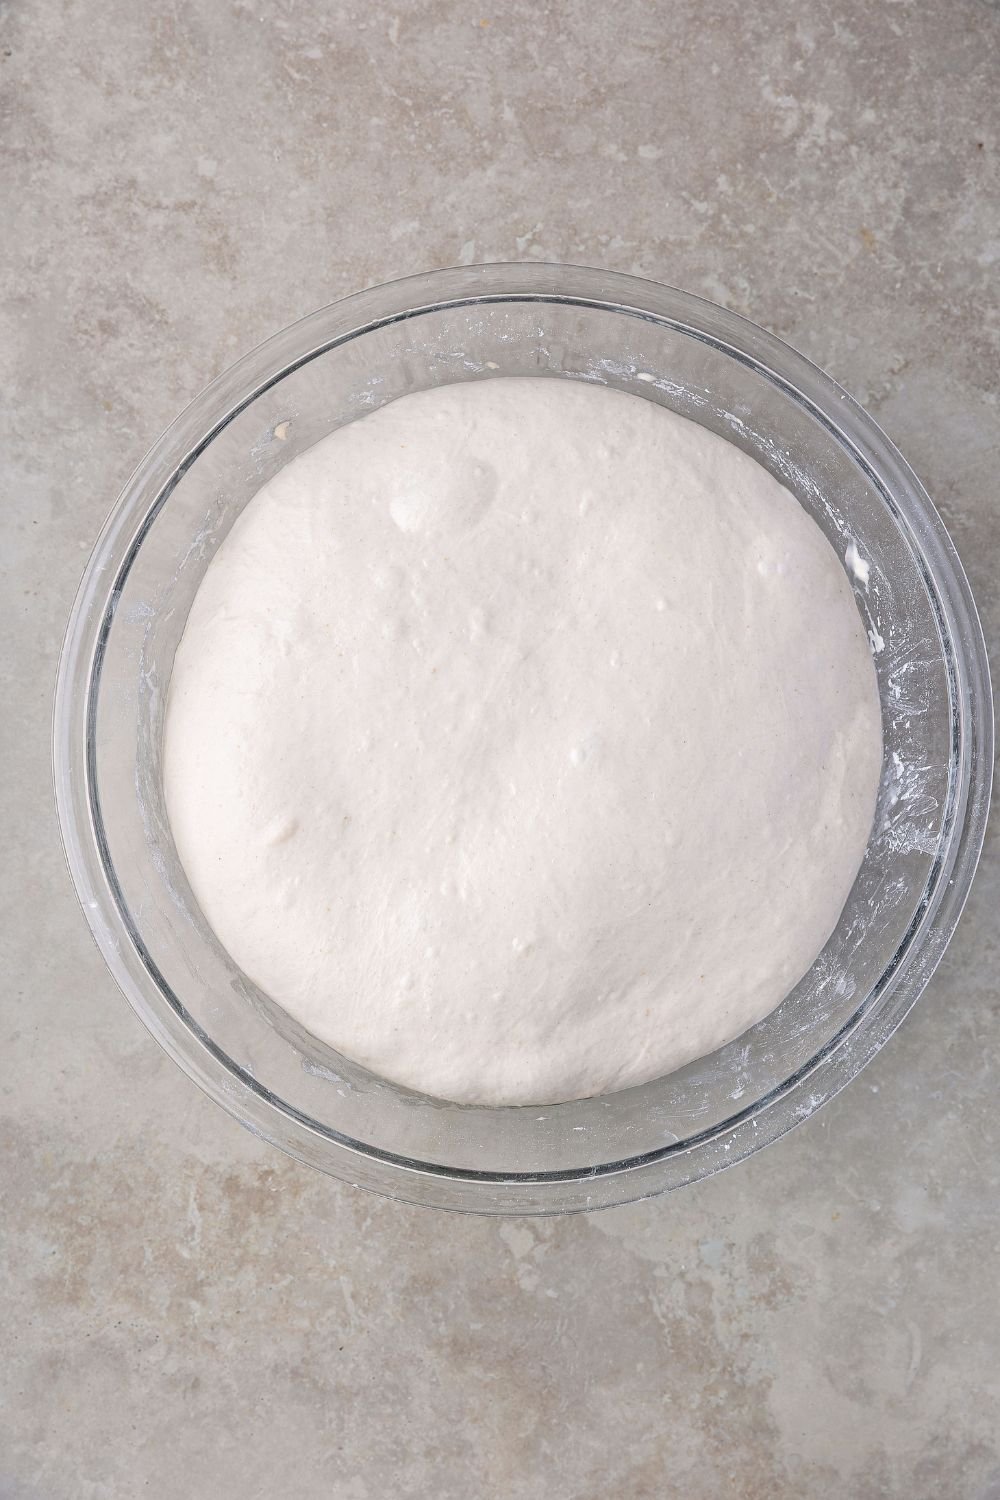
- After the final fold, cover the bowl and let the dough rise until it has grown about 60 to 75 percent, looks slightly domed, and has bubbles along the sides. This usually takes 5 to 8 hours at room temperature.
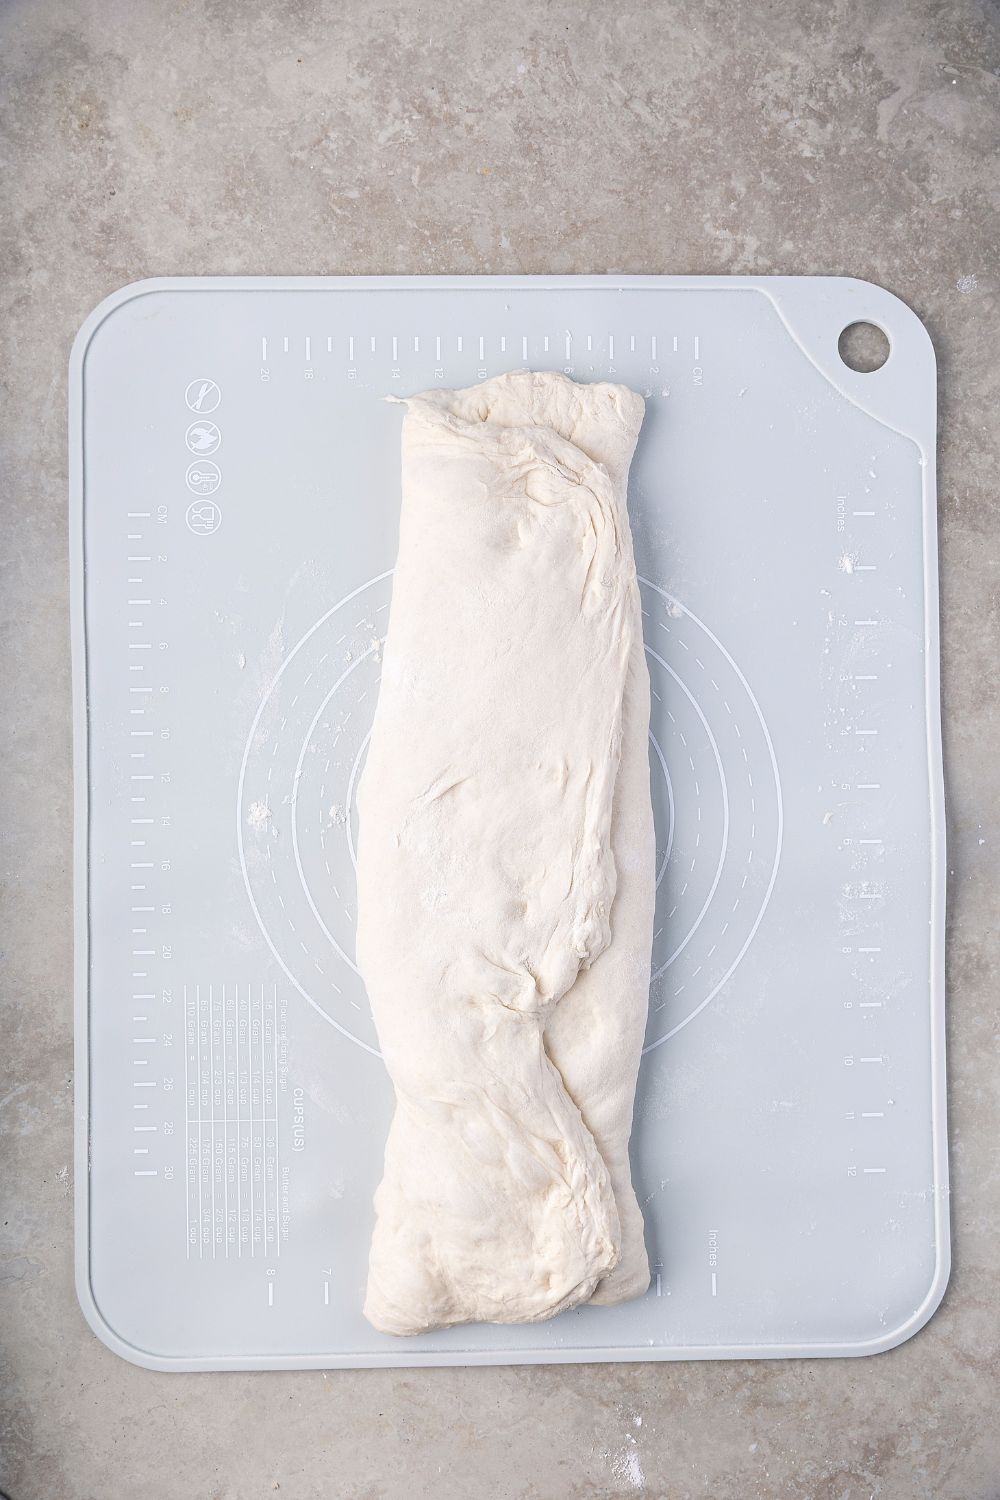
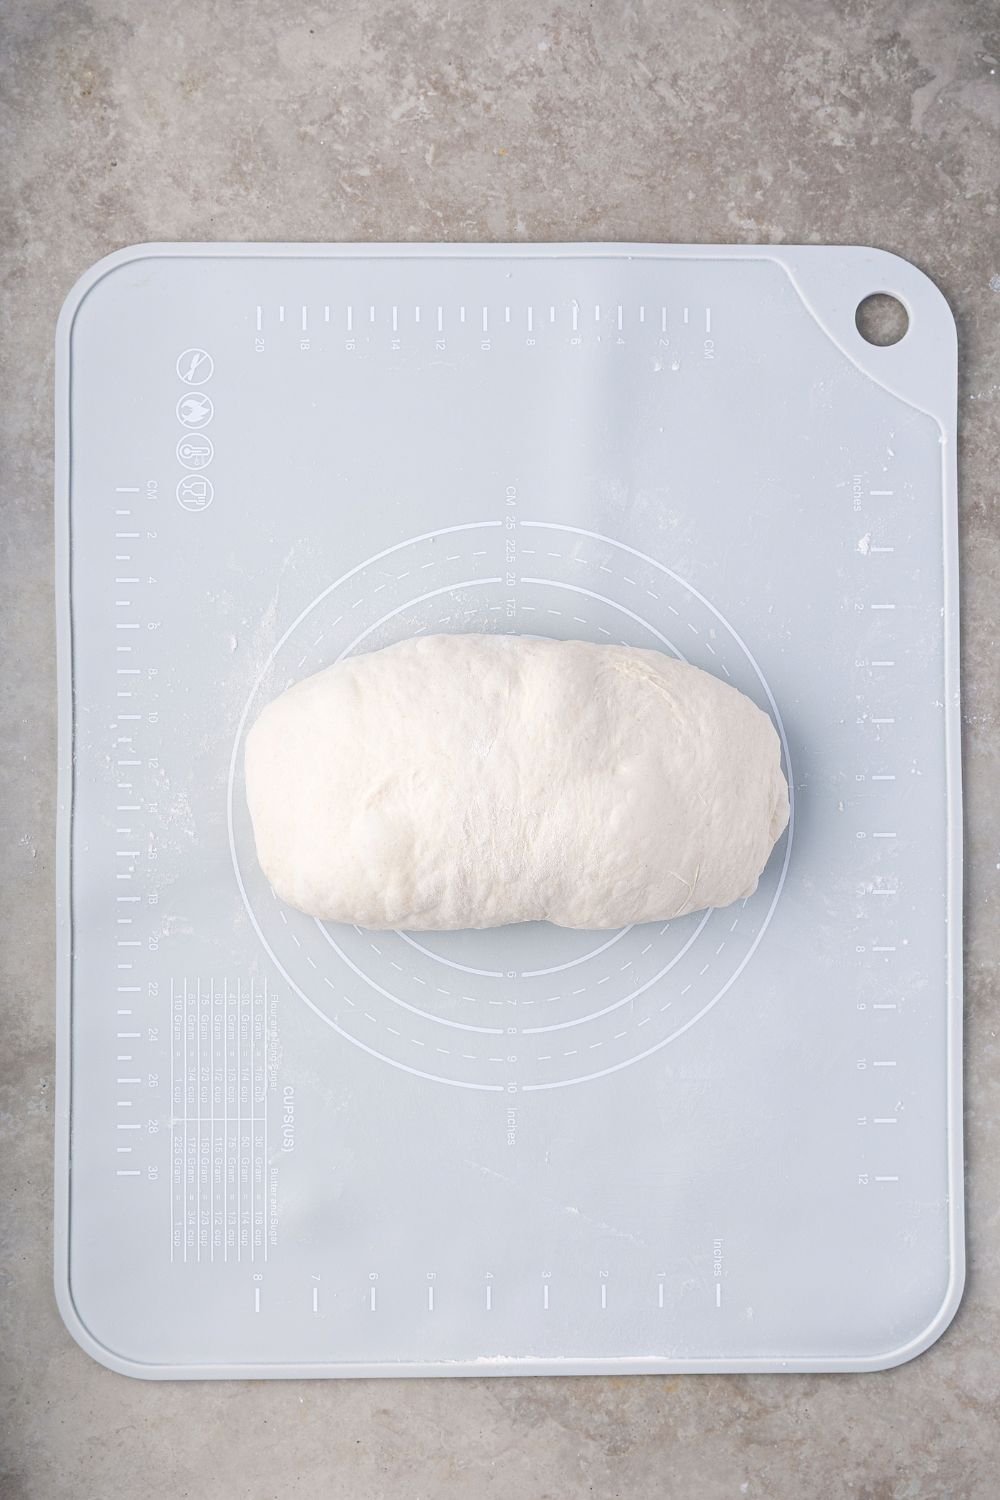
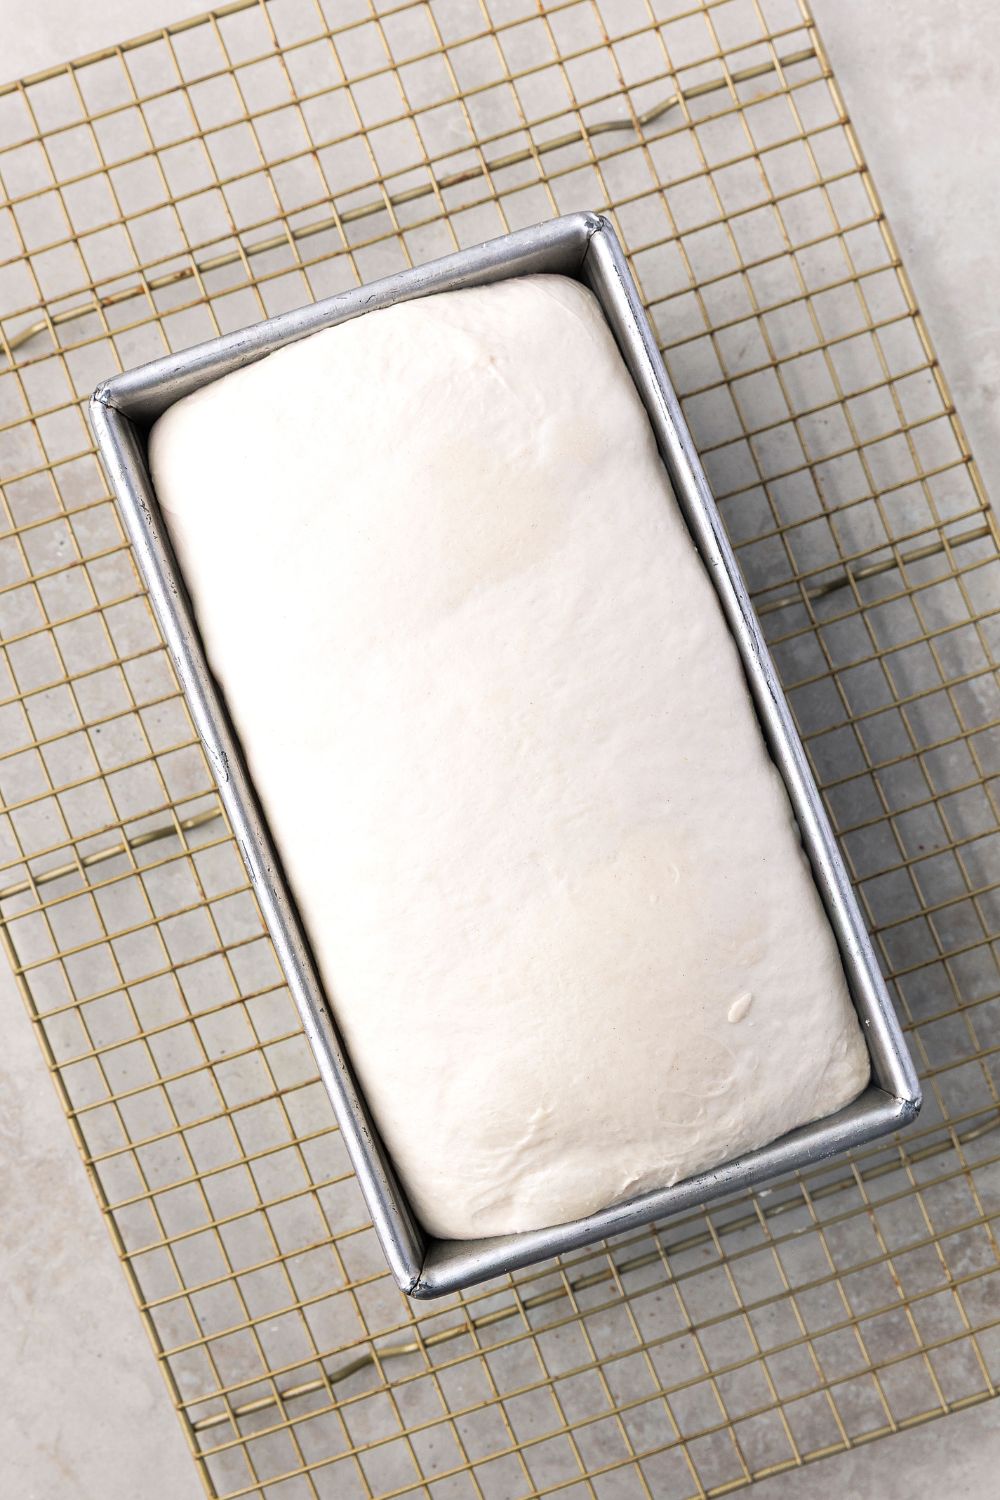
- Turn the dough out onto a floured surface. Additional flour may be needed to keep it from sticking. Gently stretch into a rectangle. Fold one side to the middle, then the other side over that. Roll the dough into a log, being careful not to press too hard so it stays light and airy. Place seam-side down in a greased 9×5 loaf pan.
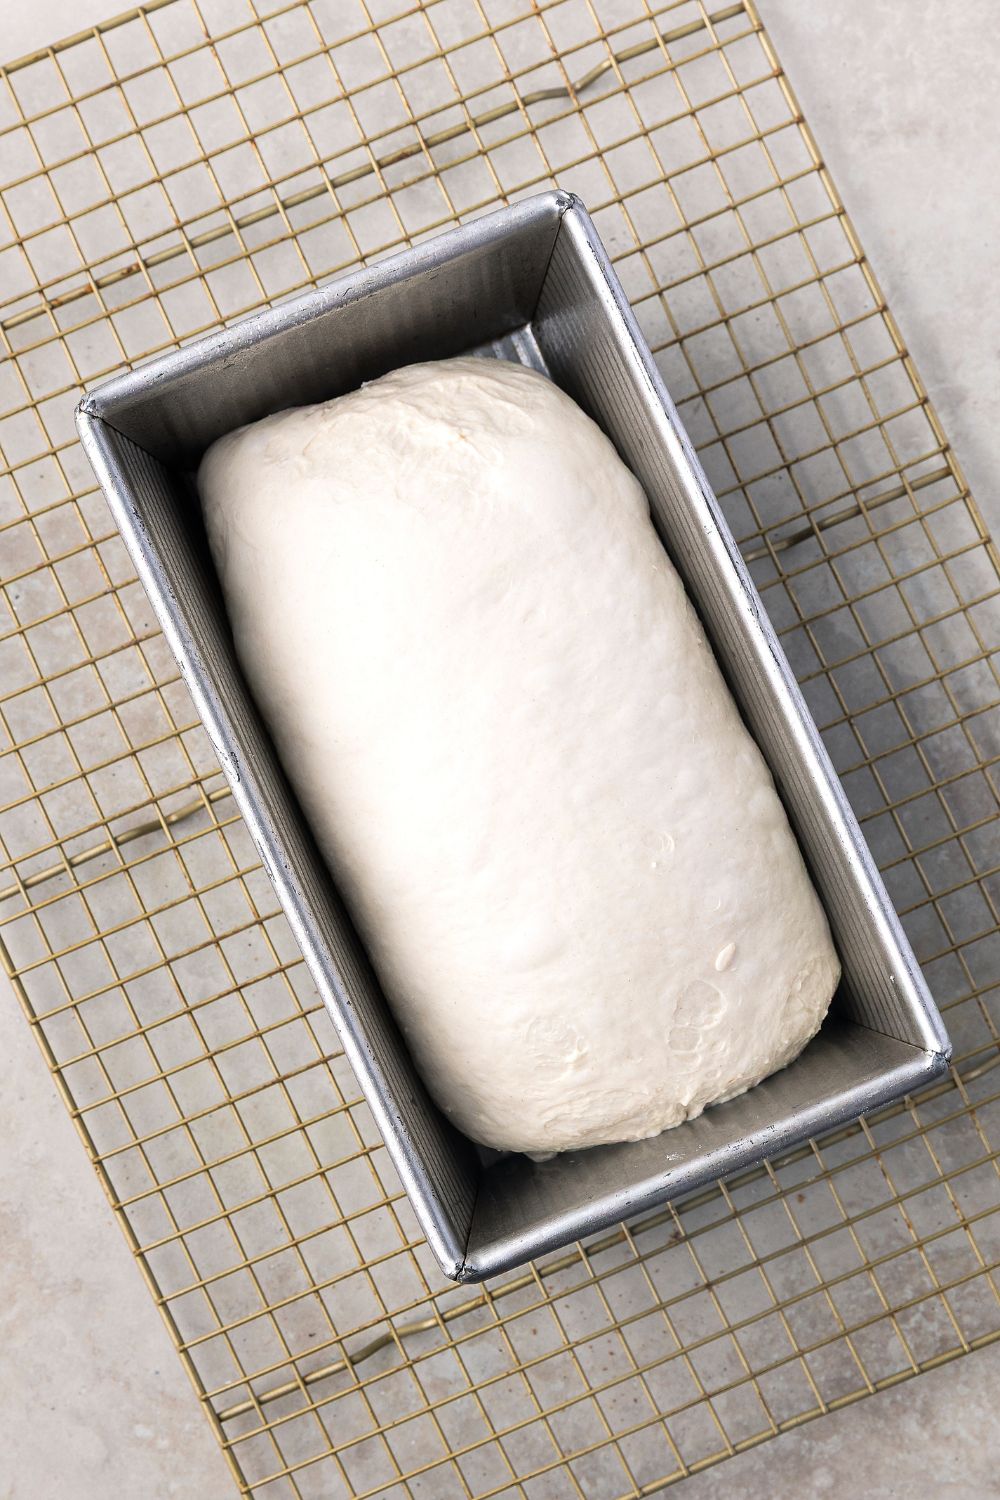
- Cover the pan and let the dough rise until it domes about half to one inch over the pan rim. This can take 2 to 4 hours. Or, cover and refrigerate the shaped loaf for up to 48 hours, then finish rising at room temperature before baking.
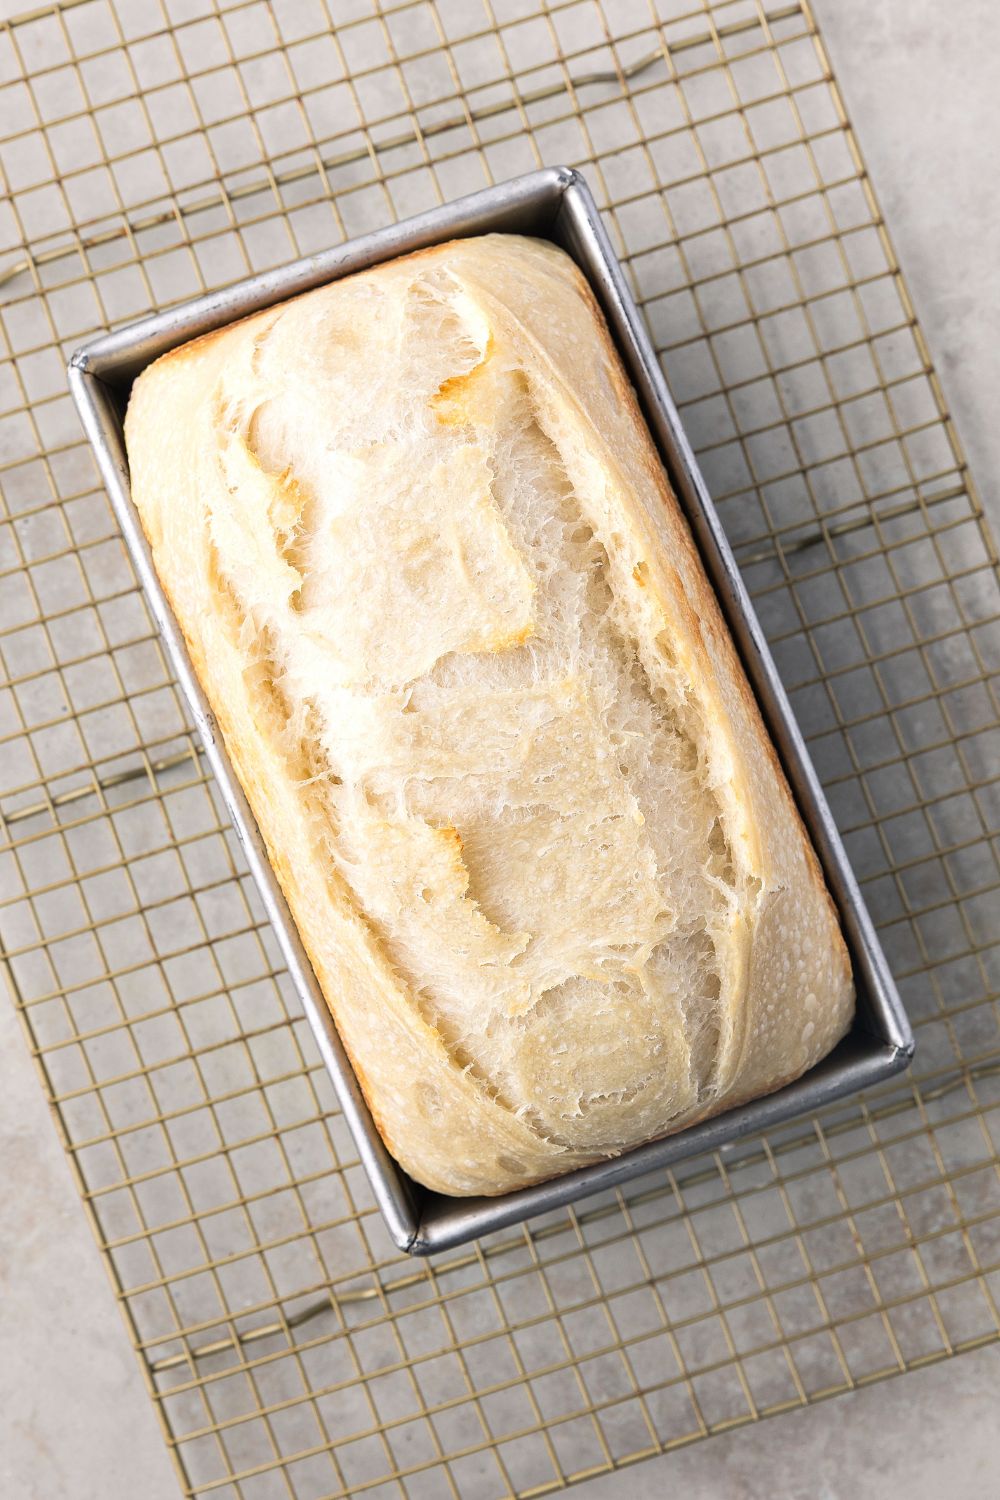
- Preheat oven to 450°F. Score the top with a simple slash or decorate with a wheat stalk pattern. A score allows the bread to expand evenly and helps prevent unwanted tears. Mist the dough lightly with water. Place a second loaf pan upside down on top to trap steam. Bake covered for 25 to 30 minutes. Remove the top pan, reduce heat to 425°F, and bake 10 to 15 more minutes until the loaf is deep golden brown and the internal temperature reaches 205 to 210°F. If it browns too quickly, cover loosely with foil so the inside can finish baking. The steam helps create that signature bubbly crust. Cool completely for 2 hours before slicing to avoid a gummy crumb—but we know it’s hard to wait when warm bread is around, so use your best judgment and enjoy it when you like!
Did you make this recipe?
Make sure to follow on Pinterest for more recipes!

Leave A Reply!