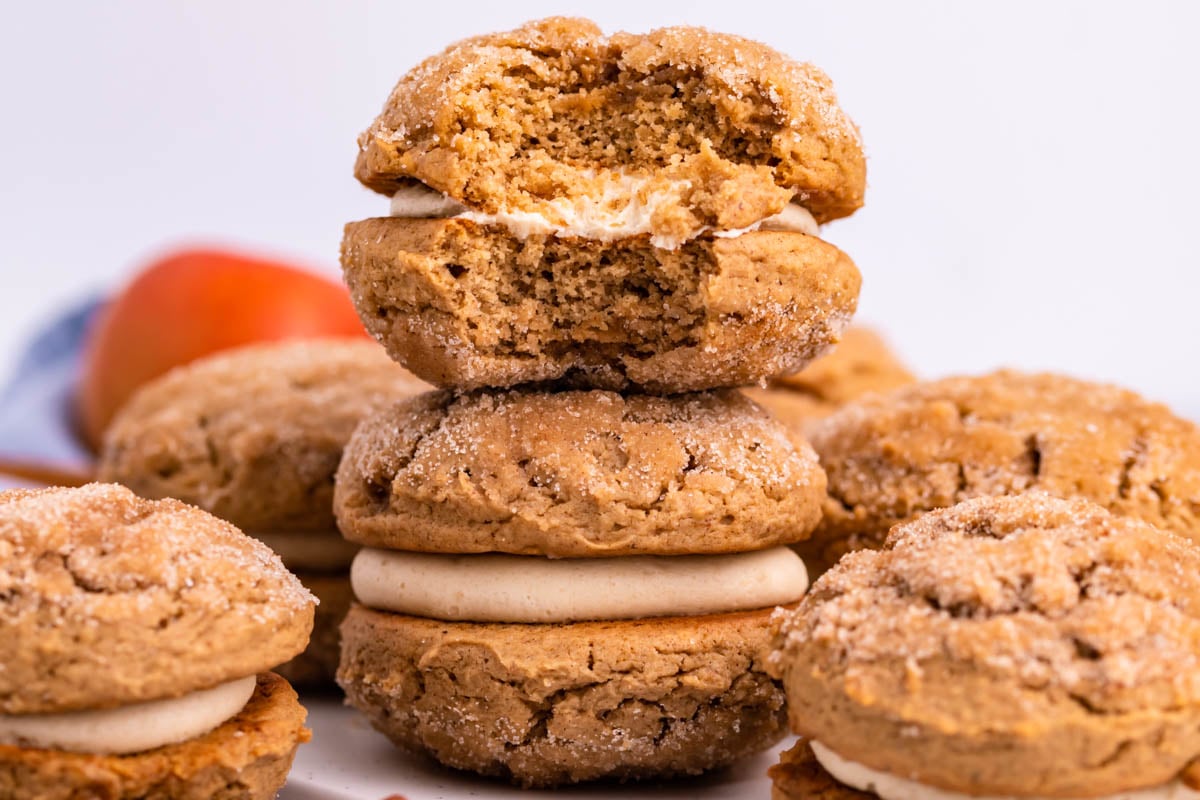
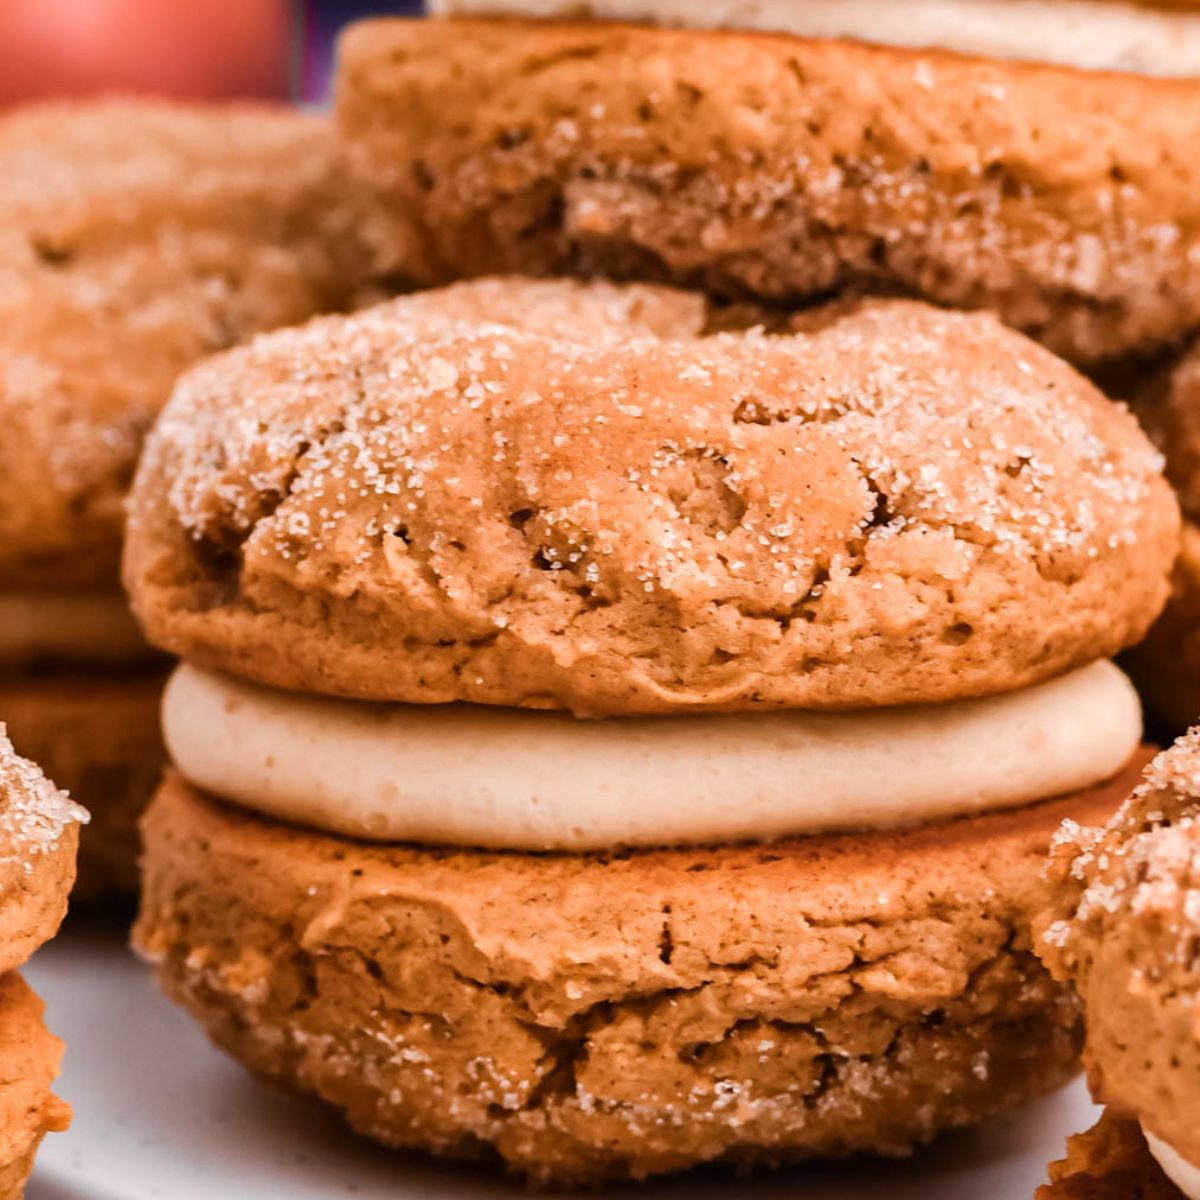
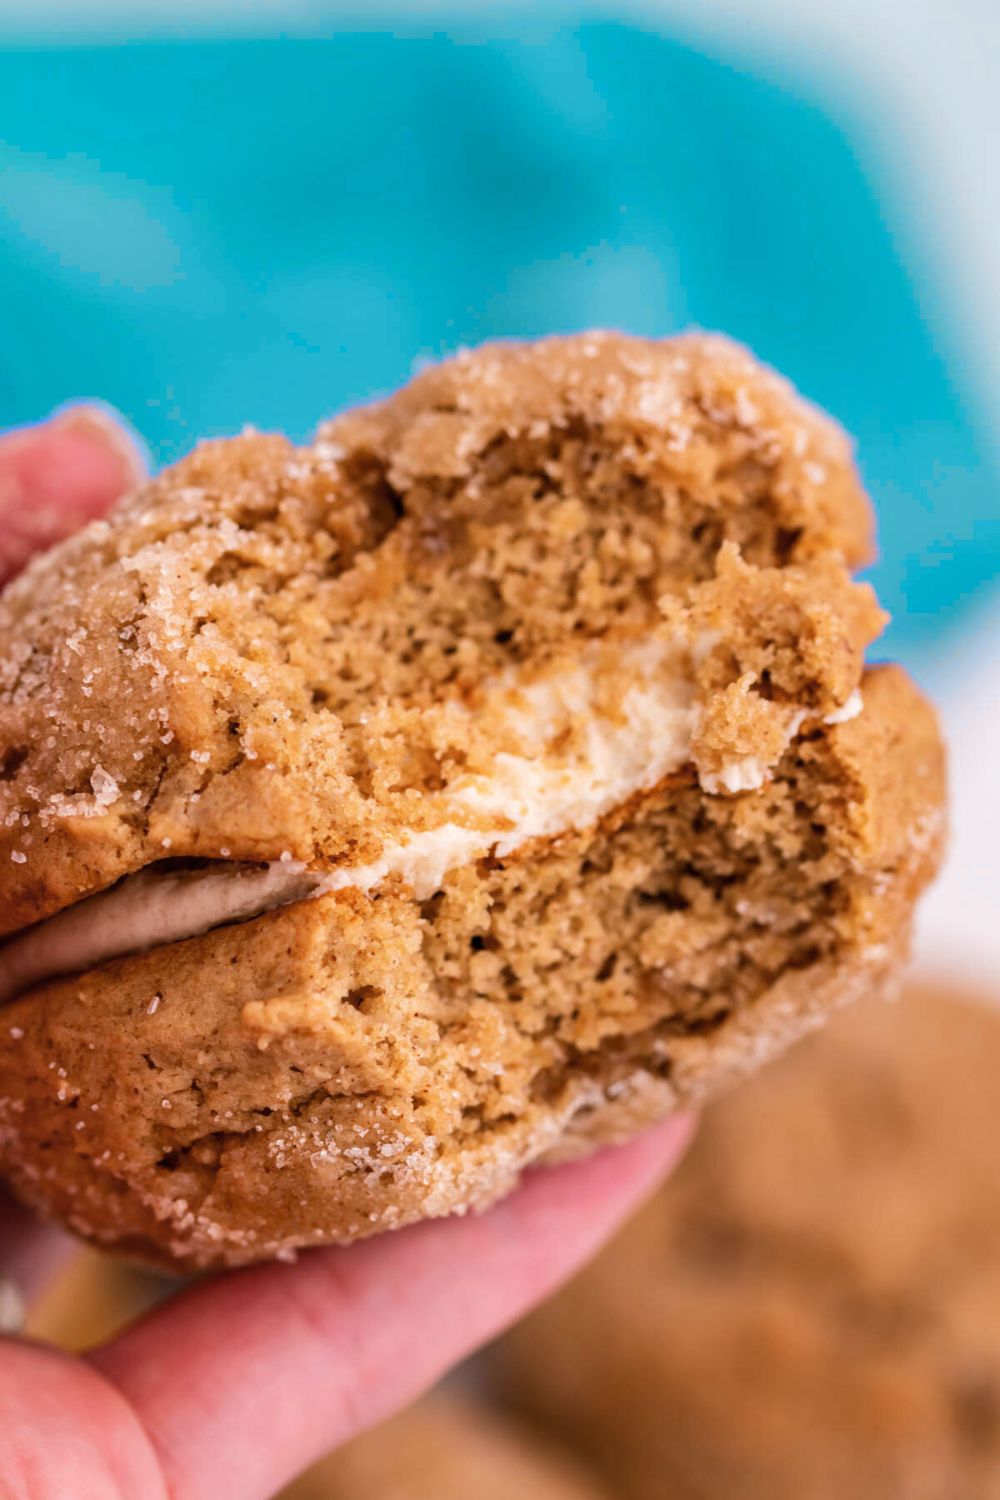
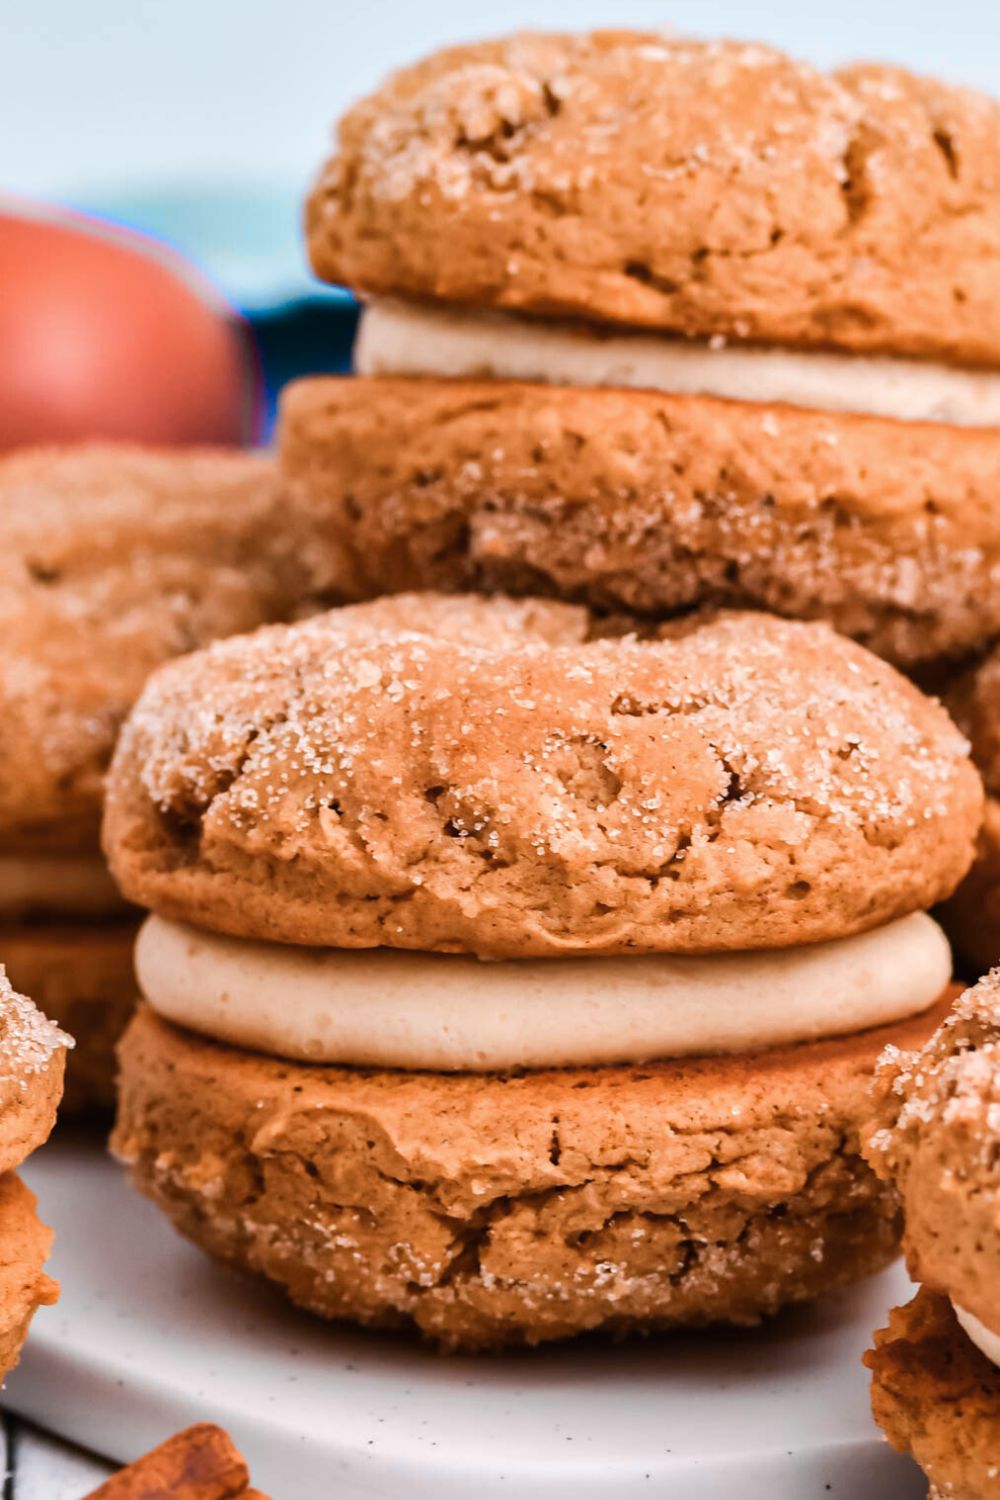
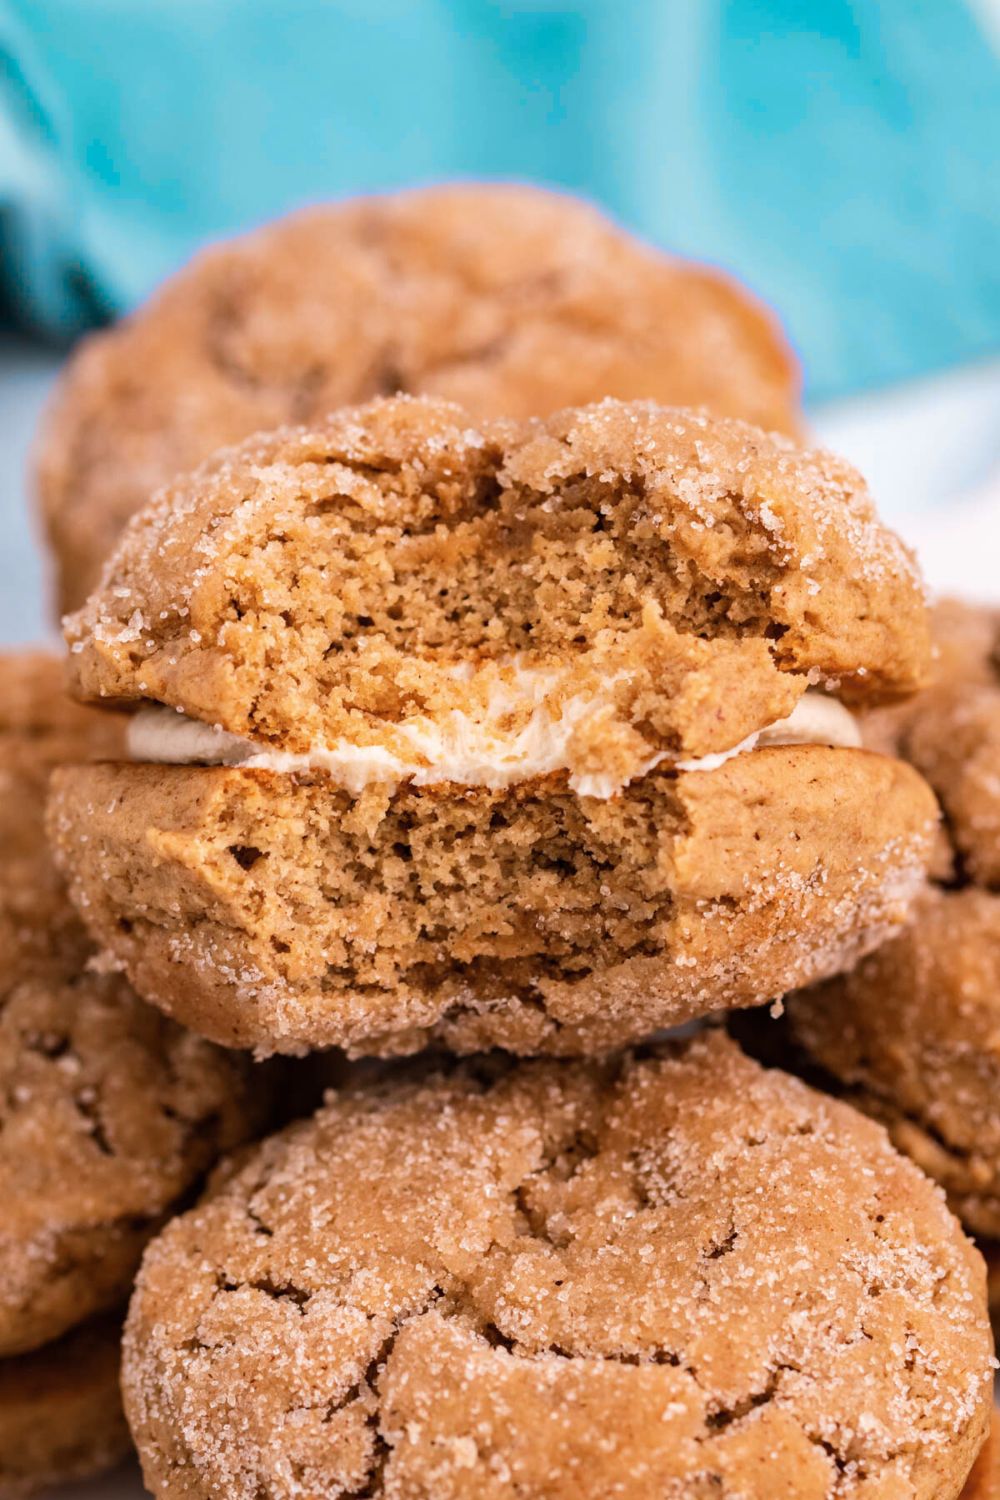
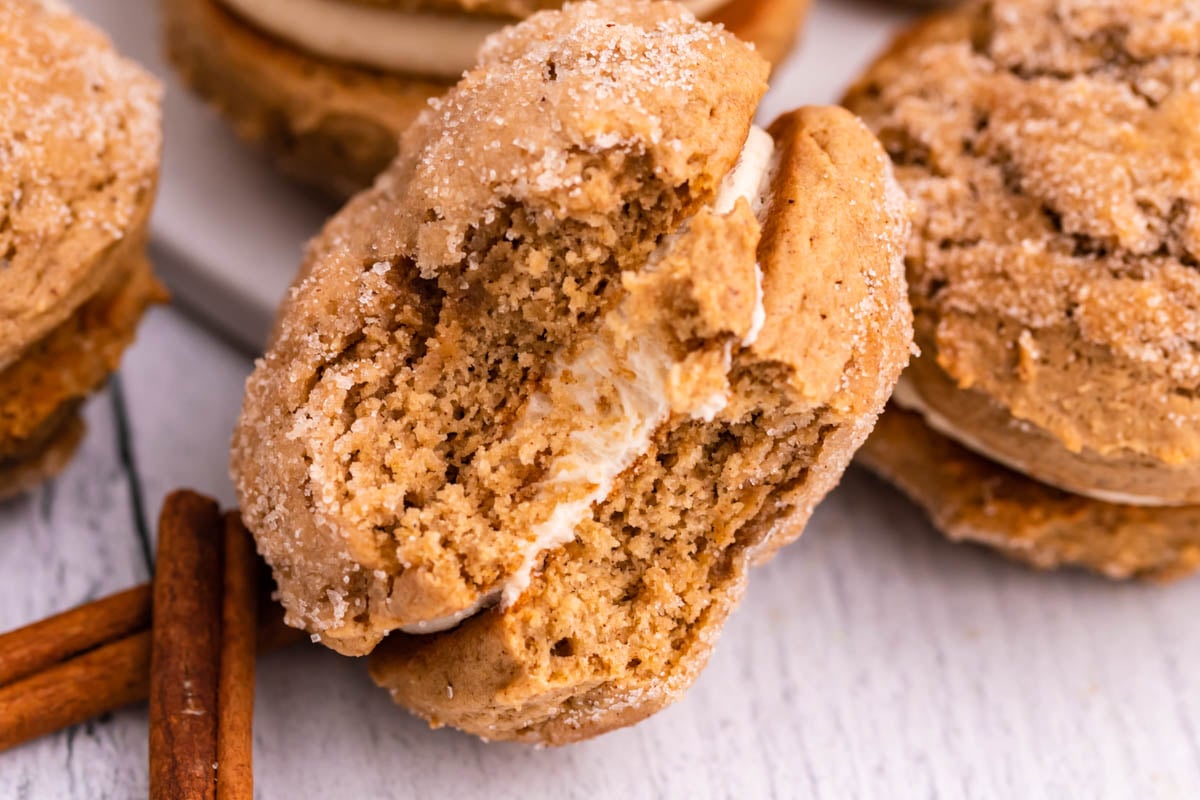
There’s something magical about fall baking, and in my kitchen, the smell of cinnamon, nutmeg, and warm apple cider instantly takes me back to cozy autumn days and straight into my kitchen to start baking up a storm! My Apple Cider Whoopie Pies made from scratch are the perfect treat to bridge the gap between cake, cookie, and pie — a soft, spiced cake-like sandwich with a sweet, creamy filling that will make your whole house smell incredible & they pair perfectly with a hot cup of coffee!
When I first made these, my husband immediately claimed they were his “new favorite fall dessert,” and my daughter Ariya couldn’t stop touching the fluffy tops with her little hands while they cooled. Even Cameron, still too little for a full whoopie pie, got to taste a tiny bit of the filling — and judging by his big grin, he approved.
If you’re looking for a dessert that feels nostalgic yet a little bit special, these Apple Cider Whoopie Pies are going to become a new seasonal tradition in your home too.
What Are These Exactly?
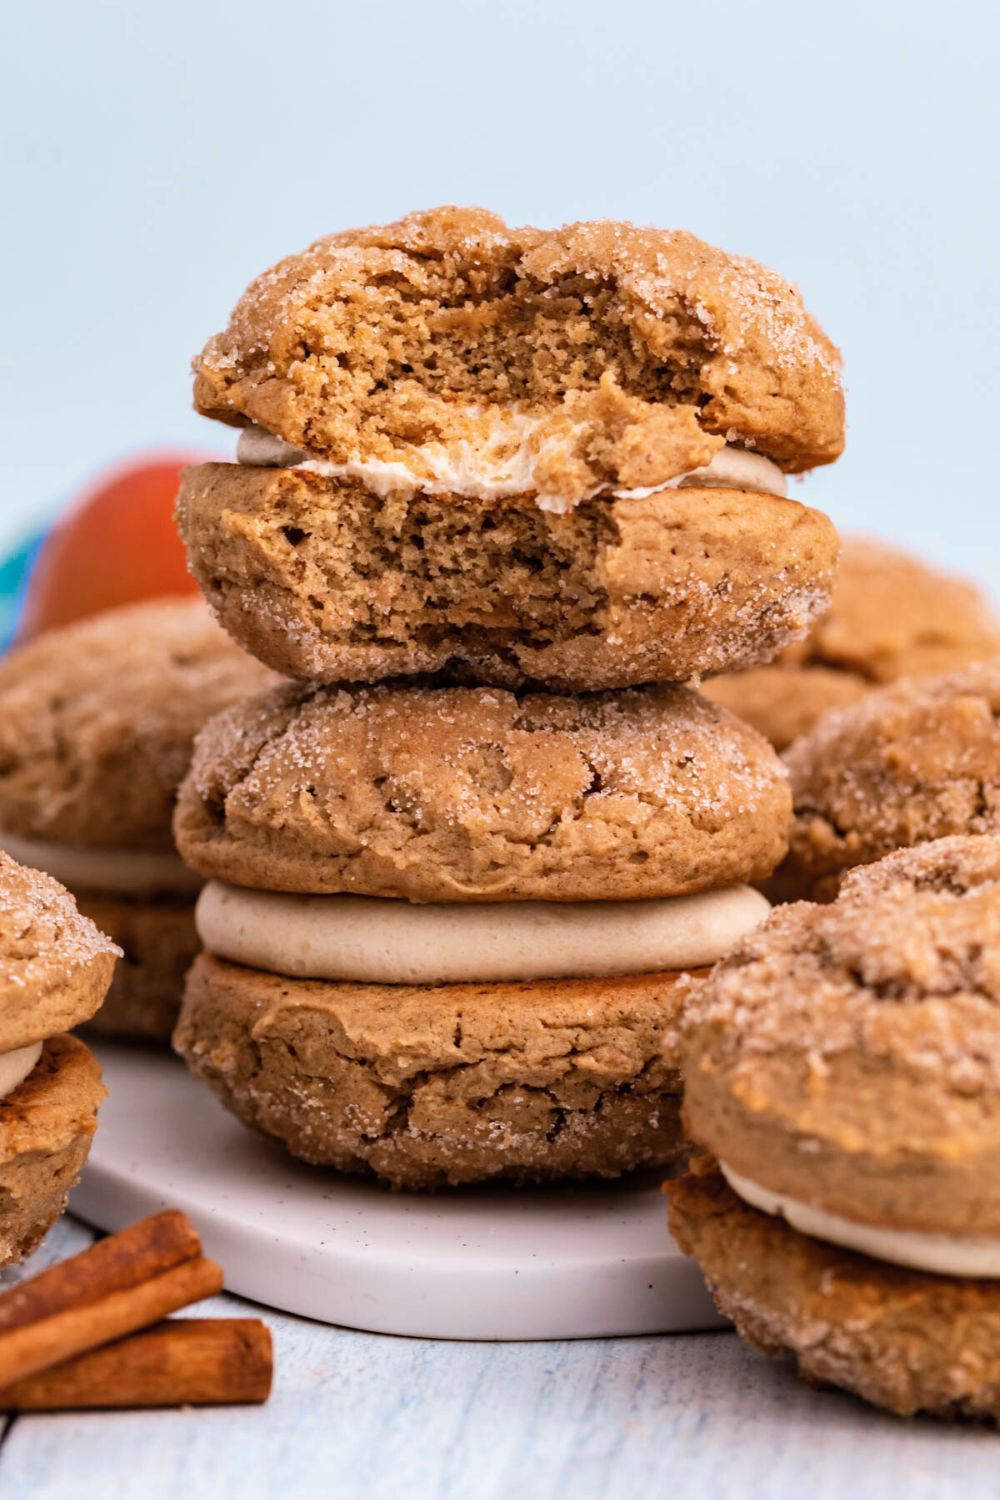
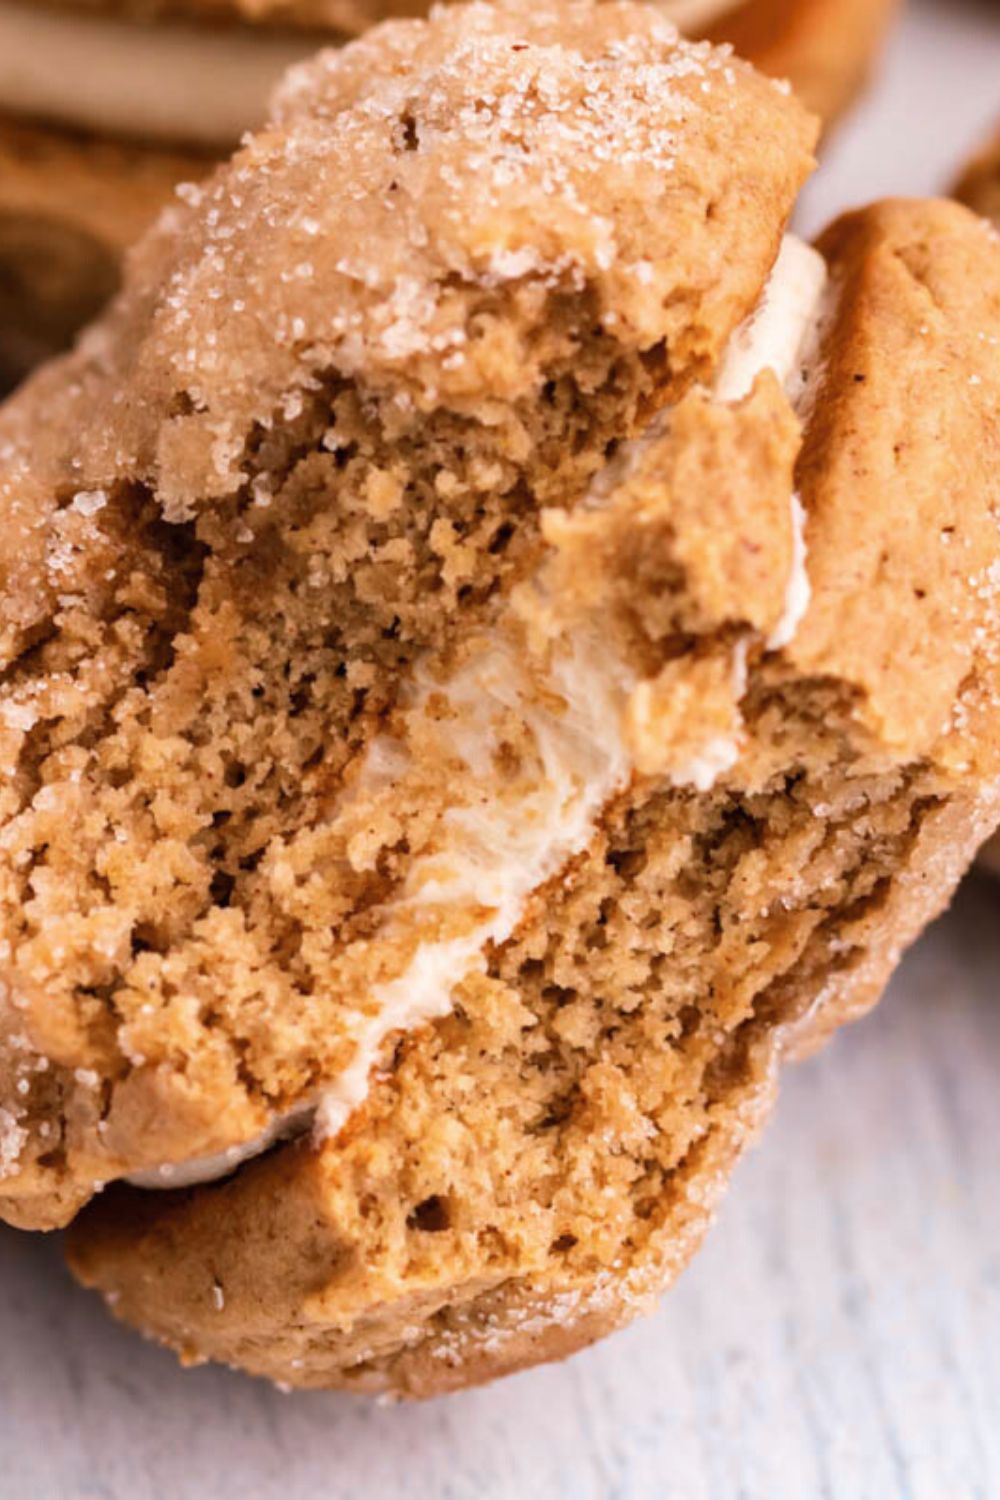
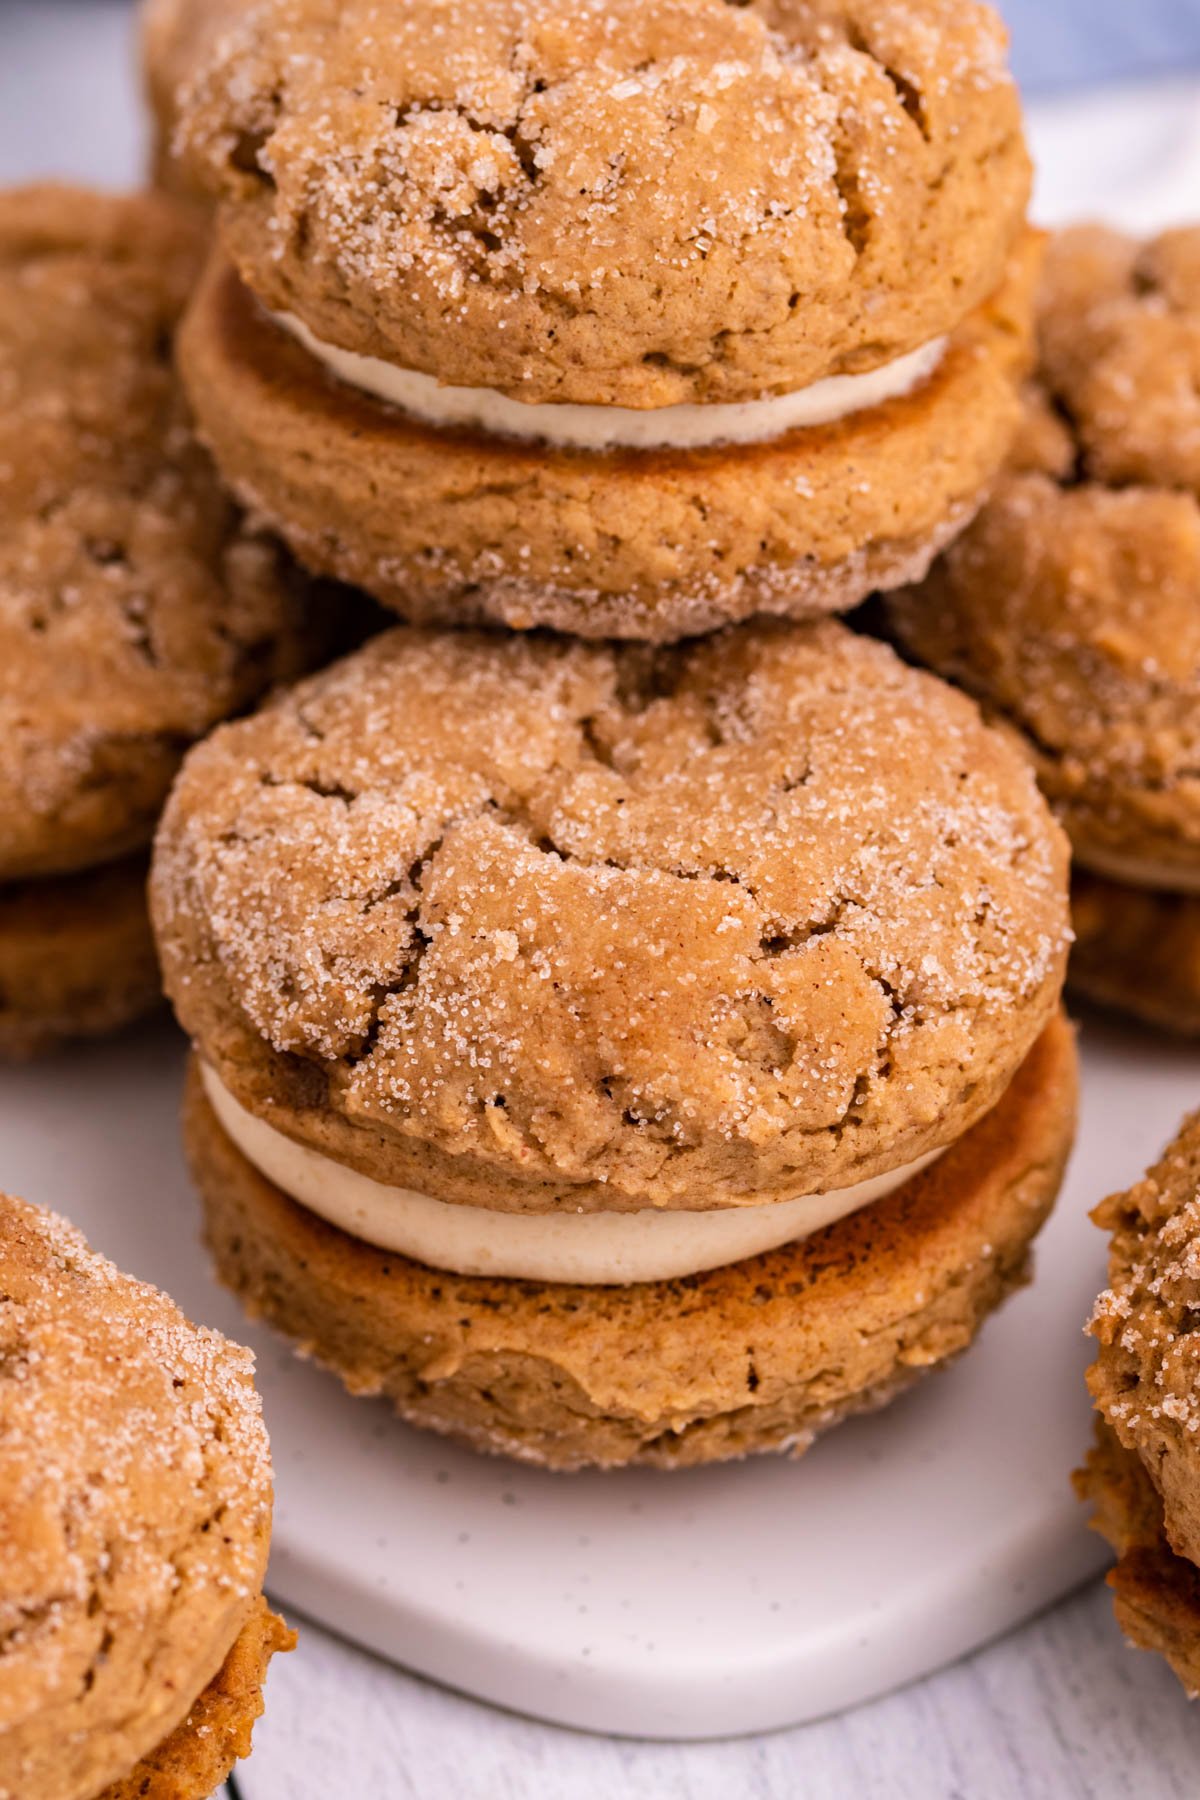
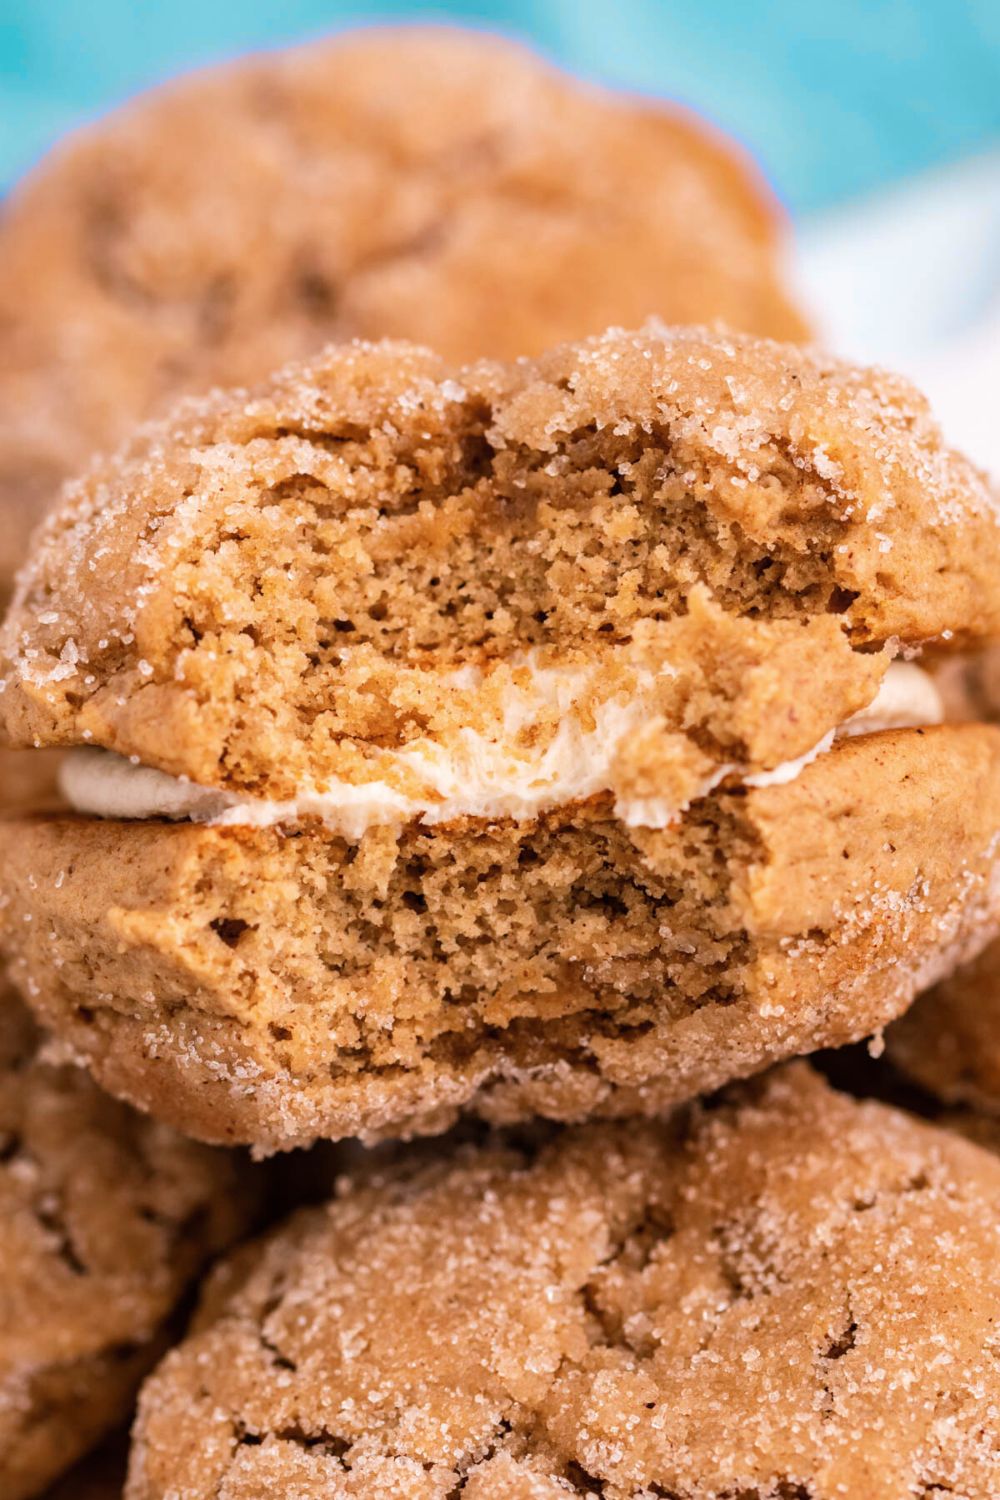
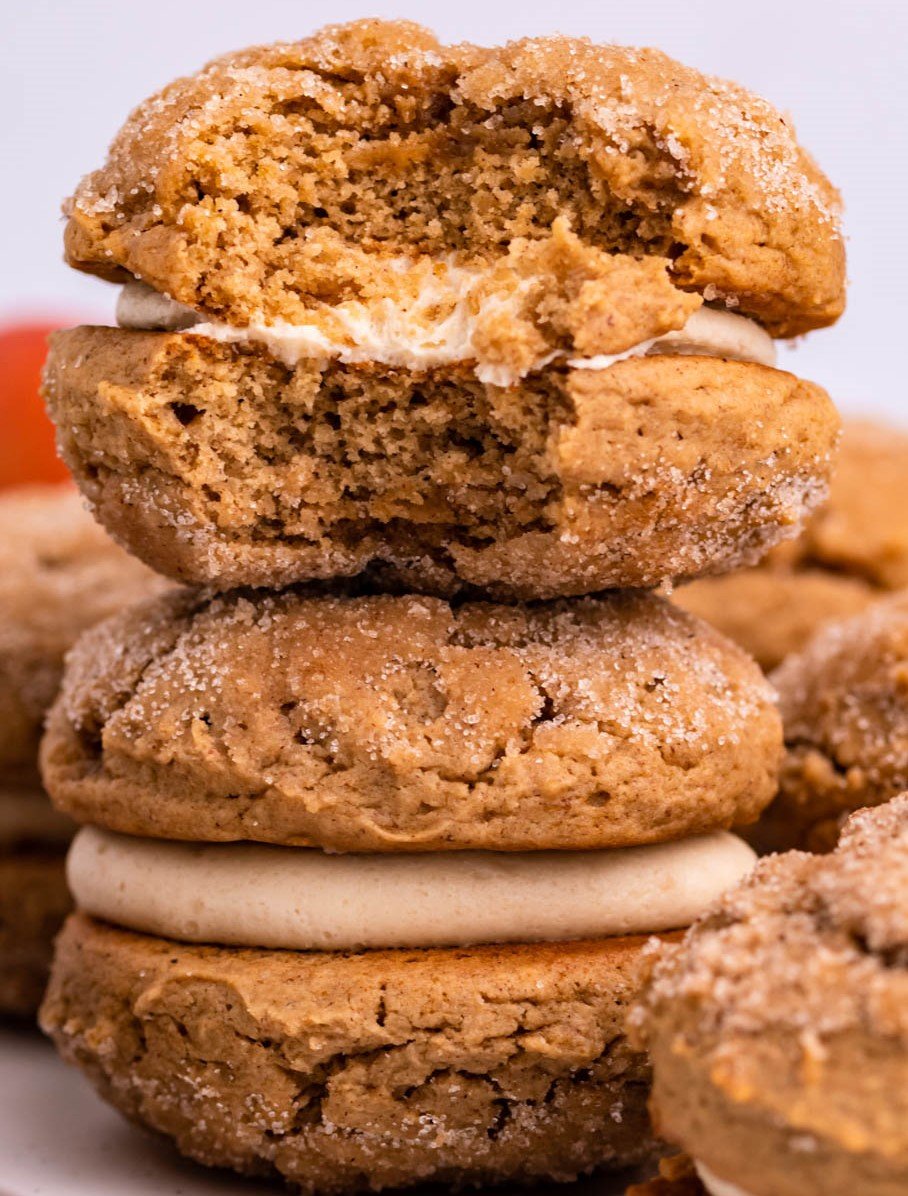
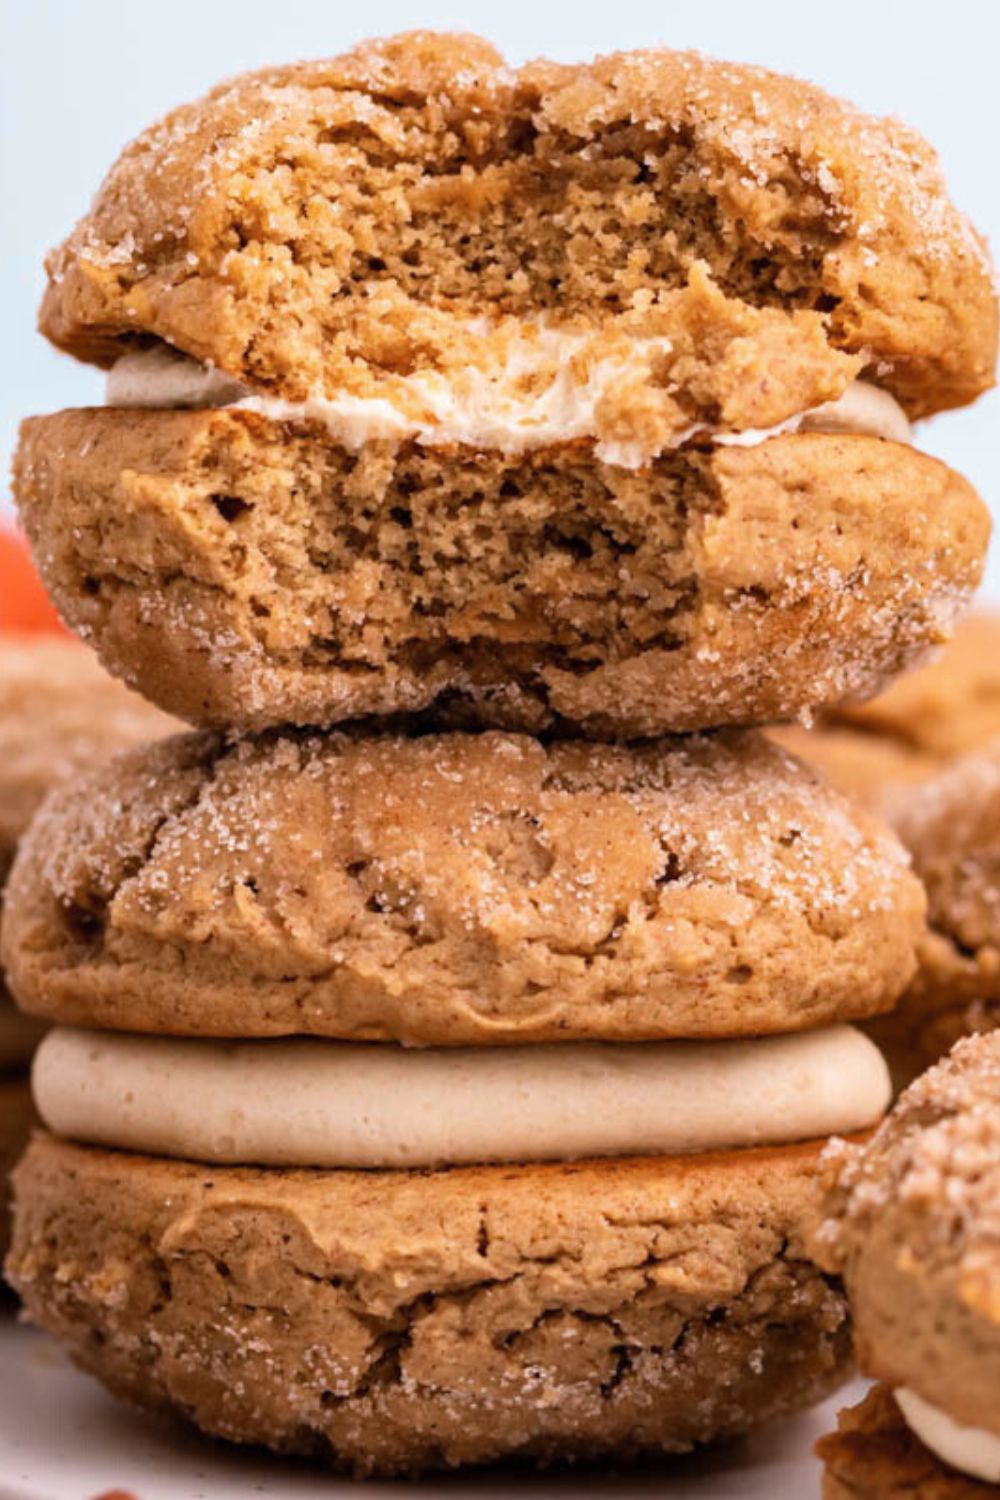
A whoopie pie is a classic Amish and New England treat — soft, cake-like rounds sandwiched together with a creamy filling. This version takes it to a new seasonal level by infusing the batter with real apple cider reduction, apple butter, and warm fall spices. The tops are brushed with melted butter, sprinkled with cinnamon sugar, and paired with a buttery brown sugar frosting for that perfect sweet-spice balance.
When to Serve
- Fall Gatherings & Holidays – Perfect for Thanksgiving dessert tables or Halloween parties.
- Bake Sales – They’re portable, easy to package, and sell fast.
- After-School Treats – A fun way to surprise the kids in September and October.
- Weekend Baking – Great for cozy afternoons when you want the house to smell amazing.
Why You’ll Love These
- Big Apple Flavor – Apple cider reduction + apple butter = rich, concentrated apple taste.
- Warm Spice Blend – Cinnamon, nutmeg, and ginger make these feel like fall in every bite.
- Soft & Pillowy Texture – Moist cake-like cookies that are easy to bite into.
- Make-Ahead Friendly – Flavors get even better after a day.
- Freezer-Friendly – Store extras for later.

Ingredient Breakdown
Cakes:
- Apple cider – Reduced down for bold, deep flavor.
- Apple butter – Adds moisture and natural sweetness.
- Spices (cinnamon, ginger, nutmeg) – Essential for that warm autumn aroma.
- Butter & brown sugar – Create a soft, rich base.
- Eggs – Bind everything and help with structure.
Topping:
- Melted butter – Helps cinnamon sugar stick and adds flavor.
- Cinnamon & sugar – Gives a bakery-style finish.
Filling:
- Butter – The creamy base.
- Brown sugar – Adds a subtle caramel note.
- Powdered sugar – Creates smooth frosting texture.
- Vanilla extract – Enhances all the flavors.
- Heavy cream – Makes the filling fluffy and light.
Variations
- Maple Twist – Add 1 teaspoon maple extract to the filling for a caramel-maple flavor.
- Salted Caramel Drizzle – Drizzle salted caramel over the filling before sandwiching.
- Cream Cheese Filling – Swap half the butter in the filling for cream cheese for tang.
- Gluten-Free Version – Use a quality 1:1 gluten-free baking flour.
Troubleshooting
- Flat Cakes? – The batter may have been overmixed. Mix just until combined.
- Dry Texture? – Overbaking can cause dryness; pull them when tops spring back gently.
- Too Sweet Filling? – Add a pinch of salt or more heavy cream to balance.
- Runny Batter? – Make sure apple cider is fully reduced before adding.
Personal Kitchen Notes
When I tested this recipe, I made the mistake of rushing the apple cider reduction the first time, and the flavor just wasn’t as strong. Trust me — take the time to reduce it slowly so the apple flavor deepens and caramelizes.
Another thing I learned: these whoopie pies taste even better the next day. The filling softens the cake slightly, and the spices seem richer after resting overnight in an airtight container.
And as for my family — James had two in one sitting, Ariya kept asking for “more cookie,” and Cameron was pointing at them on the counter with his sweet little “mmm” sound. That’s when I knew this recipe was a keeper.
Meal Prep & Leftover Ideas
- Pack in Lunchboxes – Wrap individually for a sweet school or work treat.
- Make-Ahead for Parties – Bake and freeze the cakes (unfilled) up to 1 month ahead. Fill the day of serving.
- Dessert Platter – Slice whoopie pies in half and serve alongside brownies, cookies, and fudge for variety.
What Makes This Different from Other Whoopie Pies
- Apple Cider Reduction – Not just apple flavoring — real cider boiled down for intensity.
- Apple Butter – Adds depth and moisture you don’t get from applesauce alone.
- Cinnamon Sugar Top – Gives bakery-style charm and extra flavor.
- Brown Sugar Frosting – Adds a toasty, caramel note that pairs perfectly with apple.
Long, Detailed FAQ
1. Can I make Apple Cider Whoopie Pies without reducing the cider?
You can, but the flavor will be noticeably weaker. Reducing the cider concentrates its sweetness and gives these pies their signature apple punch.
2. Can I make my own apple butter?
Yes! Homemade apple butter works beautifully here — just make sure it’s thick, not watery, or it will affect the texture of your batter.
3. What kind of apple cider should I use?
Use fresh, unfiltered apple cider if possible. Avoid apple juice — it’s too sweet and lacks depth.
4. Can these be made gluten-free?
Yes, a high-quality gluten-free flour blend works well here. I recommend adding an extra egg yolk to help with binding.
5. How should I store leftover whoopie pies?
Store in an airtight container at room temperature for 2–3 days, or refrigerate up to 5 days. For longer storage, freeze for up to 2 months.
6. Can I freeze them filled?
Yes, but for best results, freeze the cakes separately and fill after thawing. This prevents the filling from getting icy.
7. Why do my whoopie pies spread too much?
Your butter may have been too soft, or your baking soda/powder may be old. Chill the dough for 15 minutes before baking if needed.
8. Can I use cream cheese frosting instead?
Absolutely — it pairs wonderfully with apple spice flavors.
9. How big should I make them?
I use a large cookie scoop, but you can make mini versions for bite-sized treats — just reduce the baking time by 2–3 minutes.
10. Can I double this recipe?
Yes, but bake in batches to ensure even cooking.
Make-Ahead and Freezing Tips
- Make Ahead – Bake the cakes 1–2 days before serving and store unfilled. Fill on the day you plan to eat them.
- Freezing – Freeze unfilled cakes in layers separated by parchment. Thaw at room temp before filling.
Storage and Serving Tips
- Room Temp – Best texture at room temperature.
- Fridge – Keeps longer but will firm up; let sit out 20 minutes before serving.
- Serving Idea – Serve with hot apple cider or coffee for the ultimate fall pairing.
Lightened-Up Version Breakdown
- Swap half the butter in the cake batter for unsweetened applesauce.
- Use a lighter frosting made with Greek yogurt and powdered sugar.
- Reduce sugar in filling by 25% without affecting structure.
Budget Breakdown (Approximate)
- Apple cider – $3.00
- Apple butter – $4.00
- Pantry items (flour, sugar, spices) – $3.50
- Butter – $3.50
- Total:
$14 for 18 whoopie pies ($0.78 each)
Beginner Mistakes to Avoid When Making Apple Cider Whoopie Pies
Highlight common pitfalls—like skipping the cider reduction step, overbaking so the cakes turn dry, or adding too much filling so they slide apart—and how to prevent them.
Beginner Mistakes to Avoid When Making Apple Cider Whoopie Pies
Even though these whoopie pies are straightforward, there are a few common pitfalls that can make or break your batch:
- Skipping the cider reduction step. This is the key to getting that bold apple flavor. If you skip reducing it down, the cider flavor will be muted and the batter may be too wet.
- Overbaking the cakes. These are meant to be soft and cake-like, not crispy. Bake just until the tops spring back when gently pressed. Overbaking can make them dry and crumbly.
- Adding too much filling. I know it’s tempting to go overboard (my husband is always guilty of this when he “helps”), but too much filling will cause the pies to slide apart when you bite into them.
- Not cooling completely before assembling. If the cakes are even a little warm, the filling can melt, making a sticky mess.
- Using old spices. Cinnamon, ginger, and nutmeg lose potency over time. Fresh spices really make the warm apple flavor pop.
How to Make Apple Cider Whoopie Pies Without Apple Butter
If you don’t have apple butter on hand, don’t worry — you can still get that cozy fall flavor. Here are a few tried-and-true swaps:
- Unsweetened applesauce + extra spice. Use the same amount as the apple butter, but add an extra ½ teaspoon cinnamon and a pinch more nutmeg for depth.
- Reduced apple cider concentrate. Reduce an additional cup of apple cider down to about 2–3 tablespoons, then stir it into the batter. This will intensify the apple flavor without adding excess moisture.
- Pumpkin butter (for a fun twist). The texture is similar, and it will give you a slightly spiced, fall-inspired variation.
I’ve tested the applesauce swap before when making these for bake sales, and no one could tell the difference — they disappeared just as quickly.
Apple Cider Whoopie Pie Storage for Bake Sales & Gifting
If you’re making these for a bake sale, potluck, or as a homemade gift, presentation and freshness are key:
- Individually wrap each whoopie pie in plastic wrap or parchment paper to keep them soft and prevent sticking.
- Place them in bakery boxes or airtight containers with wax paper between layers to prevent smudging the filling.
- Transport in a cooler if it’s warm out — the butter-based filling can soften quickly in heat.
- Best freshness window: These are at their peak within 48 hours of baking, but they can be stored in the fridge for up to 4 days. Let them come to room temperature before serving so the filling is creamy again.
When I bring these to family gatherings, I’ll often package them in little kraft boxes tied with twine — they look bakery-worthy, and my mom always commented on how cute they are before grabbing one for herself, I really miss her around the holidays.
Reader Favorite Tips
- “Add a drizzle of caramel before sandwiching.” – Megan, Vermont
- “Try dusting the tops with powdered sugar for a pretty finish.” – Carla, Ohio
- “Granny Smith apple cider works best for tanginess.” – Laura, Maine
Final Thoughts
These Apple Cider Whoopie Pies are everything I love about fall baking — warm spices, rich apple flavor, and a treat that makes my family hover around the kitchen waiting for the first bite. They’re just as perfect for a casual Sunday bake as they are for a holiday dessert table, and once you taste them, you’ll understand why they disappear so quickly.
More Fall Dessert Ideas

Apple Cider Whoopie Pies
Ingredients
Cakes:
- 2 ½ cups apple cider
- 3 cups all-purpose flour
- 2 teaspoons baking powder
- ½ teaspoon baking soda
- 1 teaspoon salt
- 2 teaspoons ground cinnamon
- 1 teaspoon ground ginger
- 1 teaspoon ground nutmeg
- ¾ cup butter softened
- 1 cup dark brown sugar
- 2 large eggs
- ½ cup apple butter
Topping:
- 1 teaspoon ground cinnamon
- ½ cup granulated sugar
- 4 tablespoons salted butter melted
Filling:
- ½ cup unsalted butter softened
- ¼ cup light brown sugar packed
- 2 cups powdered sugar
- 1 teaspoon vanilla extract
- 2 teaspoons heavy cream
Instructions
- Preheat your oven to 350 degrees F. and prepare two large baking sheets by lining with parchment and set aside.
- In a small saucepan, add the apple cider and reduce over medium-high heat until you have about ¼ cup apple cider. Set aside to cool, or you can add to the refrigerator until you are ready to bake.
- In a medium bowl, combine the flour, baking powder, baking soda, salt, cinnamon, ginger, and nutmeg. Whisk and set aside.
- In the bowl of a stand mixer equipped with a paddle attachment or using a hand mixer, cream the butter and brown sugar on high speed until light and fluffy.
- Add the eggs, apple butter, and the apple cider reduction. Mix until just combined.
- Add half of the dry ingredients and mix unit there are no dry spots remaining. Add the remaining and mix until well combined. Scrape the sides and bottom of the bowl if needed.
- Use a large cookie scoop to scoop out equal amounts of the dough onto the prepared baking sheet.
- Bake for 10-14 minutes until the cookies are puffy. Check one by carefully pressing the top and it should immediately bounce back.
- Remove from the oven and brush with the melted butter. Sprinkle with the cinnamon sugar mixture and set aside.
- To make the filling, cream the butter and brown sugar in a large mixing bowl until smooth and creamy.
- Add the powdered sugar and vanilla and mix on low until combined.
- Add the heavy whipping cream and mix on high speed for one minute.
- Add the frosting to a piping bag with a large round tip. Pipe a generous amount of the filling on half of the cakes and top with the remaining.
- Keep stored in an airtight container at room temperature for up to three days.
Did you make this recipe?
Make sure to follow on Pinterest for more recipes!

Leave A Reply!